Adafruit, Noe Ruiz in particular, is quickly becoming my favorite developer of 3D printable content. Ruiz’s latest project for the DIY retail/community site is especially awesome. Whether or not you’re a fan of Daft Punk after their latest underwhelming album or their Tron: Legacy soundtrack, it’s hard not to be impressed by Adafruit’s 3D printed Daft Punk helmet. Following Ruiz’s tutorial, anyone can become a music maker from another galaxy (or at least look like one).
 Before getting into the details of the build, you may be wondering just how big of a printer you’ll need to 3D print such a helmet. The helmet, before customizing it to your specific cranial dimensions, measures 246mm x 226mm x 250mm (about 9.7″ x 8.9″ x 9.8″). If your head can fit into the build space of your 3D printer, you should be able to print it in one piece. Doing so will take about 49 hours to print with 1.2 pounds of PLA filament, using Ruiz’s settings on a Lulzbot TAZ 4. Otherwise, you may have to break it down and 3D print it as separate components to be glued or attached with custom-designed pegs and holes in post. Unfortunately, Adafruit hasn’t uploaded such a model, so you’ll have to do it yourself. Their full-sized model can be found at Thingiverse. Check back here in three days, after you’ve completed printing the helmet.
 Hopefully, you’ve spent the past three days printing your helmet with some form of transparent PLA, to allow the LED lights to shine through while your spinning, mixing, etc. And, you might also consider using a flexible build plate, as it will make removing the helmet much easier. If not, please do so now and check back in another three days.
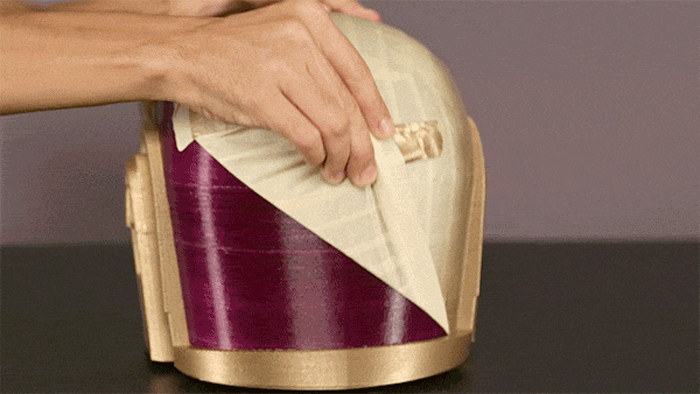
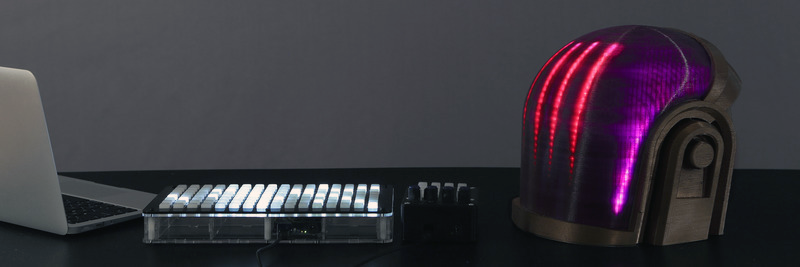
Now that you’ve printed your helmet, Adafruit instructs users on how to spray paint it, first covering the front visor in masking tape, for effect. You’ll be the envy of all at your sci-fi music convention.
After 3D printing and spray painting your helmet, go back in time and, during the three day printing process, you’ll have plenty of time to complete the wiring and programming of your LED light strips, which will be glued onto the inside of your print. This part requires two Trinket 5V or Pro Trinket 5V microcontrollers, with the latter capable of producing more complex LED animations. Additionally, when purchasing a NeoPixel Strip, the more LEDs you have, the more elaborate your animations can be. You’ll also need two Slide Switches, two JST Extension/Connectors, two 1200mAh Lithium Polymer Batteries, and a Micro Lipo.
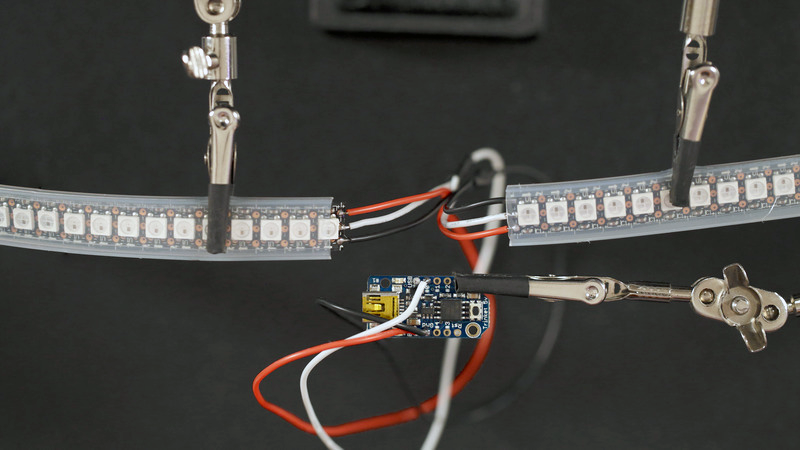
Ruiz guides you through the wiring, soldering, and programming of your Trinket boards and LED strips so that, once your helmet has completed printing three days from now, you can attach everything to the inside of your helmet and begin strobing. It goes without saying, but make sure not to run into your doppelganger while traveling through time! It could create a tear in the space-time continuum for some reason. In the inevitable chance that you do run into her/him/zir, the two of you can print a second Daft Punk helmet (or a Master Chief helmet) to complete the set and perform live.
For a video overview of the project, watch Ruiz’s video below:
Happy time traveling!