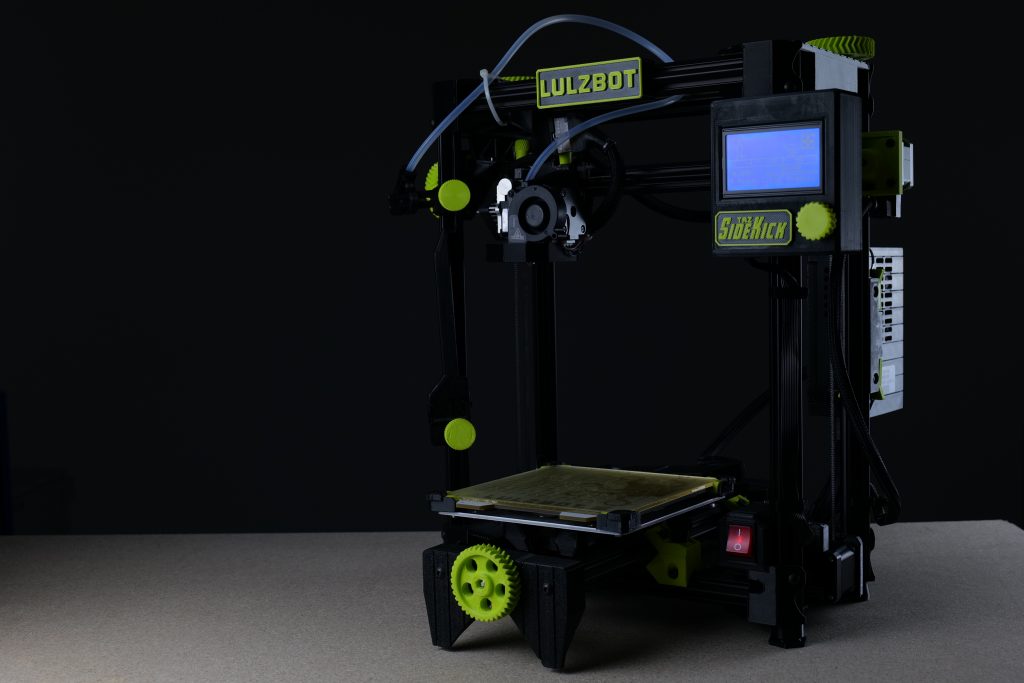
3D Printing Industry reviews the LulzBot TAZ SideKick 289 3D printer.
Designed by US-based 3D printer OEM FAME 3D, the SideKick is the latest addition to the LulzBot TAZ line of FDM 3D printers.
The single extrusion plug-and-play system is suitable for anyone from hobbyists and prosumers to professional designers and educational institutions, enabling out-the-box functional prototyping at an affordable price point of sub-$1,000. In line with LulzBot’s history of open-source hardware, over 50% of the SideKick’s parts are 3D printed and can be found as downloadable STL files on the company’s GitLab. The system also runs on open-source Marlin firmware, which is great for those that have a knack for workshop tinkering.
One of the most noteworthy features of the SideKick is its extensive configurability, as LulzBot allows customers to select its color, build volume, default tool head, build surface, and electronics. This makes for a level of reconfigurability you really don’t see all that often in the desktop FDM market, which is exciting in and of itself.
The smaller version of the system is called the SideKick 289 (162 x 162 x 181mm build volume), while the larger variation is the SideKick 747 (231 x 231 x 248mm build volume). For the purposes of this review, we’ll be working with the TAZ SideKick 289.
A LulzBot staple
Despite its name, the SideKick is certainly not a ‘side item’ in the LulzBot range. The system offers much of the same functionality as its predecessors, albeit in a more compact (but more affordable) package.
Much like the rest of LulzBot’s 3D printers, the SideKick features a completely open frame made of sturdy powder-coated metal. Since there’s no built-in enclosure, for higher temperature filaments like ABS, it may be necessary to carefully control the ambient temperature of the room itself to avoid warping and delamination issues. That aside, the smooth steel rods, self-lubricating linear bushings, angled extrusions, and Delrin V-wheels make the system feel unmistakably robust, as is expected of LulzBot printers.
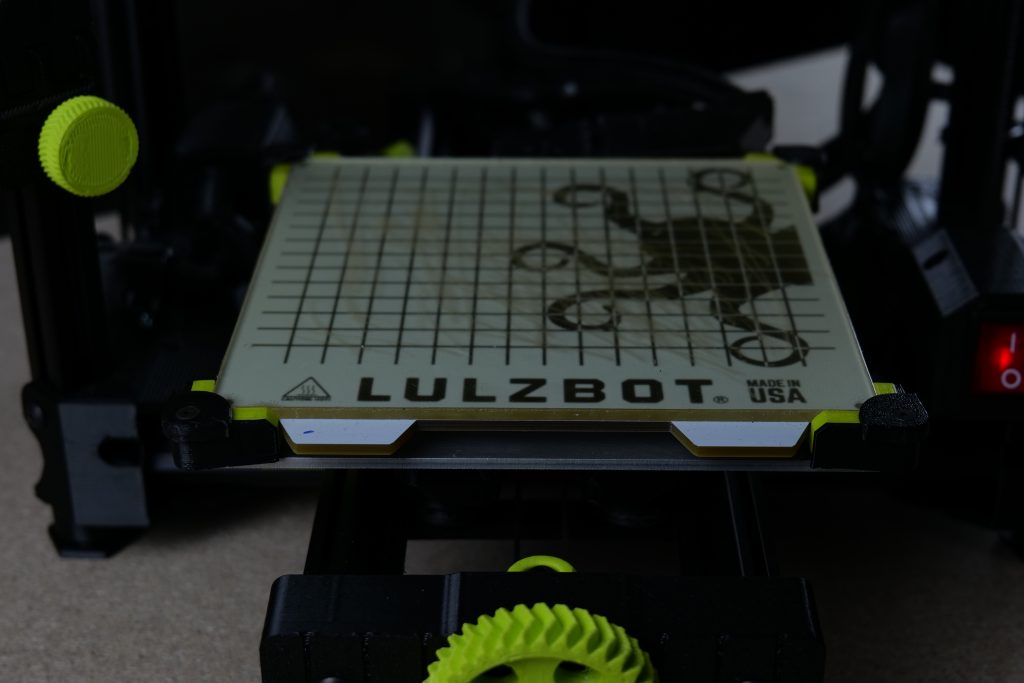
The machine is based on the cartesian axis system, a configuration known for its rigidity and accuracy, whereby the bed travels in the Y-axis and the printhead is belt-driven in the X- and Z- axes. The SideKick also offers a maximum bed temperature of 110°C and features automated bed leveling using a BLTouch sensor. We found the automated leveling, in particular, to work like a charm – no complaints here.
Looking at the SideKick’s material capabilities, we have a maximum nozzle temperature of 290°C and direct drive extrusion, enabling the system to print with over 10 high-performance polymer filaments. This includes ABS, PETG, PA, PC, TPU, and more, all in either a 1.75mm or 2.85mm filament size.
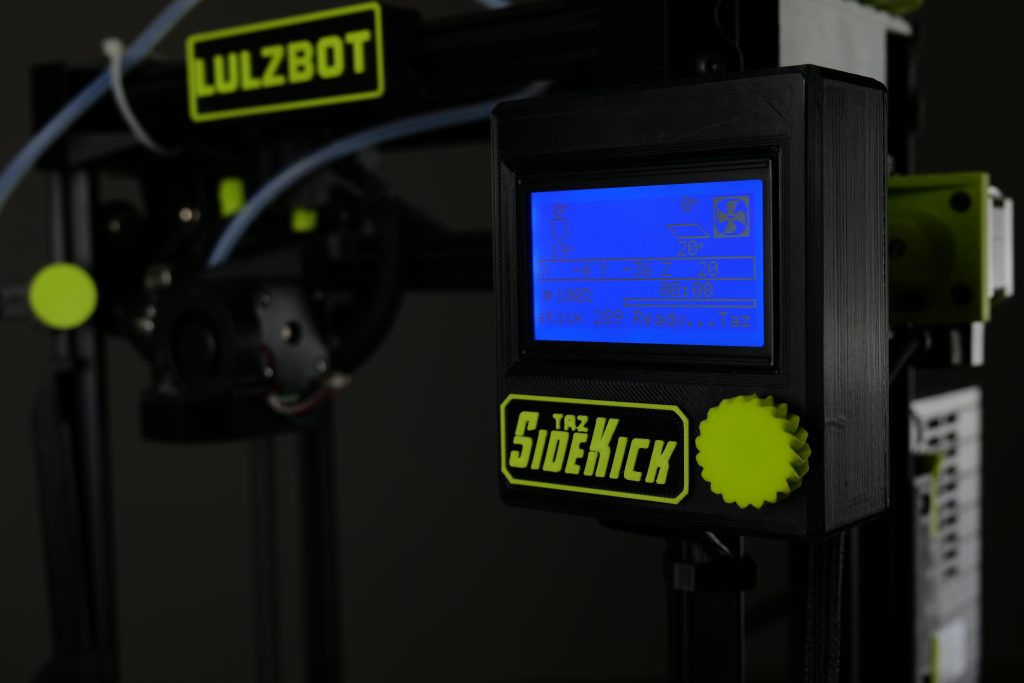
On the electronics side, we have a 3.2” LCD user interface for previewing prints, starting builds, loading the filament, and calibrating the Z-axis. Much like all Marlin firmware printers, the UI is intuitive and easy to navigate, although we thought the implementation of a touchscreen would’ve been nice. As far as connectivity options go, users can pick between a USB cable and an SD card.
A myriad of configurable hardware
So just how configurable is the LulzBot TAZ SideKick? As it turns out: very. The first of the choices is a cosmetic one, with customers being able to choose between Stealth Black and LulzBot Green for the color of the printer.
Next, we have the option of build volume size. The smaller SideKick 289 comes with 4.75L while the larger SideKick 747 boasts a hearty 13.23L, but be aware that the latter comes at a higher cost so choose according to your needs.
LulzBot also provides a choice between two different build surfaces: a PEI-coated borosilicate glass surface or an OctoGrab removable magnetic flex bed. The borosilicate glass is not magnetic so part removal will require a little more elbow grease. Again, decide if you’d like to pay for the convenience.
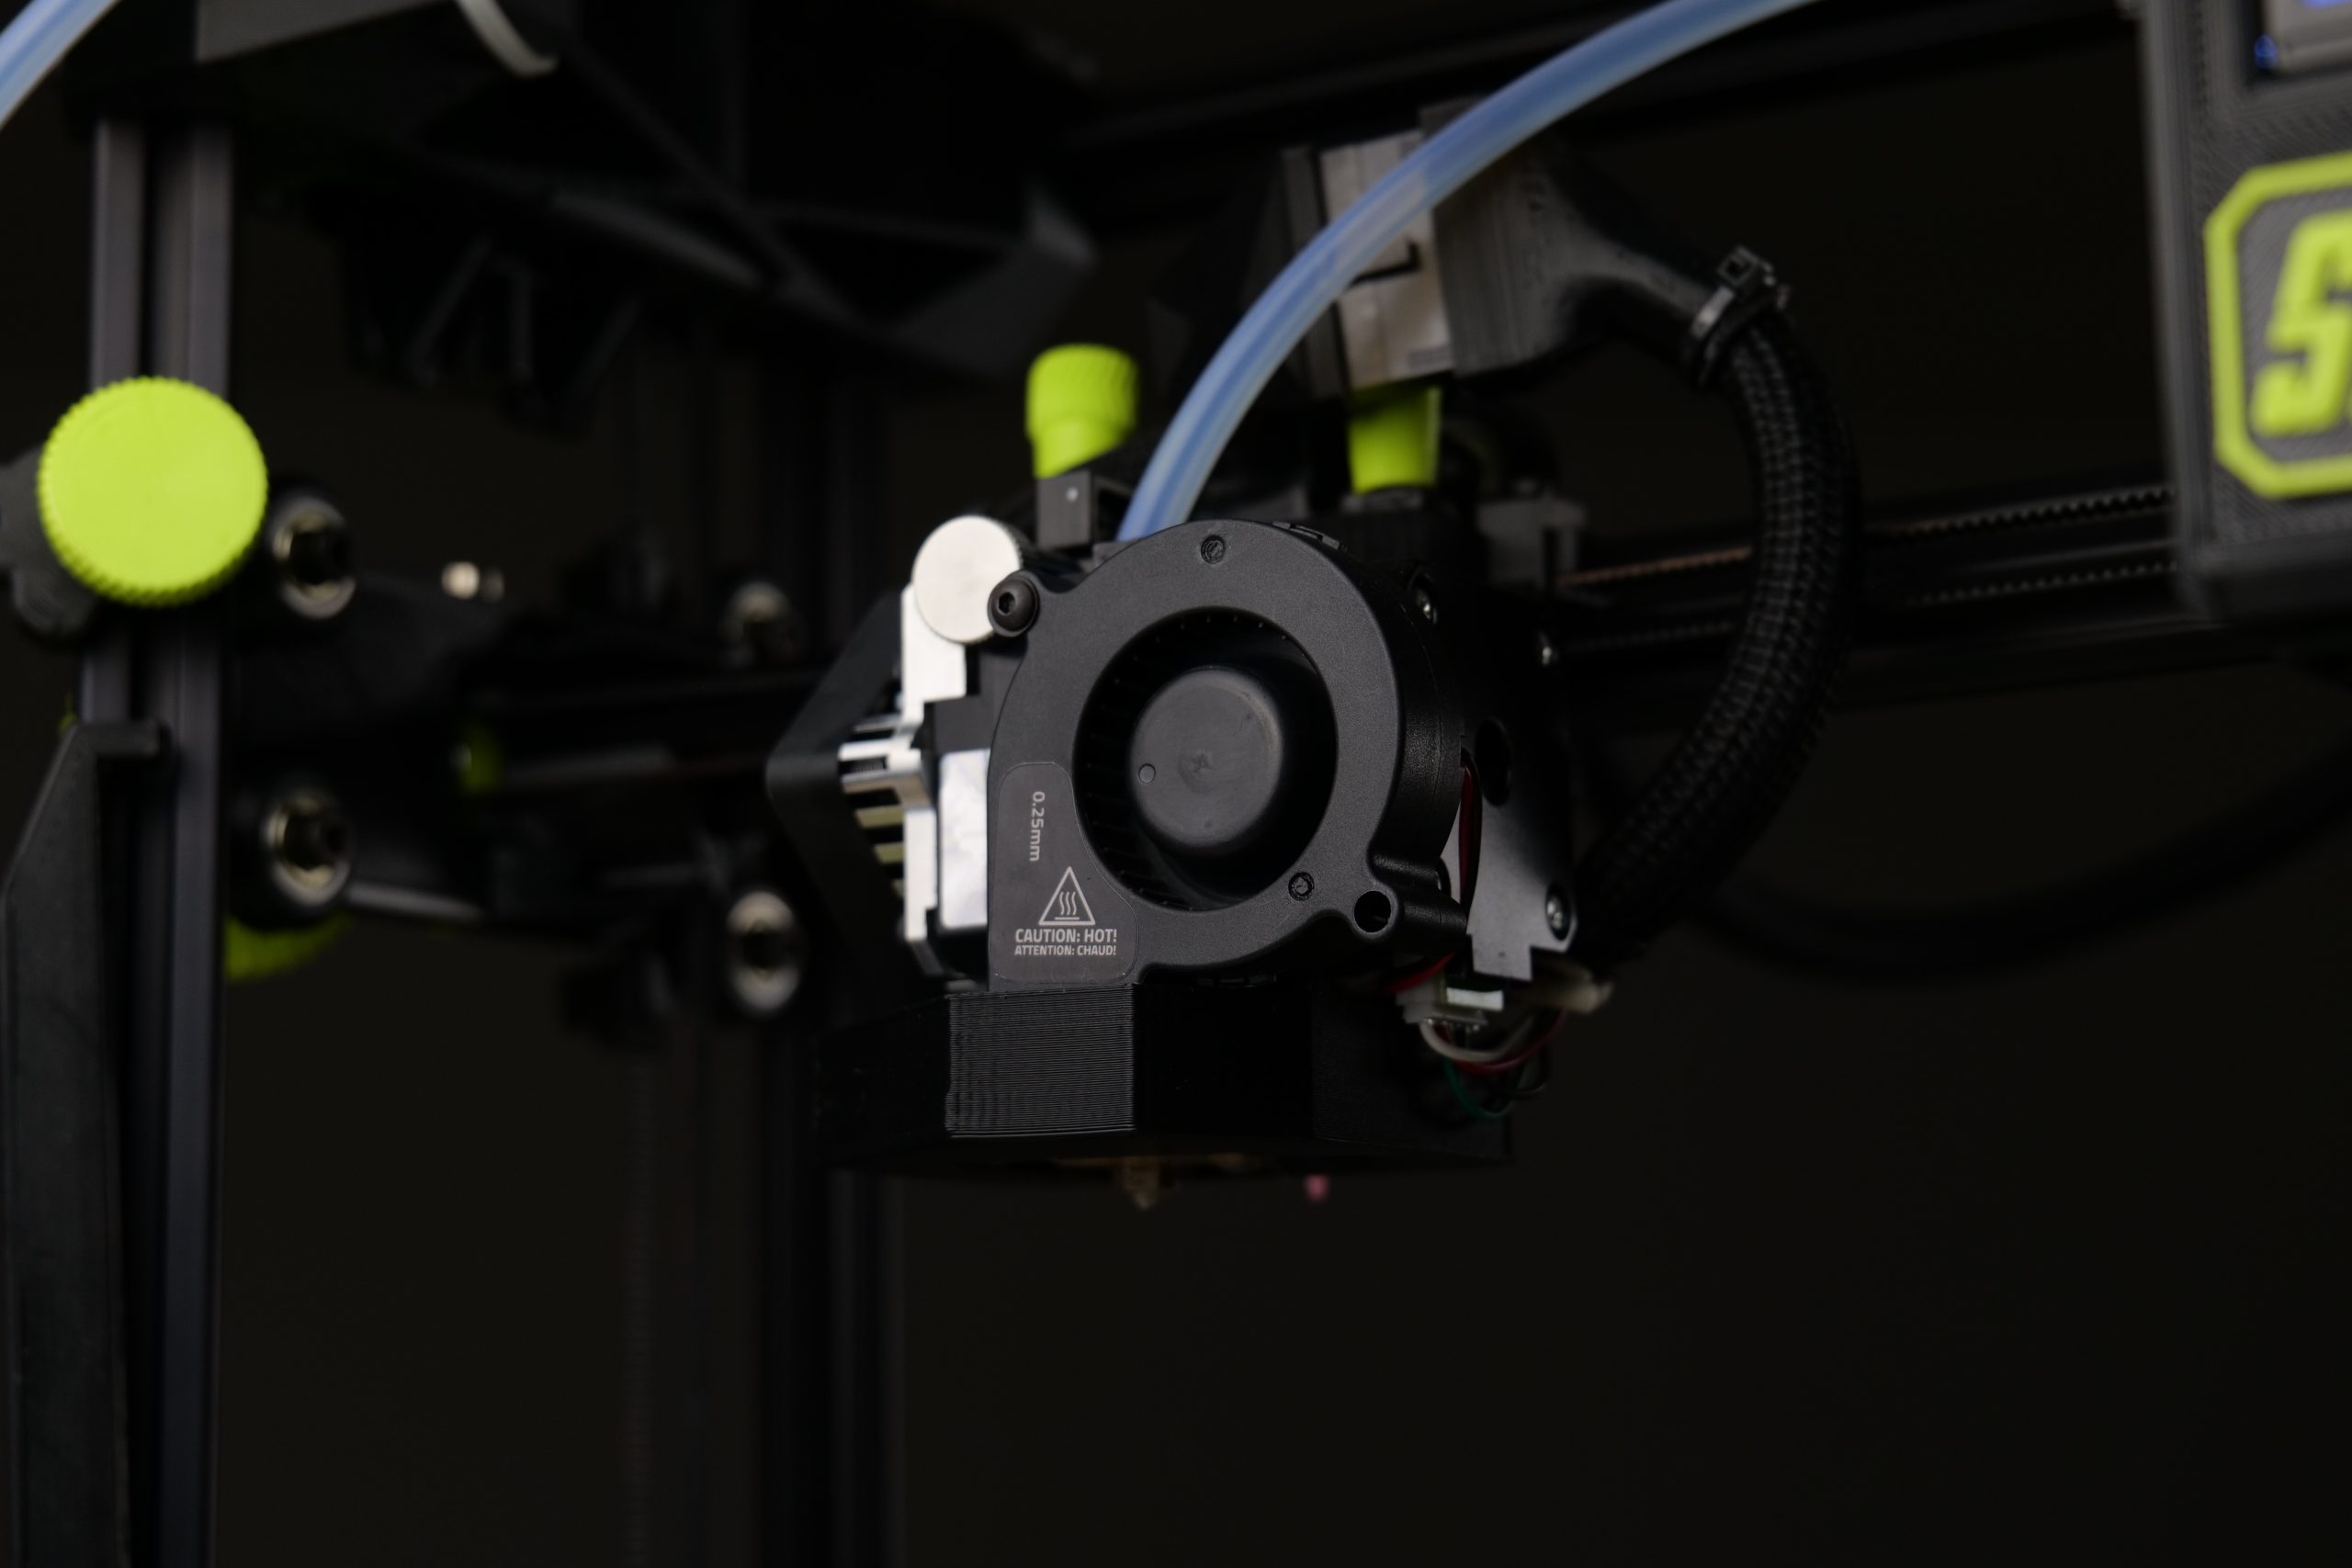
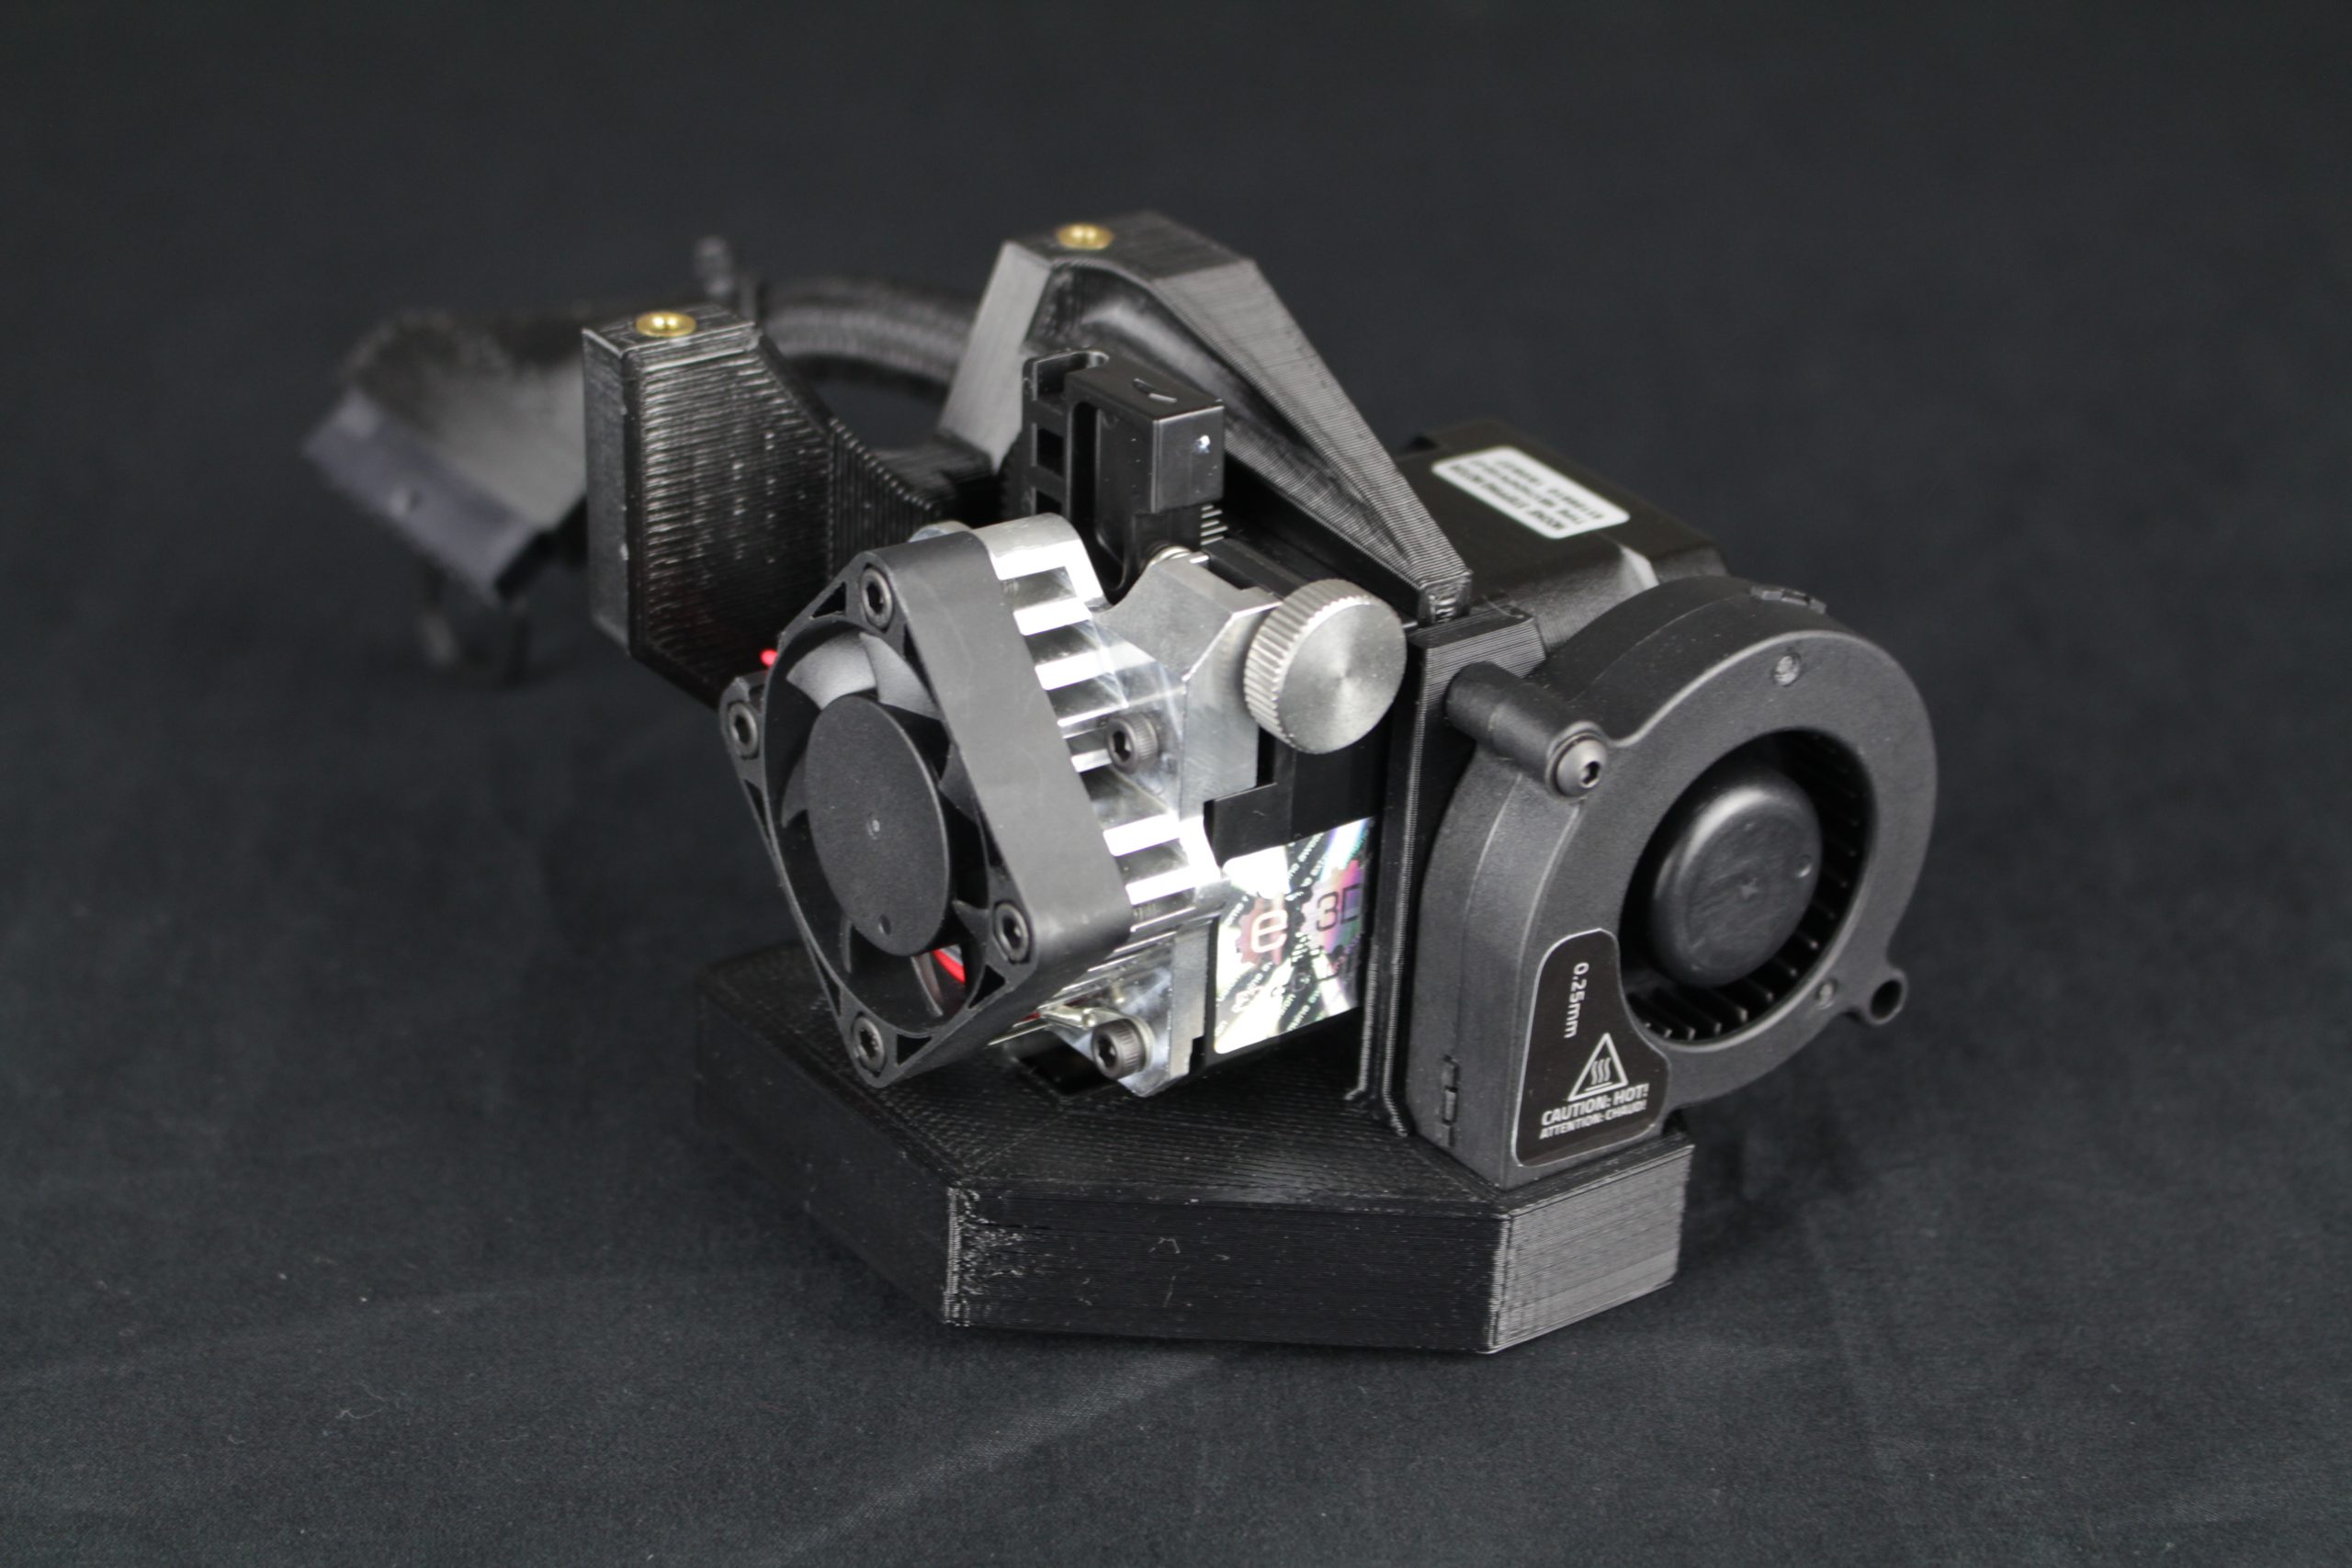
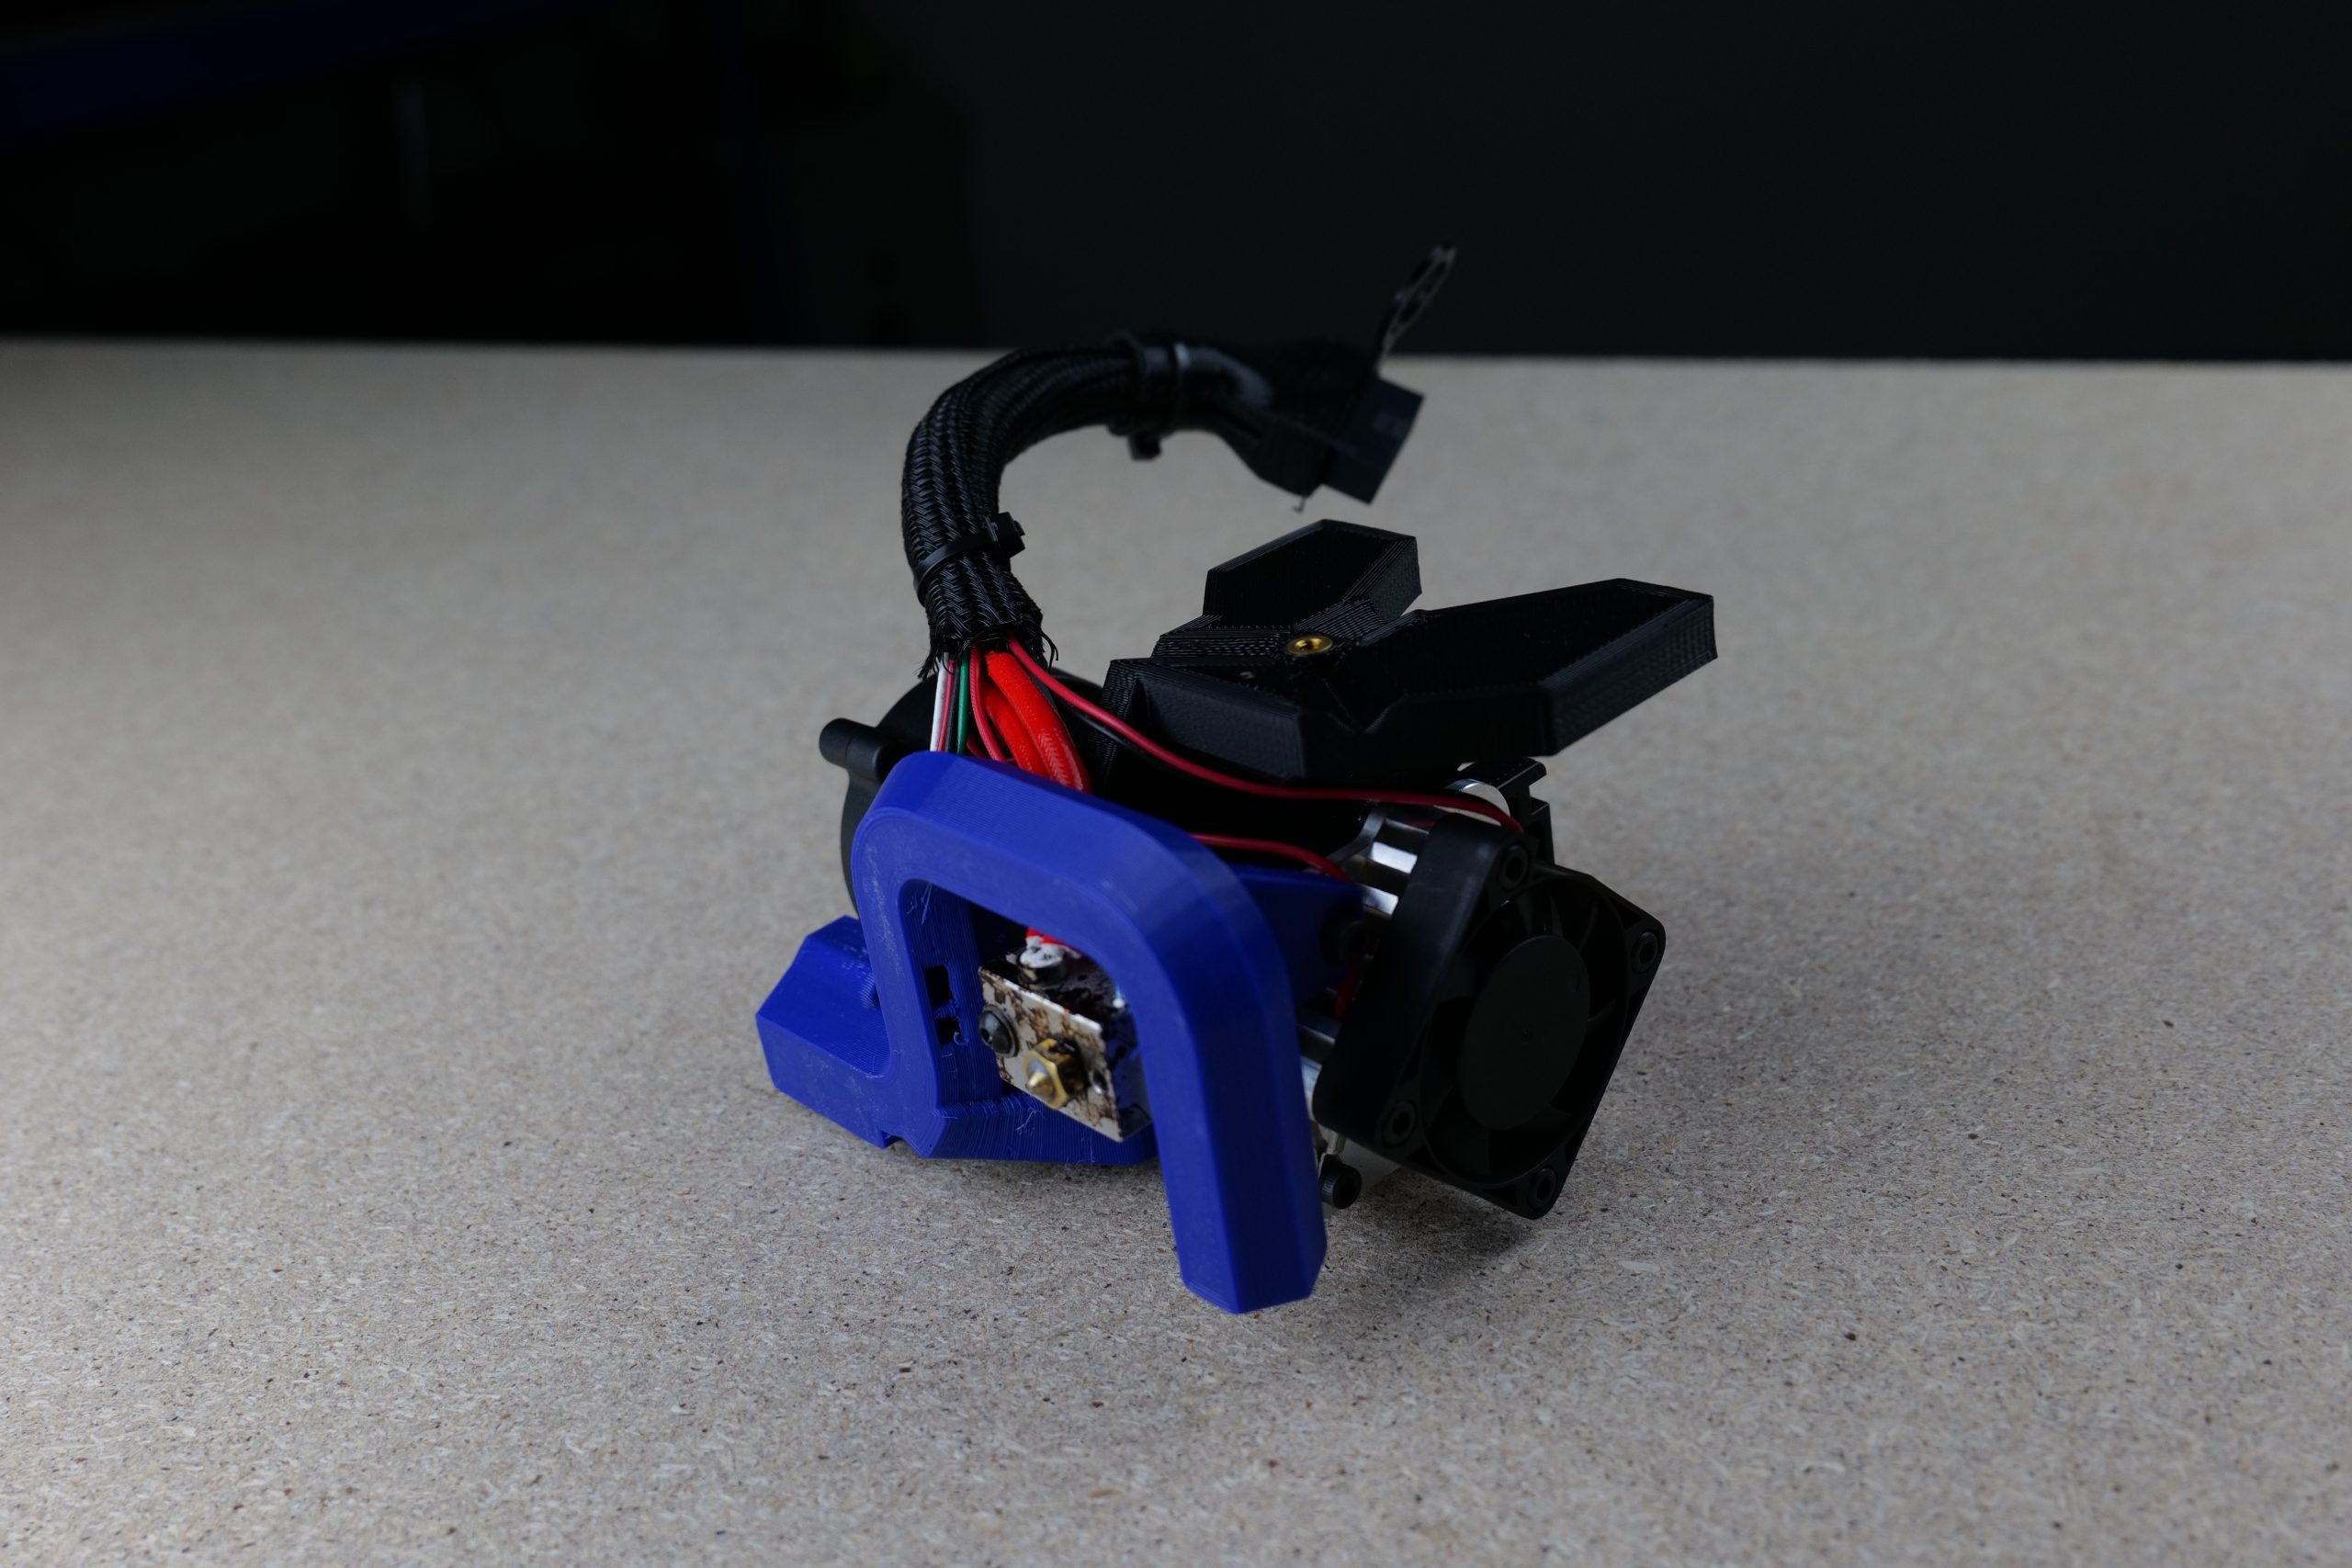
The next configurability option is in the Tool Head. The SideKick once again features LulzBot’s signature Universal Mounting System, meaning users can choose between any of the company’s nine modular Universal Mount System Tool Heads. Tool Head changes are also made easy by the proprietary thumbscrew design, meaning there’s no need for Allen keys or other hand tools. Our review system uses the E3D Titan Aero extruder adapted for 2.85mm filaments. Its external structure is largely 3D printed, reducing the weight of the printhead for more fluid movement.
The final configurability option is related to electronics. Firstly, customers can choose to add or remove the gLCD Controller mounted on the front of the printer – we recommend keeping this on as you’d need a dedicated computer to control the printer without it. There’s also the option to add a filament runout sensor, which will pause a print when it detects the end of a spool. Once a new spool is loaded, the build will resume where it left off. We also recommend adding this on as it can really save your hide on larger overnight prints.
Cura slicer – LulzBot Edition
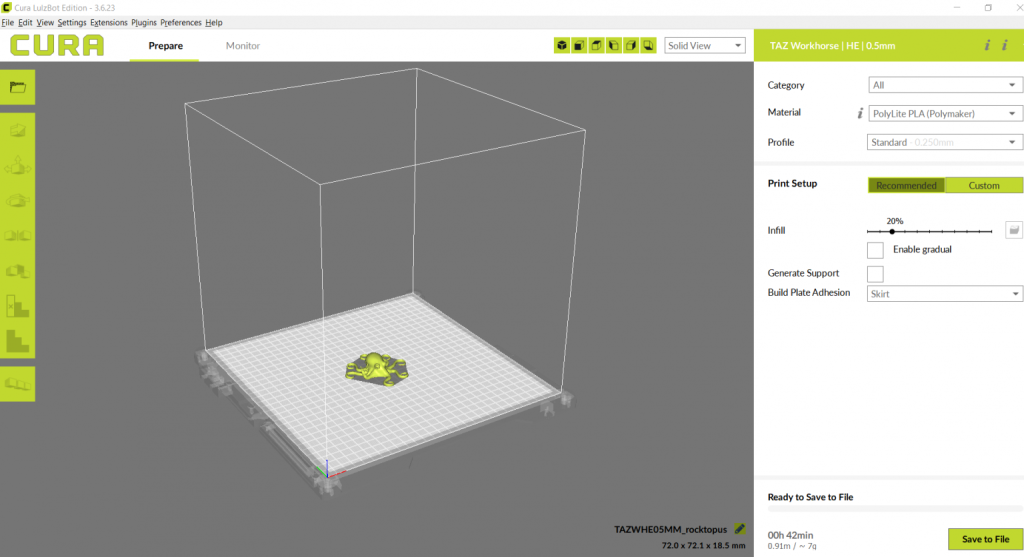
LulzBot provides its own slicing software for use with all of its 3D printers. Named Cura LulzBot Edition, the software is both free and easy-to-use, offering all of the functionality one would expect of a high-performance FDM slicer.
Much like the original Cura, the LulzBot Edition has basic translation, rotation, and resizing functions, all wrapped up in the company’s green-grey color scheme. Since the motion system is very similar to most other slicers on the market, it’s simple enough to pick up with a few minutes of experimenting with the mouse. The UI is also sleek with minimal clutter, and all of the menus are intuitive enough to traverse without a hiccup.
LulzBot prides itself on its portfolio of ‘open materials’ 3D printers, and this can be seen spilling over into the firm’s slicer. The software comes complete with several ready-to-use print profiles for all of the most common 3D printing filaments. Of course, Cura LulzBot Edition also provides an extensive list of customizable parameters for those that would rather fine-tune their builds to their liking. This includes temperatures, print speeds, infills, layers, and even tree-like supports.
Ultimately, the slicer is about what you’d expect from a Cura clone – it works and it works well.
Benchmarking the LulzBot TAZ SideKick: 55/100
Now comes time to benchmark the TAZ SideKick 289. This portion of the review is where we evaluate the printing performance of the system, starting off with 3D Printing Industry’s own benchmarking model, which consolidates many of our smaller print tests into one comprehensive part. We usually print this test in PLA to compare results between printers, but we also often try a PETG or ABS variant to see how the machine handles higher temperature filaments.
This time around, we printed two PETG benchmarking models: one with the default 0.5mm nozzle and one more with a higher precision 0.25mm nozzle (LulzBot SL Tool Head). We assign each of the individual sections a weighted score based on factors such as dimensional precision, surface quality, and structural integrity. The SideKick earned an overall 3D Printing Industry score of 55/100 (a respectable score for a professional-grade 3D printer).
We start off with the overhang portion of the benchmarking models, which is designed to showcase the angles at which the system can print without support structures. The LulzBot managed to print overhangs up to 60° in both cases, which is a great result for a high-temperature filament like PETG (especially considering the open-frame nature of the machine). We’ve found most printers in this price range to average around the 55° mark.
Moving on, we have the bridging test, which determines how well a system can print horizontally into the void. Again, both print runs achieved identical results and managed to reach the 25mm bridge length before the structures started curving and morphing. This is an average result for a professional-grade 3D printer.
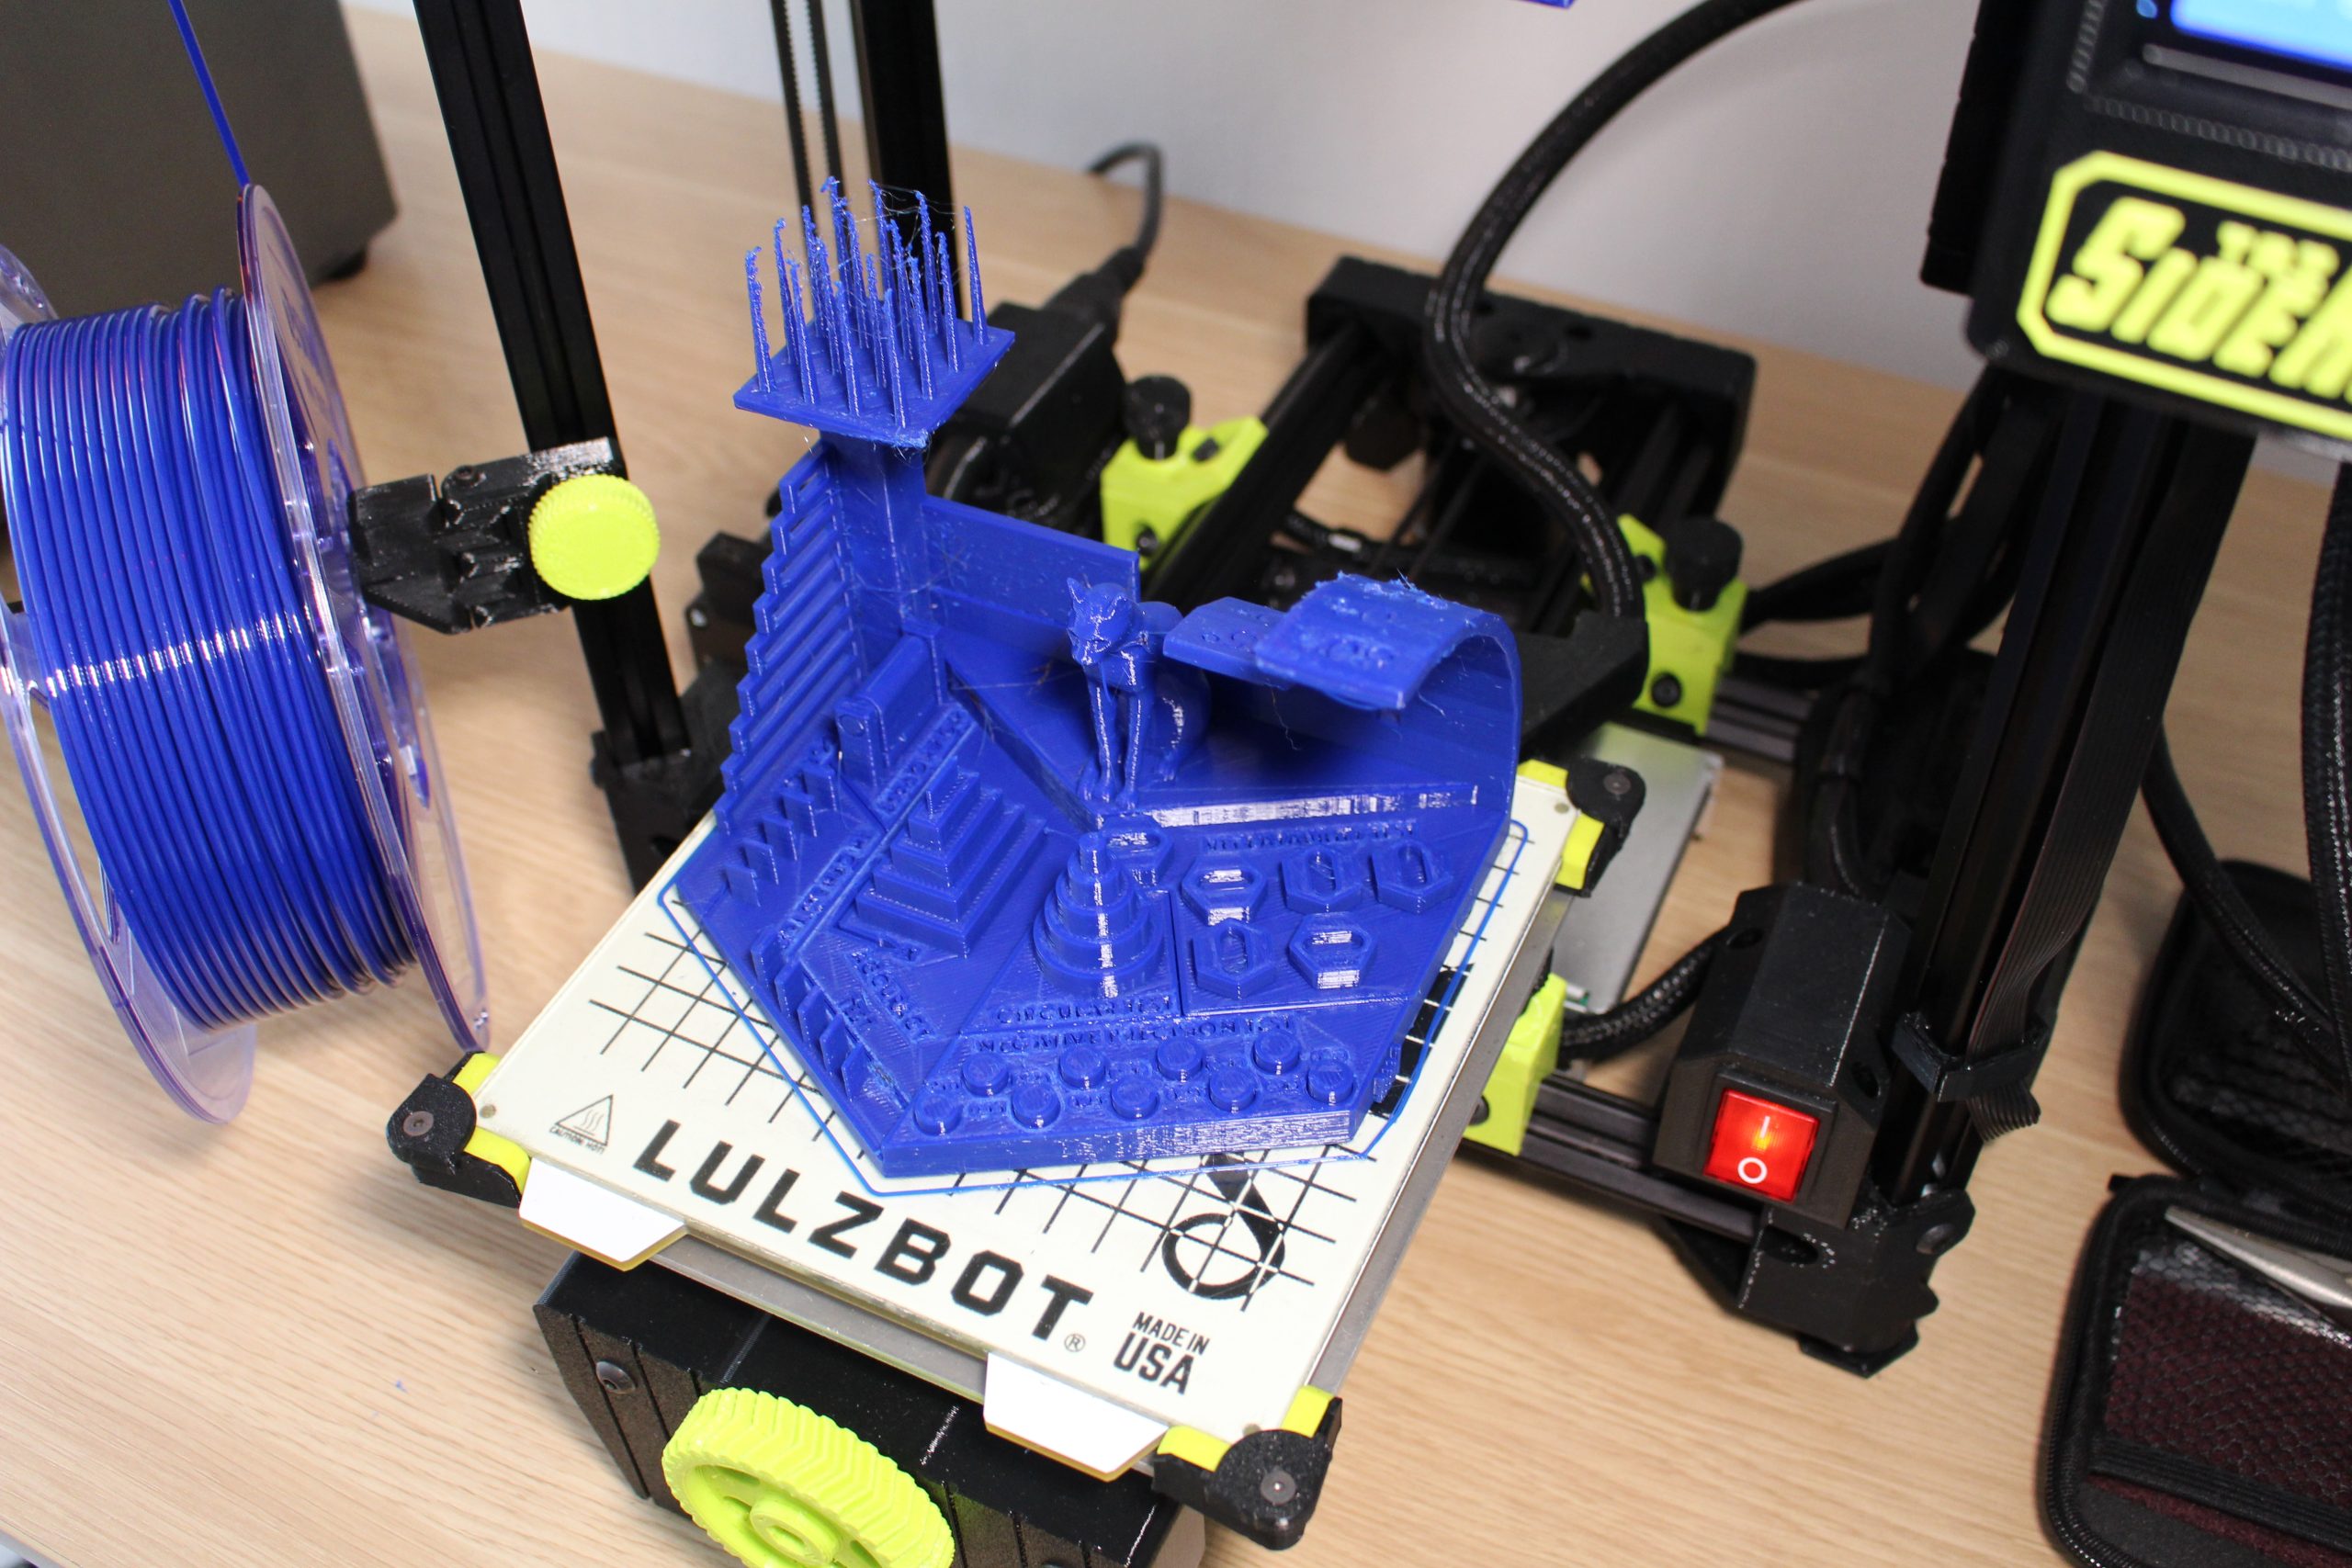
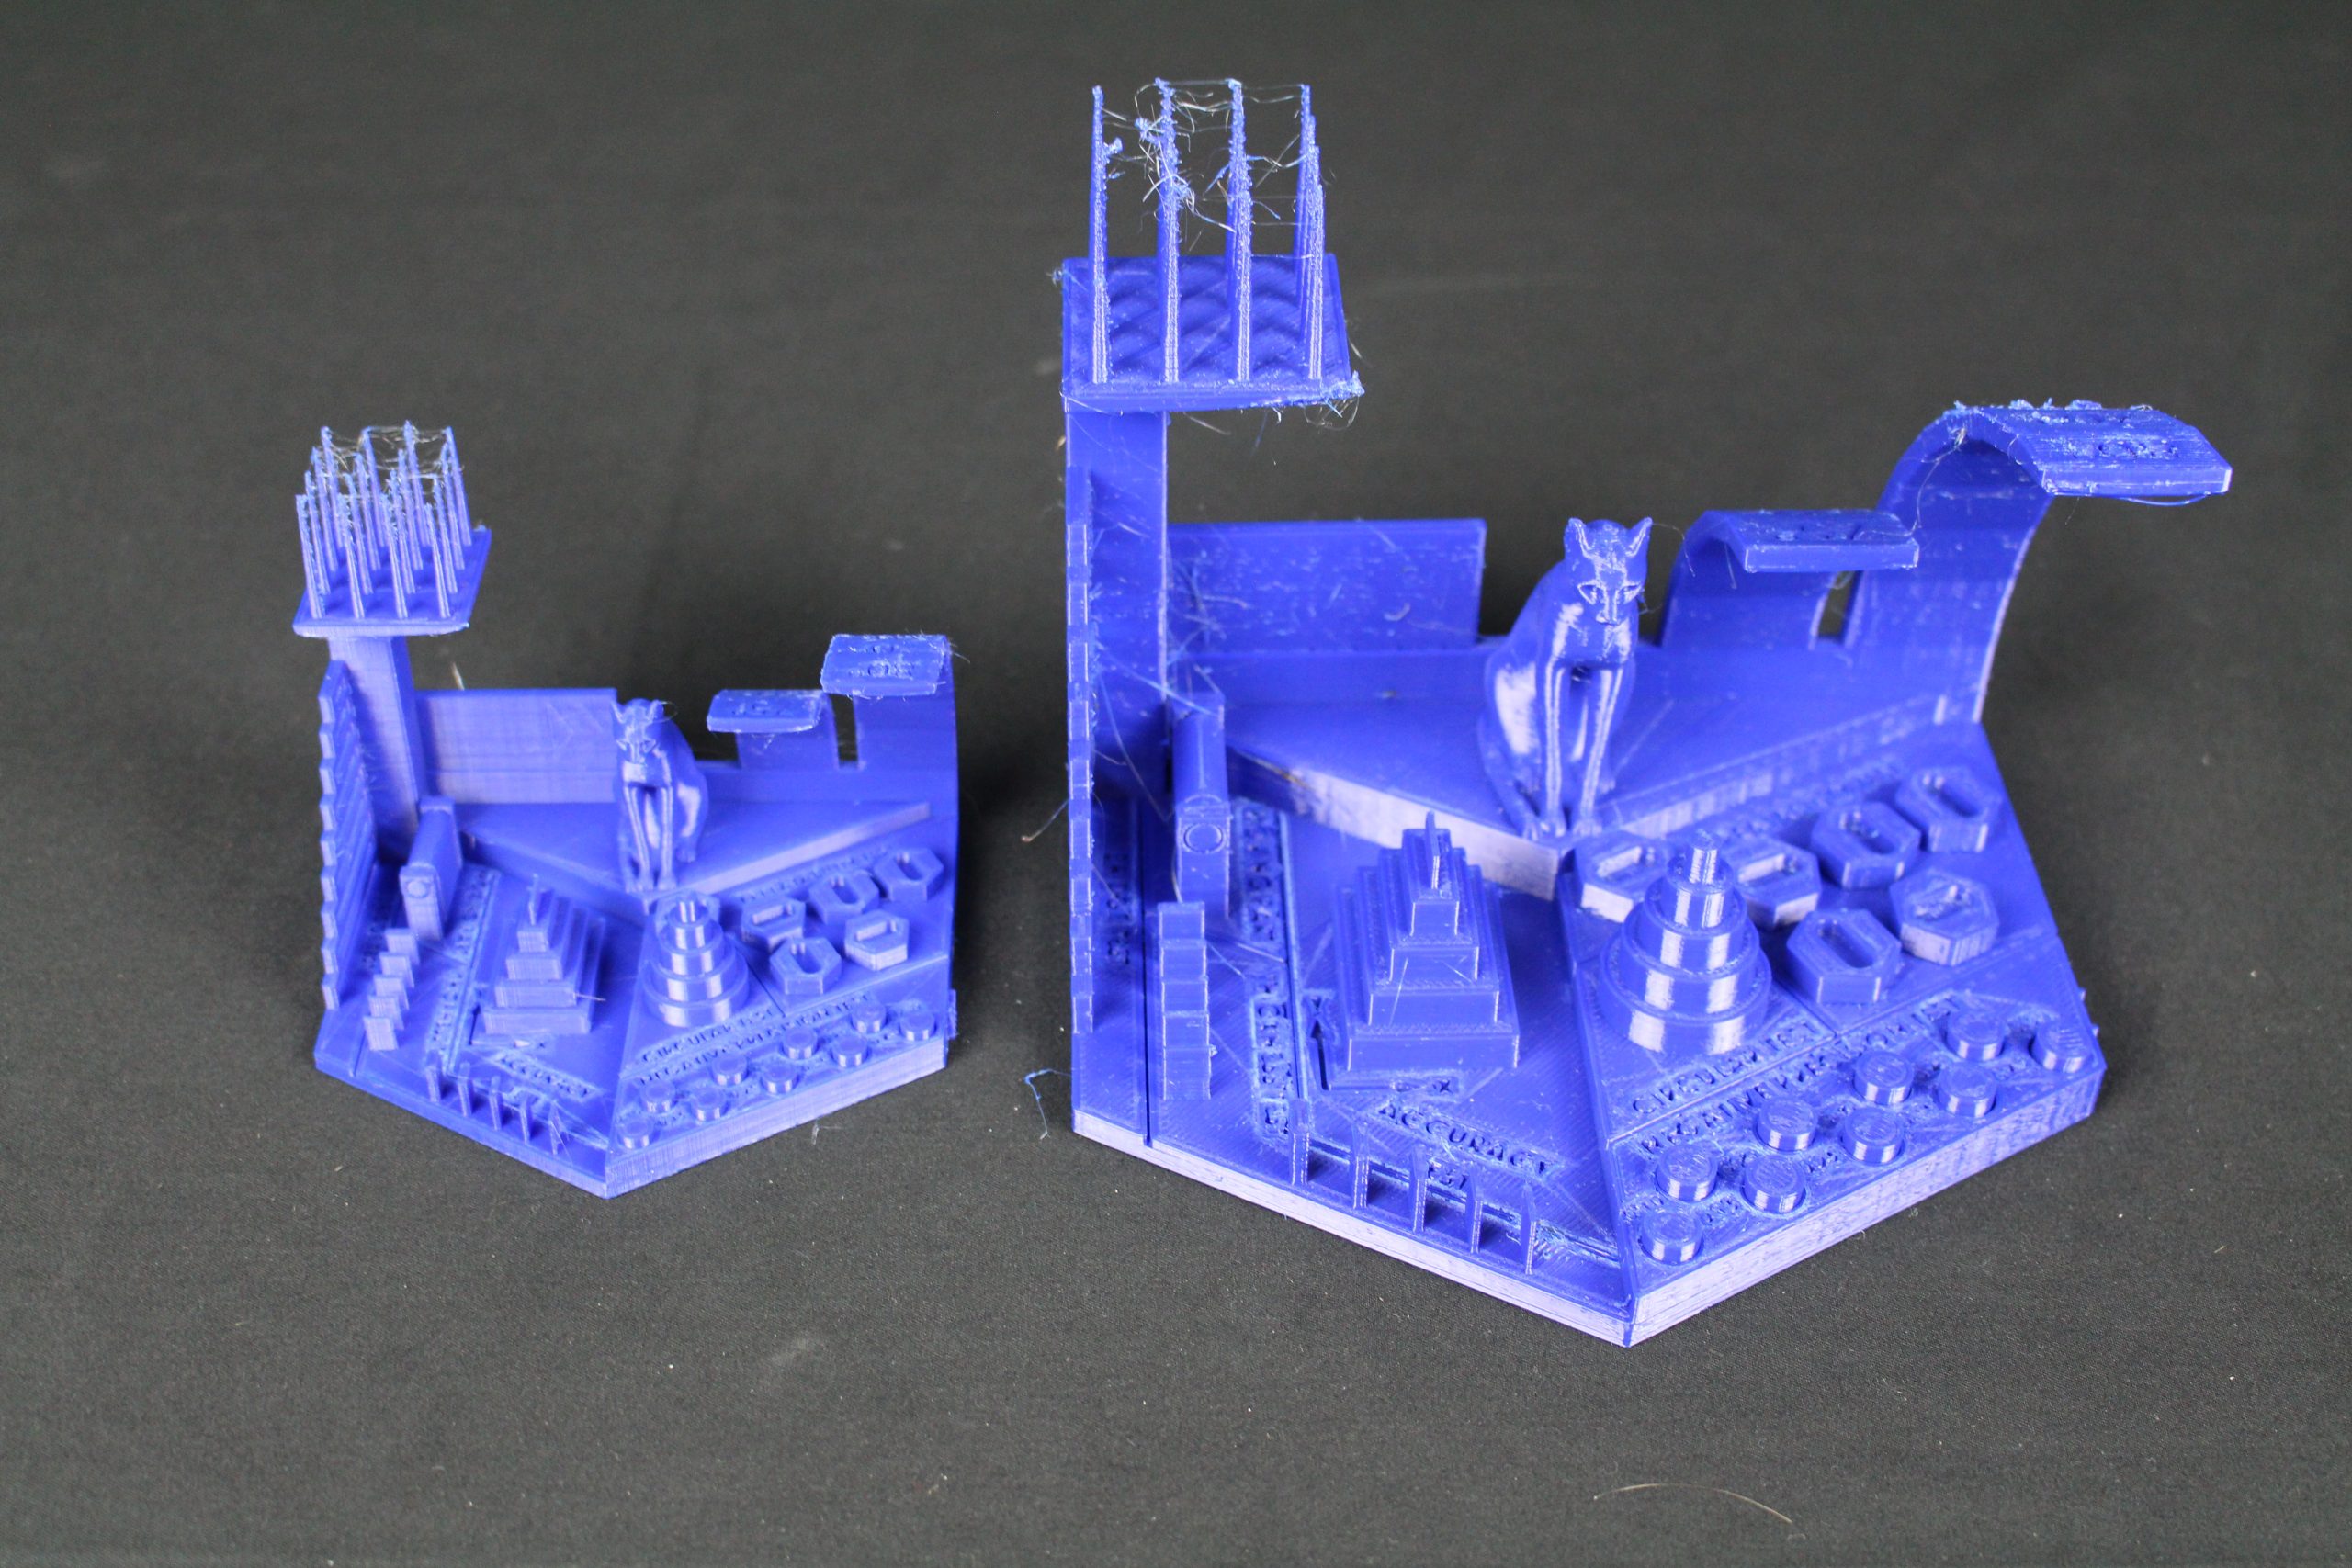
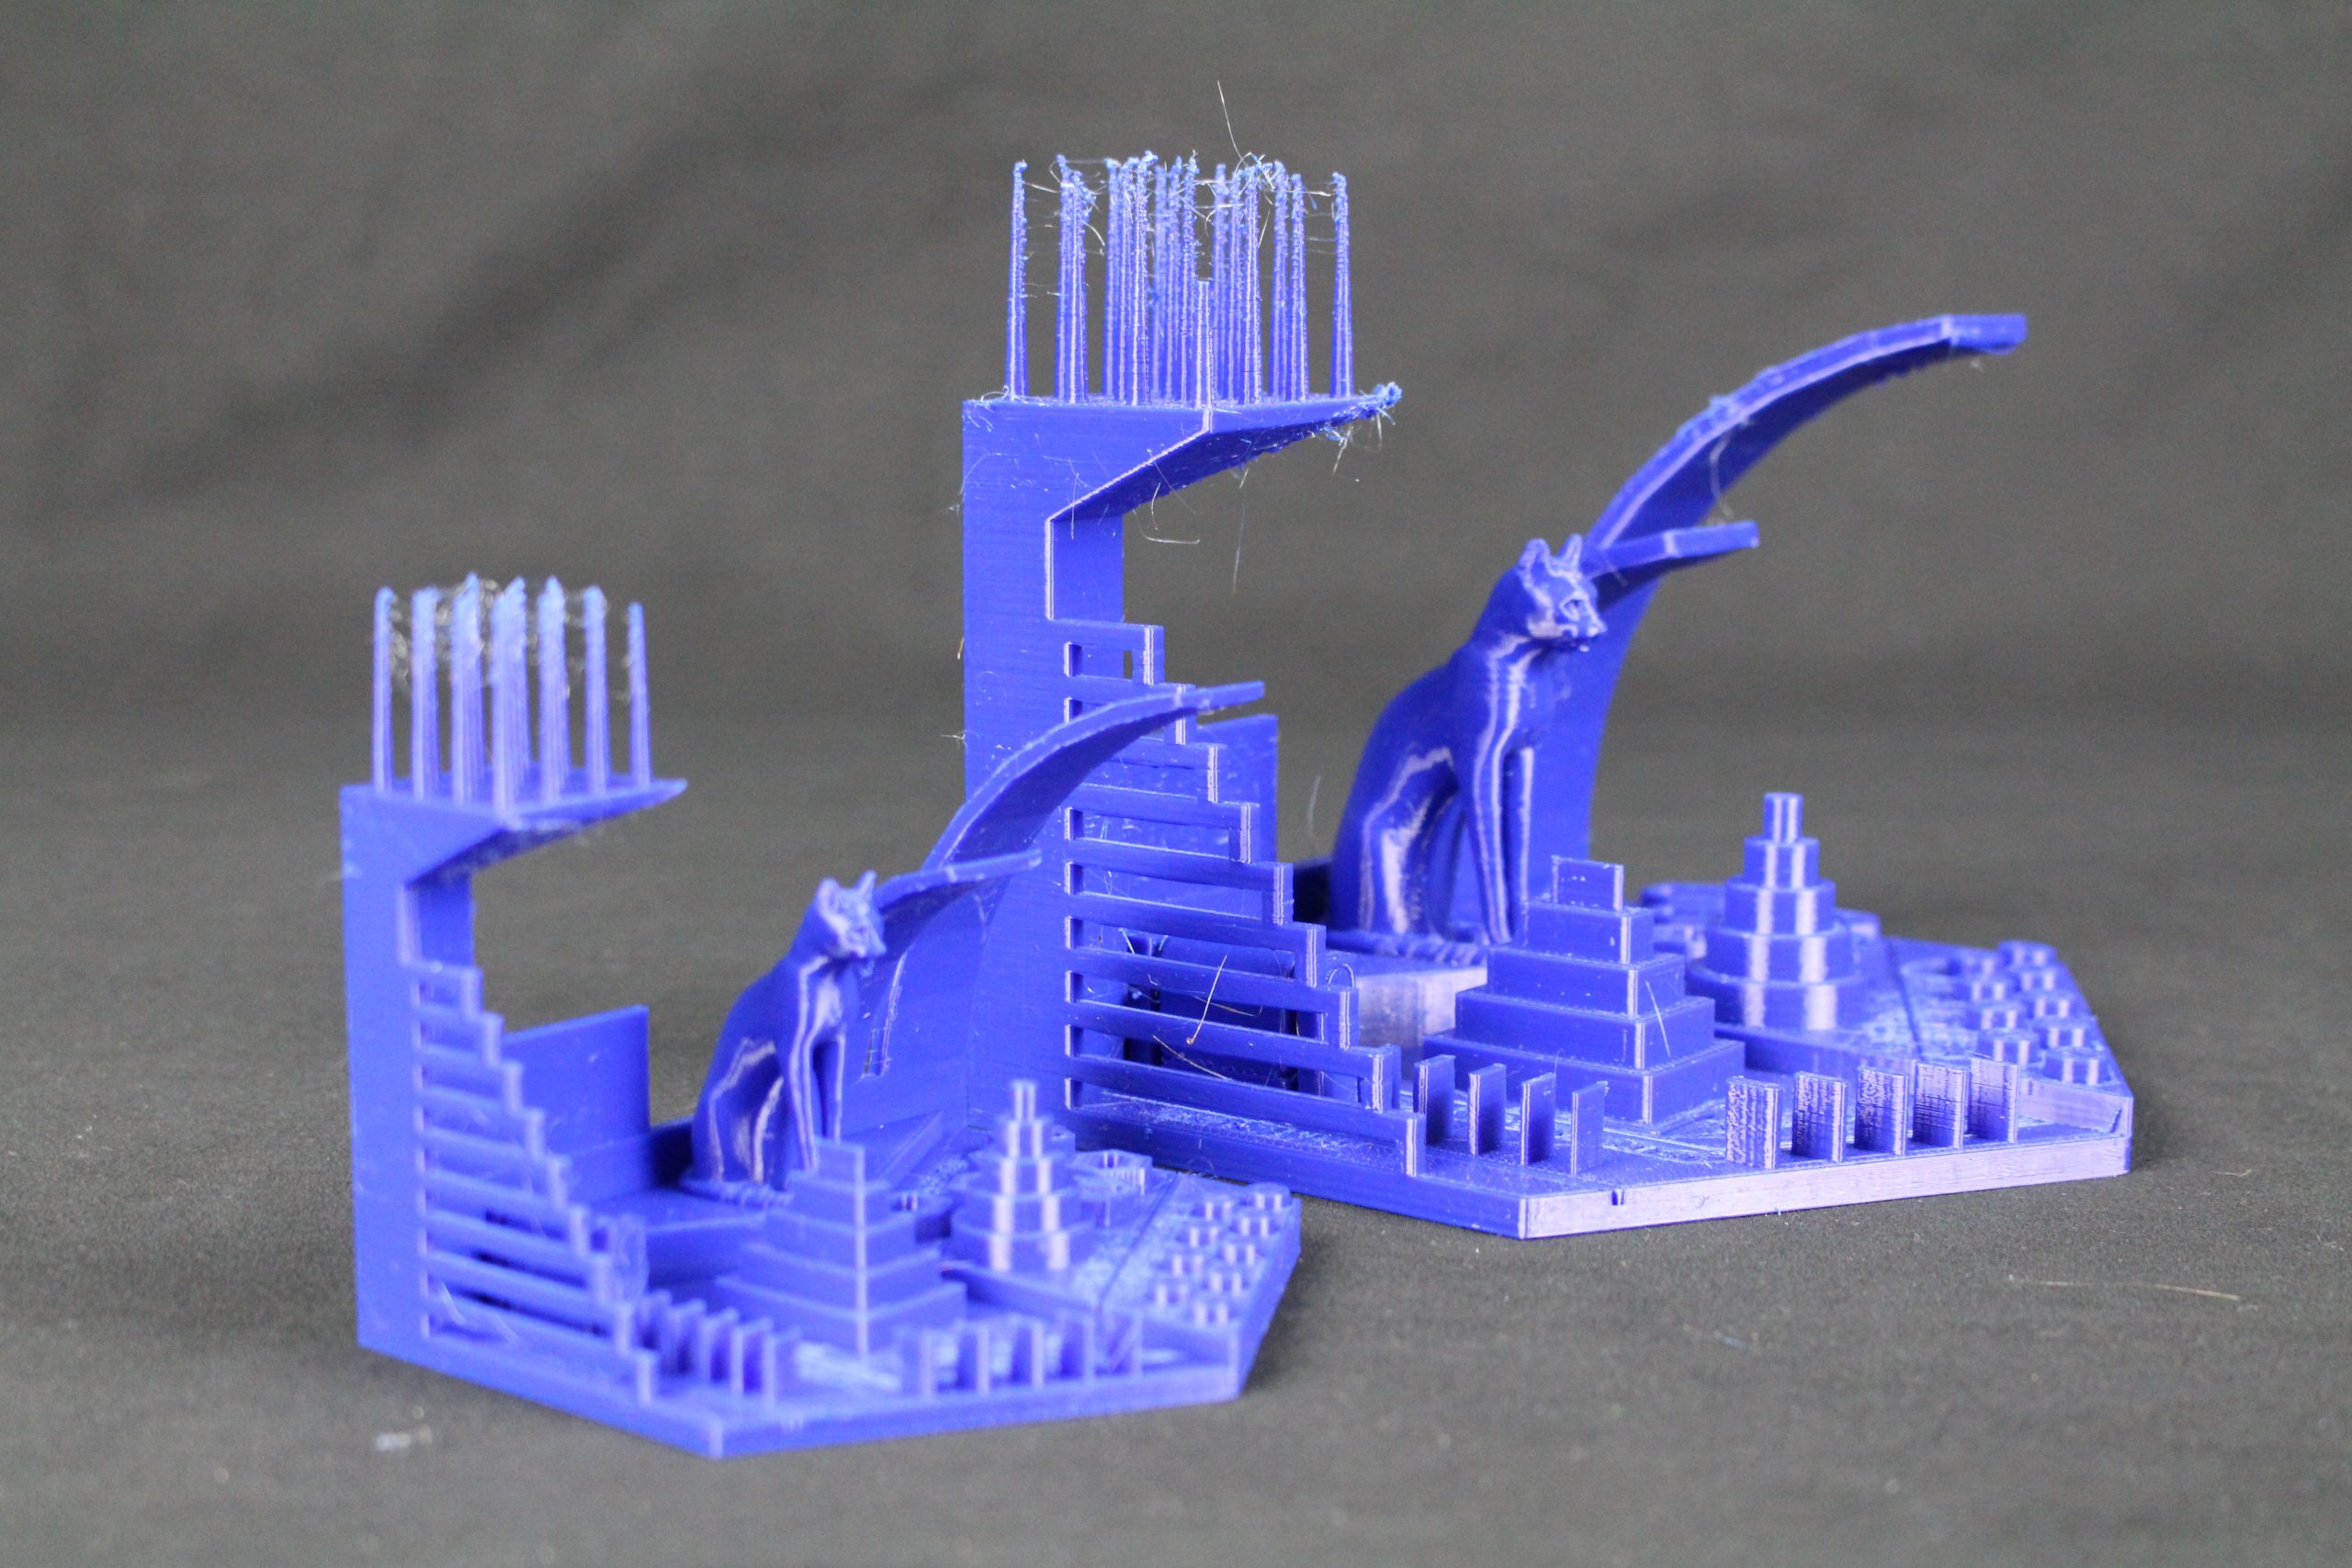
Unfortunately, the retraction test is really where the SideKick stumbled, which is surprising given the fact that it’s fitted with an E3D extruder. Both benchmarking models delivered artifacts on the spikes with an abundance of stringing, which we attributed to a poor filament cooling system. The artifacts are due to the fact that the filament does not have enough time to cool down before the nozzle moves onto the next spike, leaving a molten trail. While the result does look messy, it can be fixed by slowing the print speed down somewhat.
We also wanted to see how the SideKick’s 0.25mm nozzle would handle small-scale artistic parts, so we 3D printed a couple of tabletop models from the Warhammer series: Marauder Ugo and a WHM-IIC battlemech.
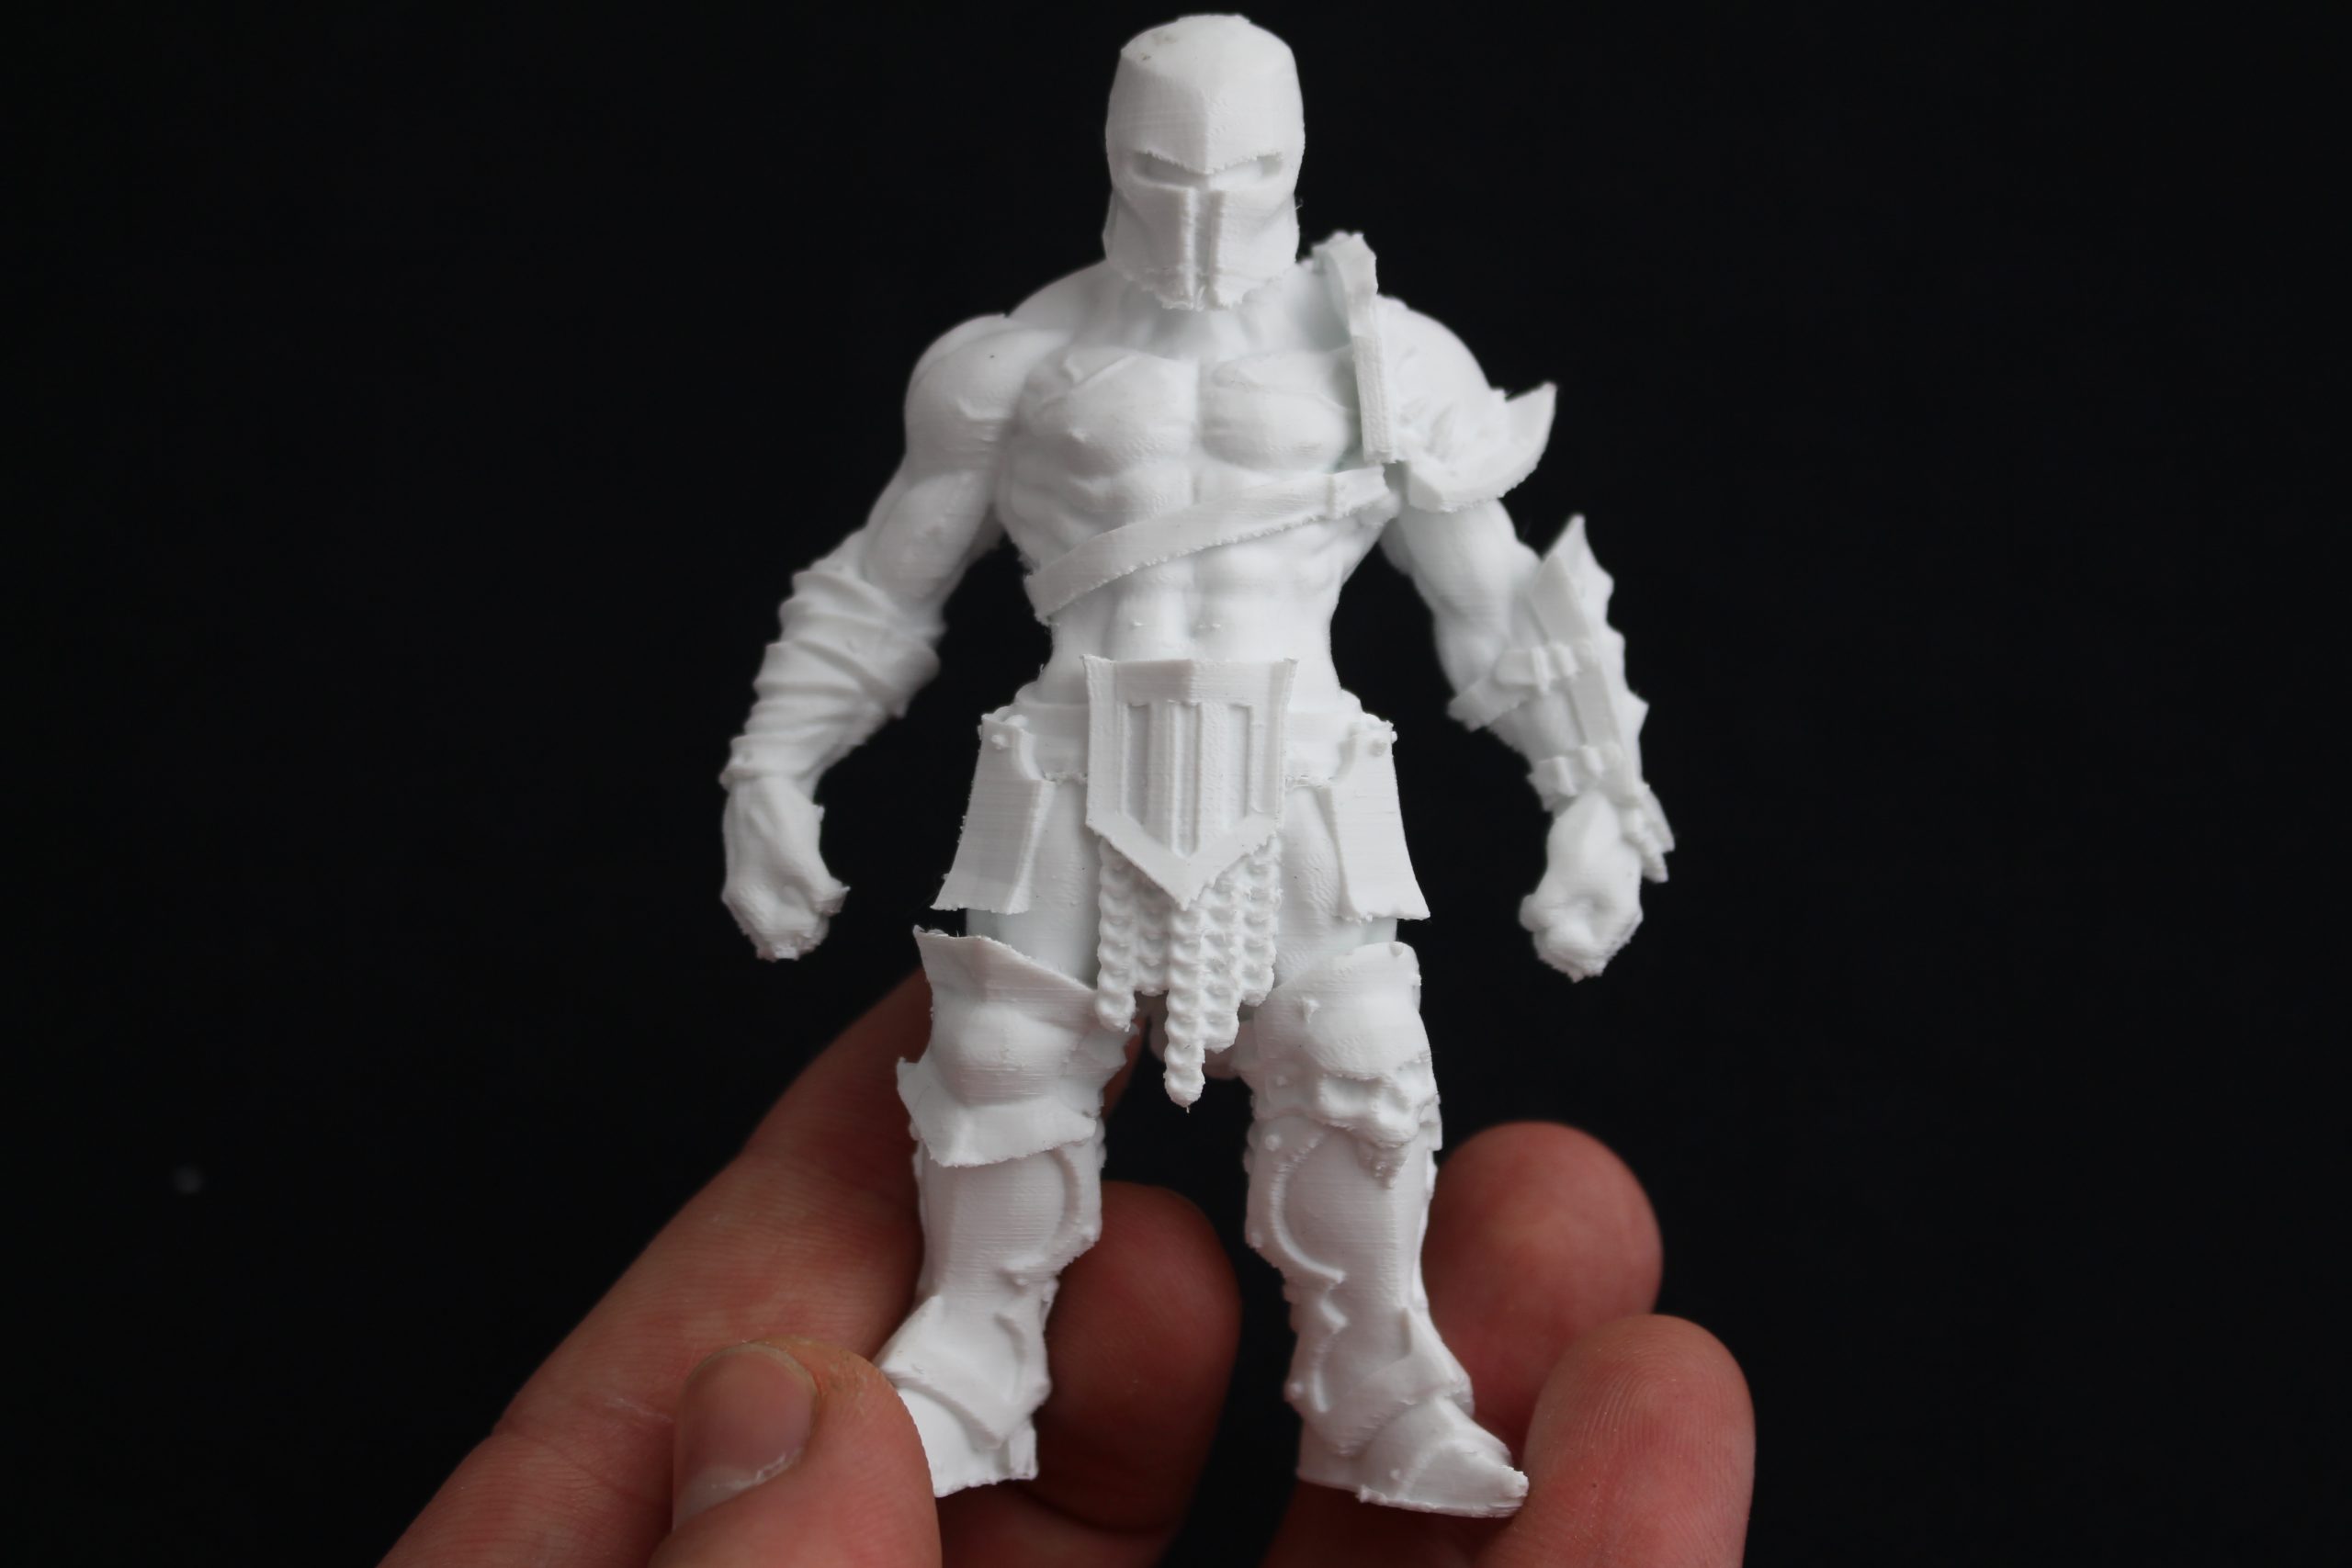
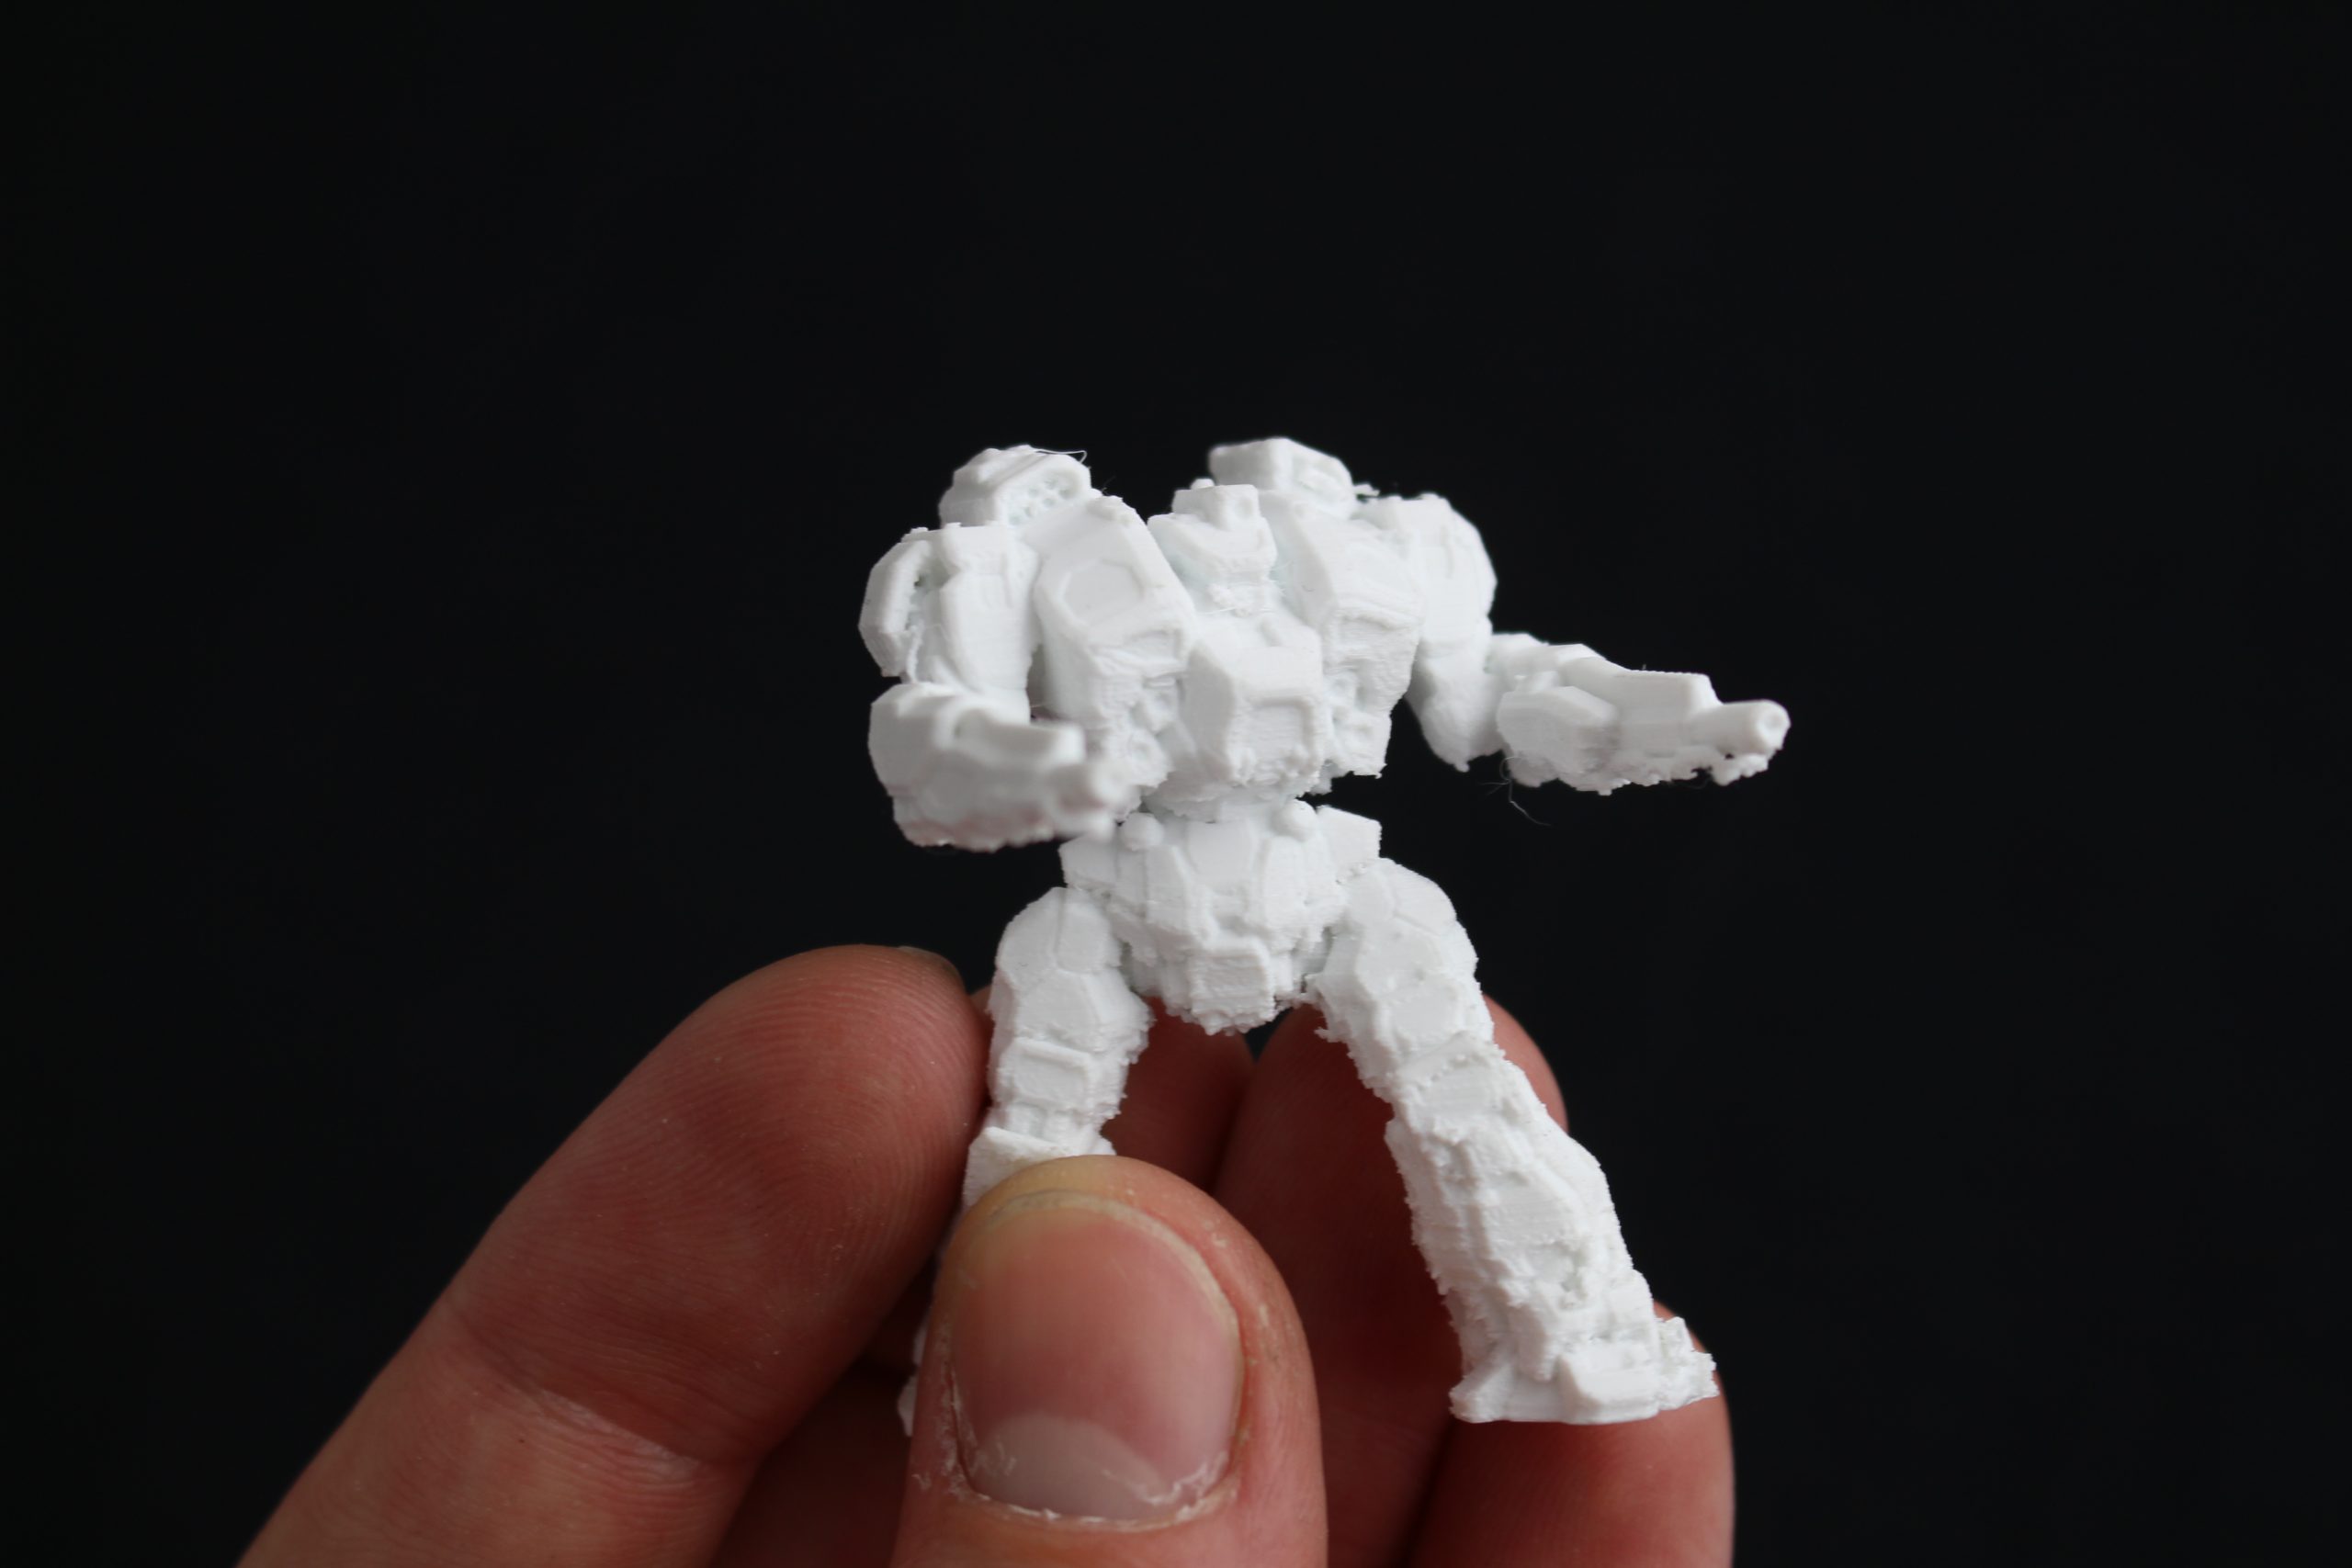
With the 0.25mm nozzle, we managed to get the layer height down to just 0.05mm, resulting in two extremely clean prints. The Ugo model, in particular, featured very smooth surfaces with virtually invisible layer lines. Looking closely, we can see tiny surface details like the vasculature on the chest and the patterning on the armor. On the other hand, the battlemech had a few rough surfaces but it was the smaller of the two, and certainly a difficult part to print using FDM technology. Overall, the SideKick produced some very impressive results here, almost matching the surface quality of a resin-based system.
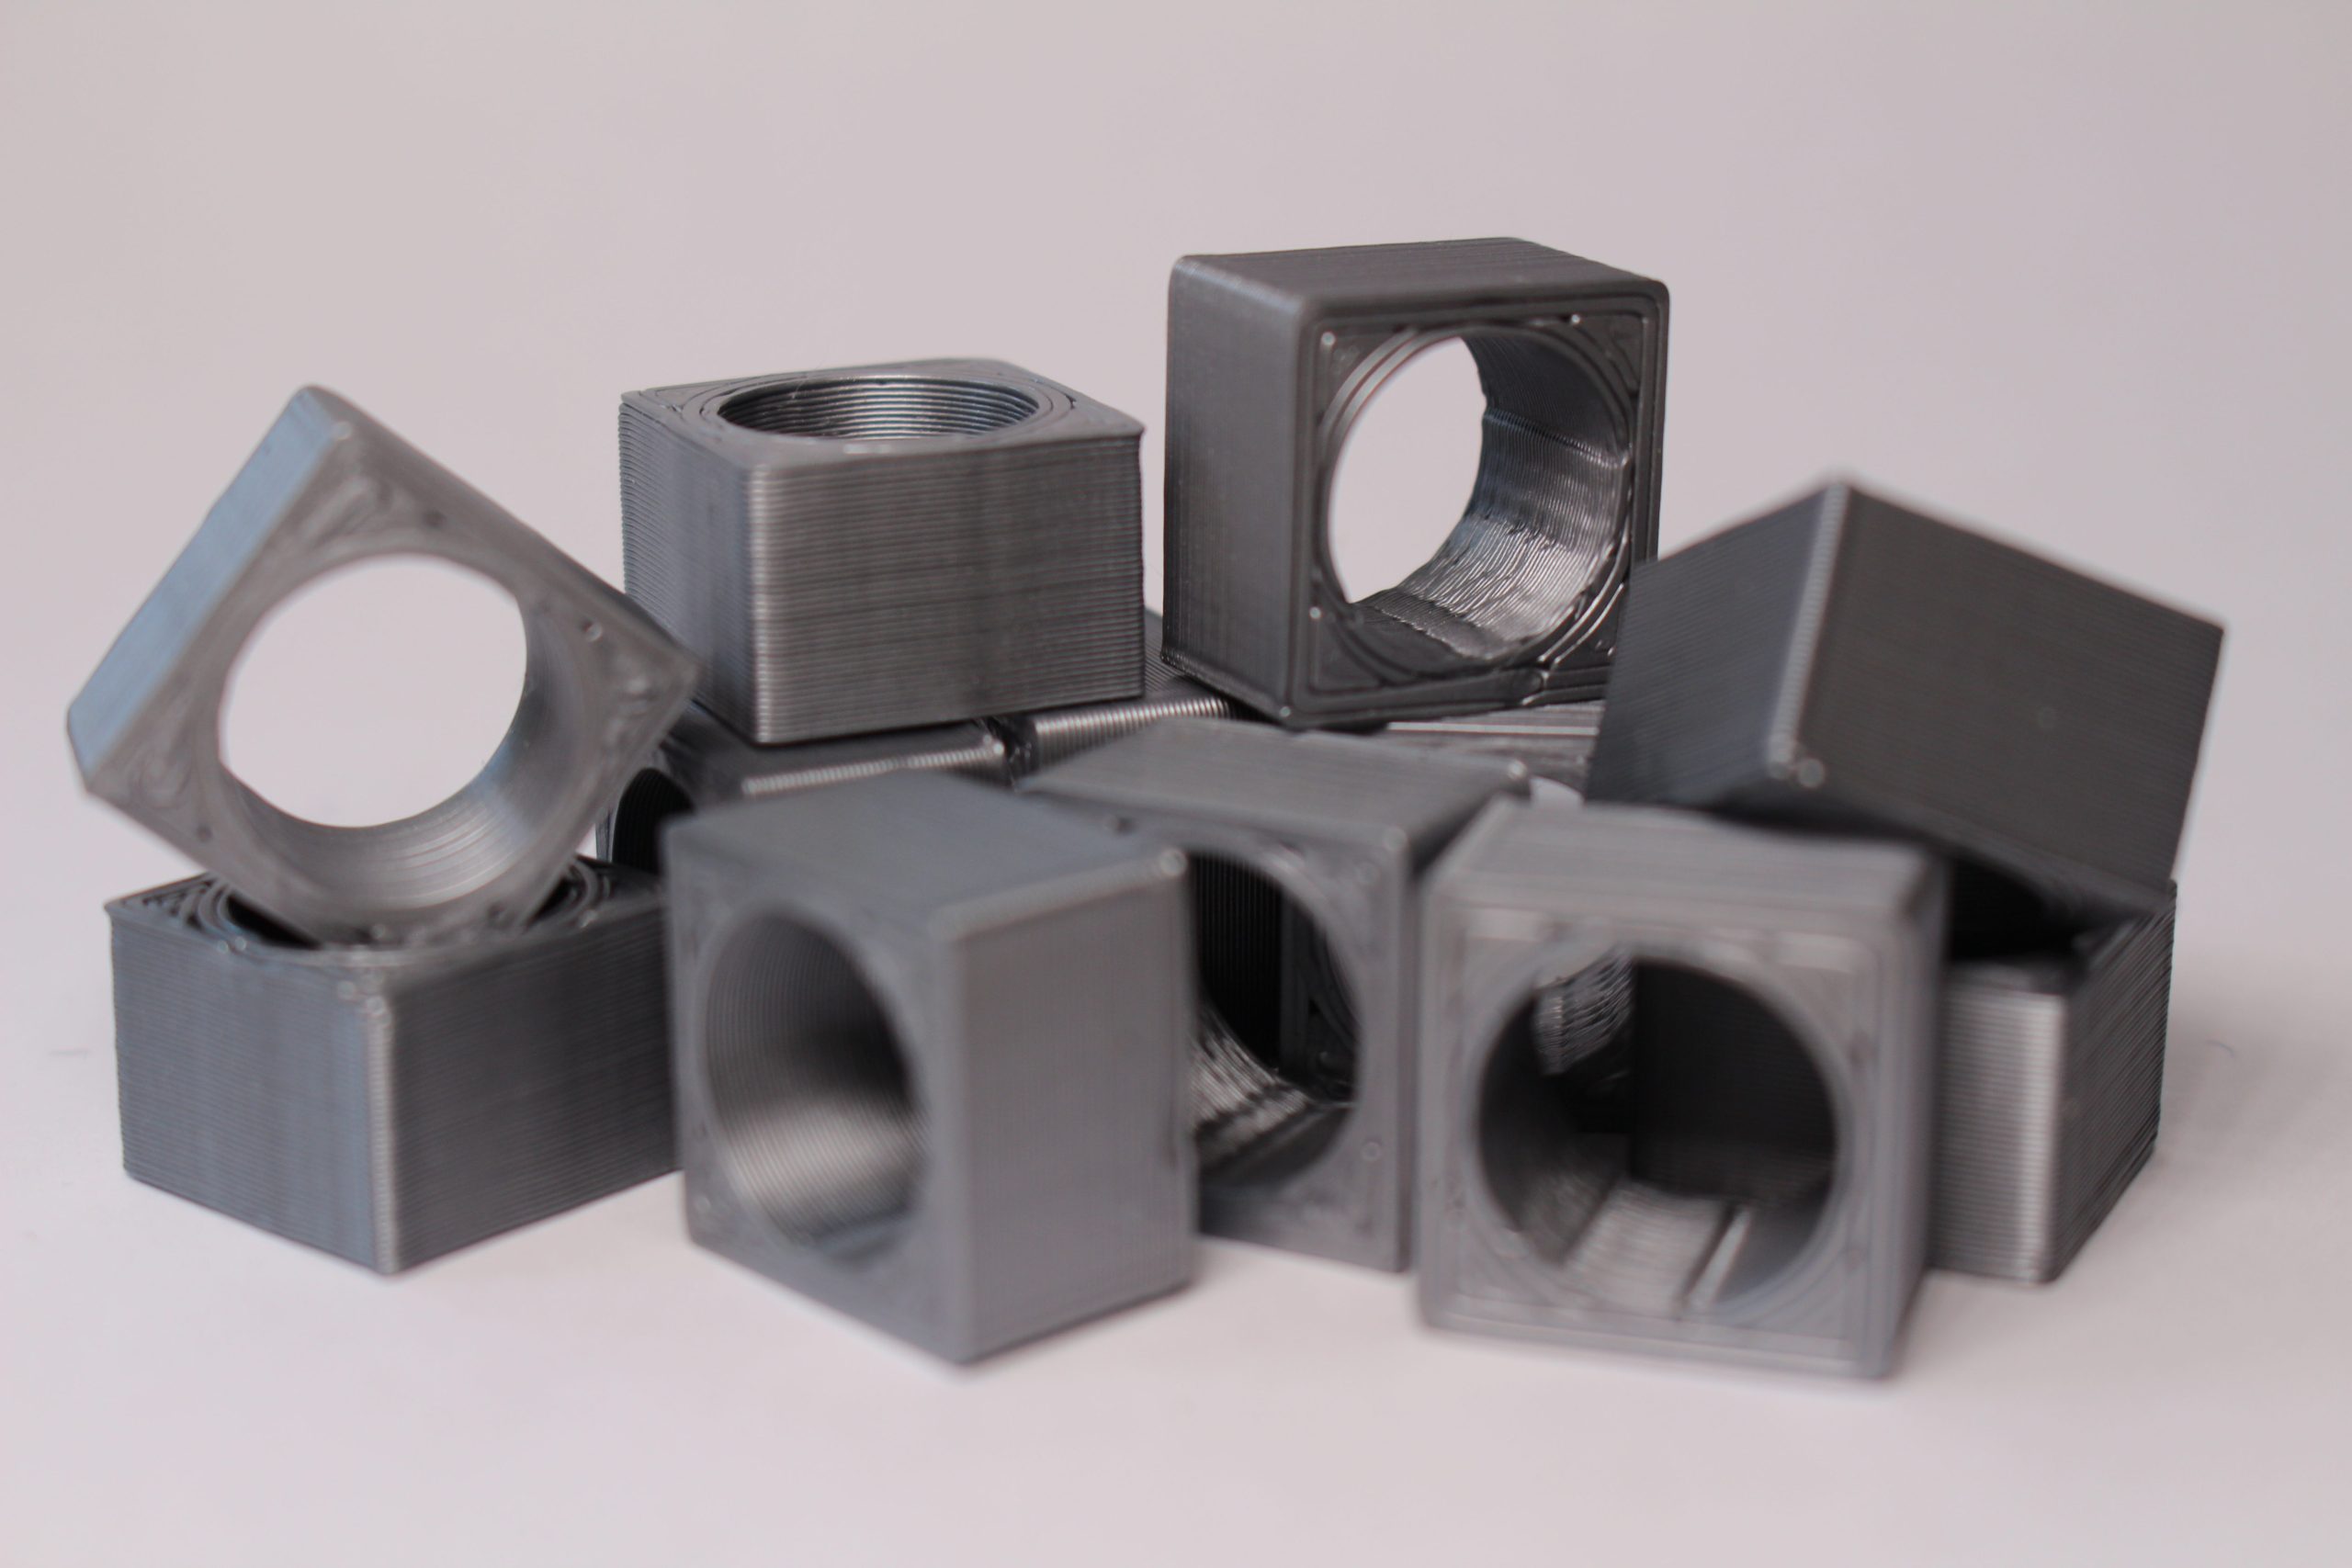
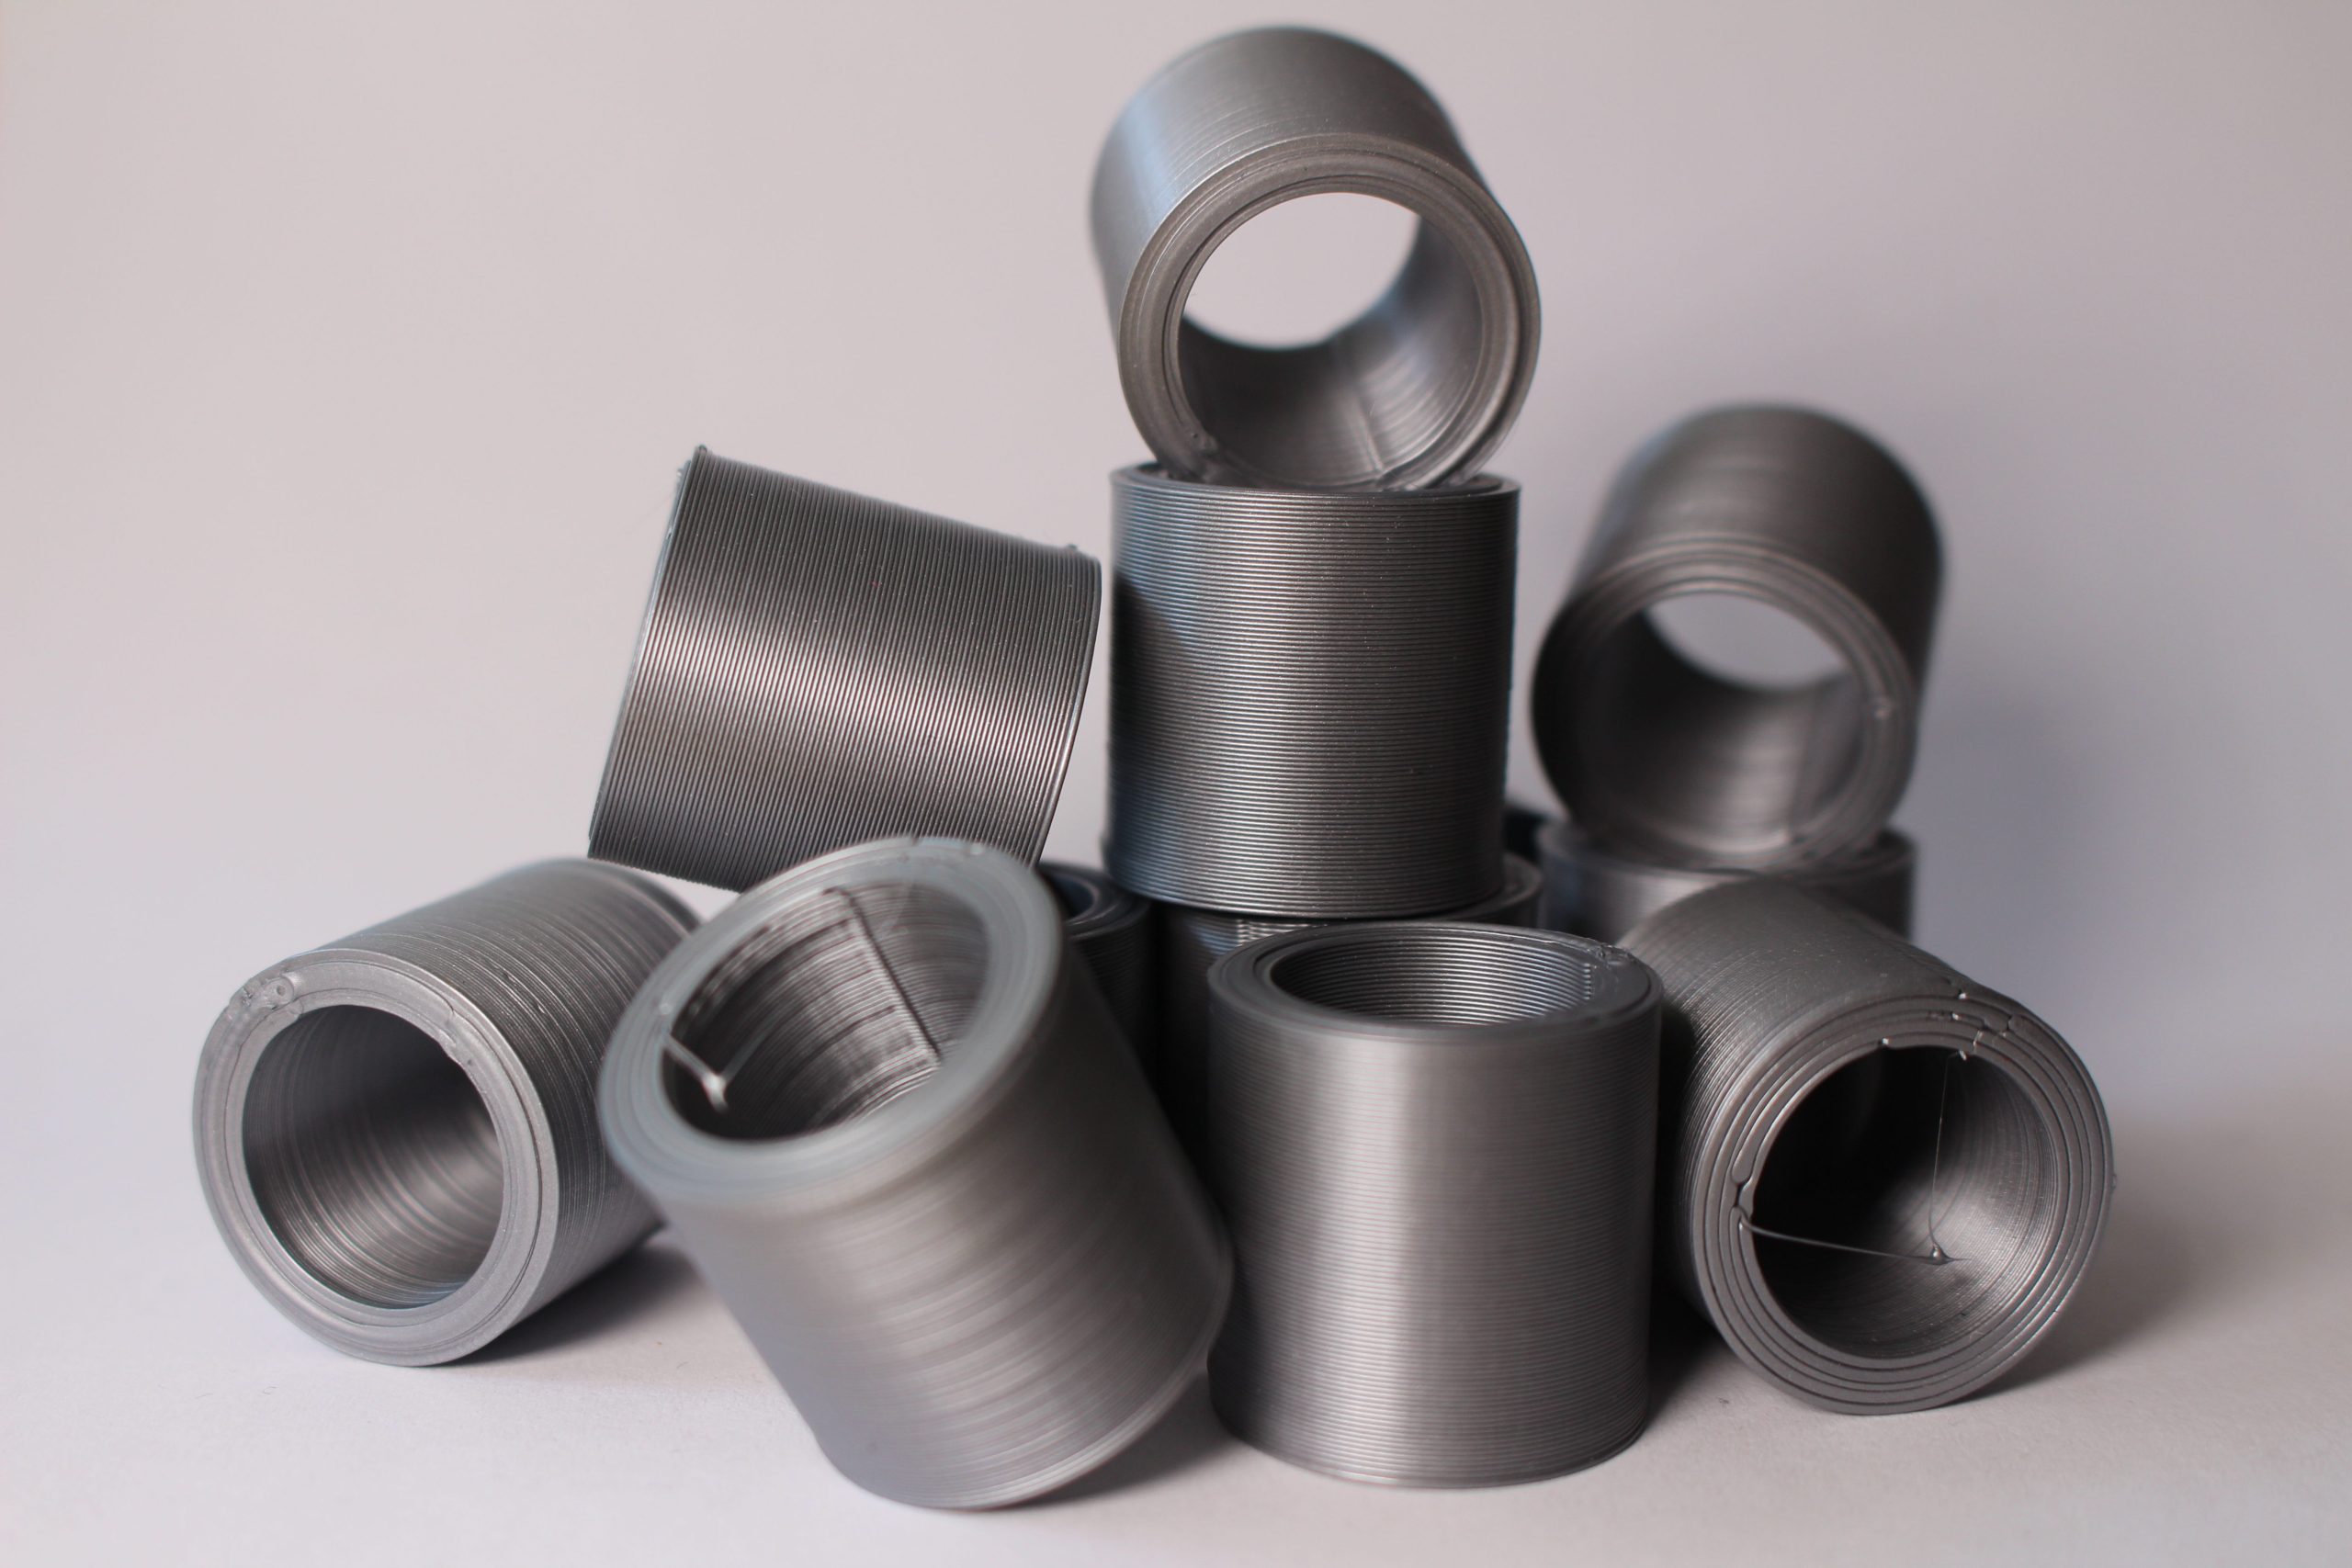
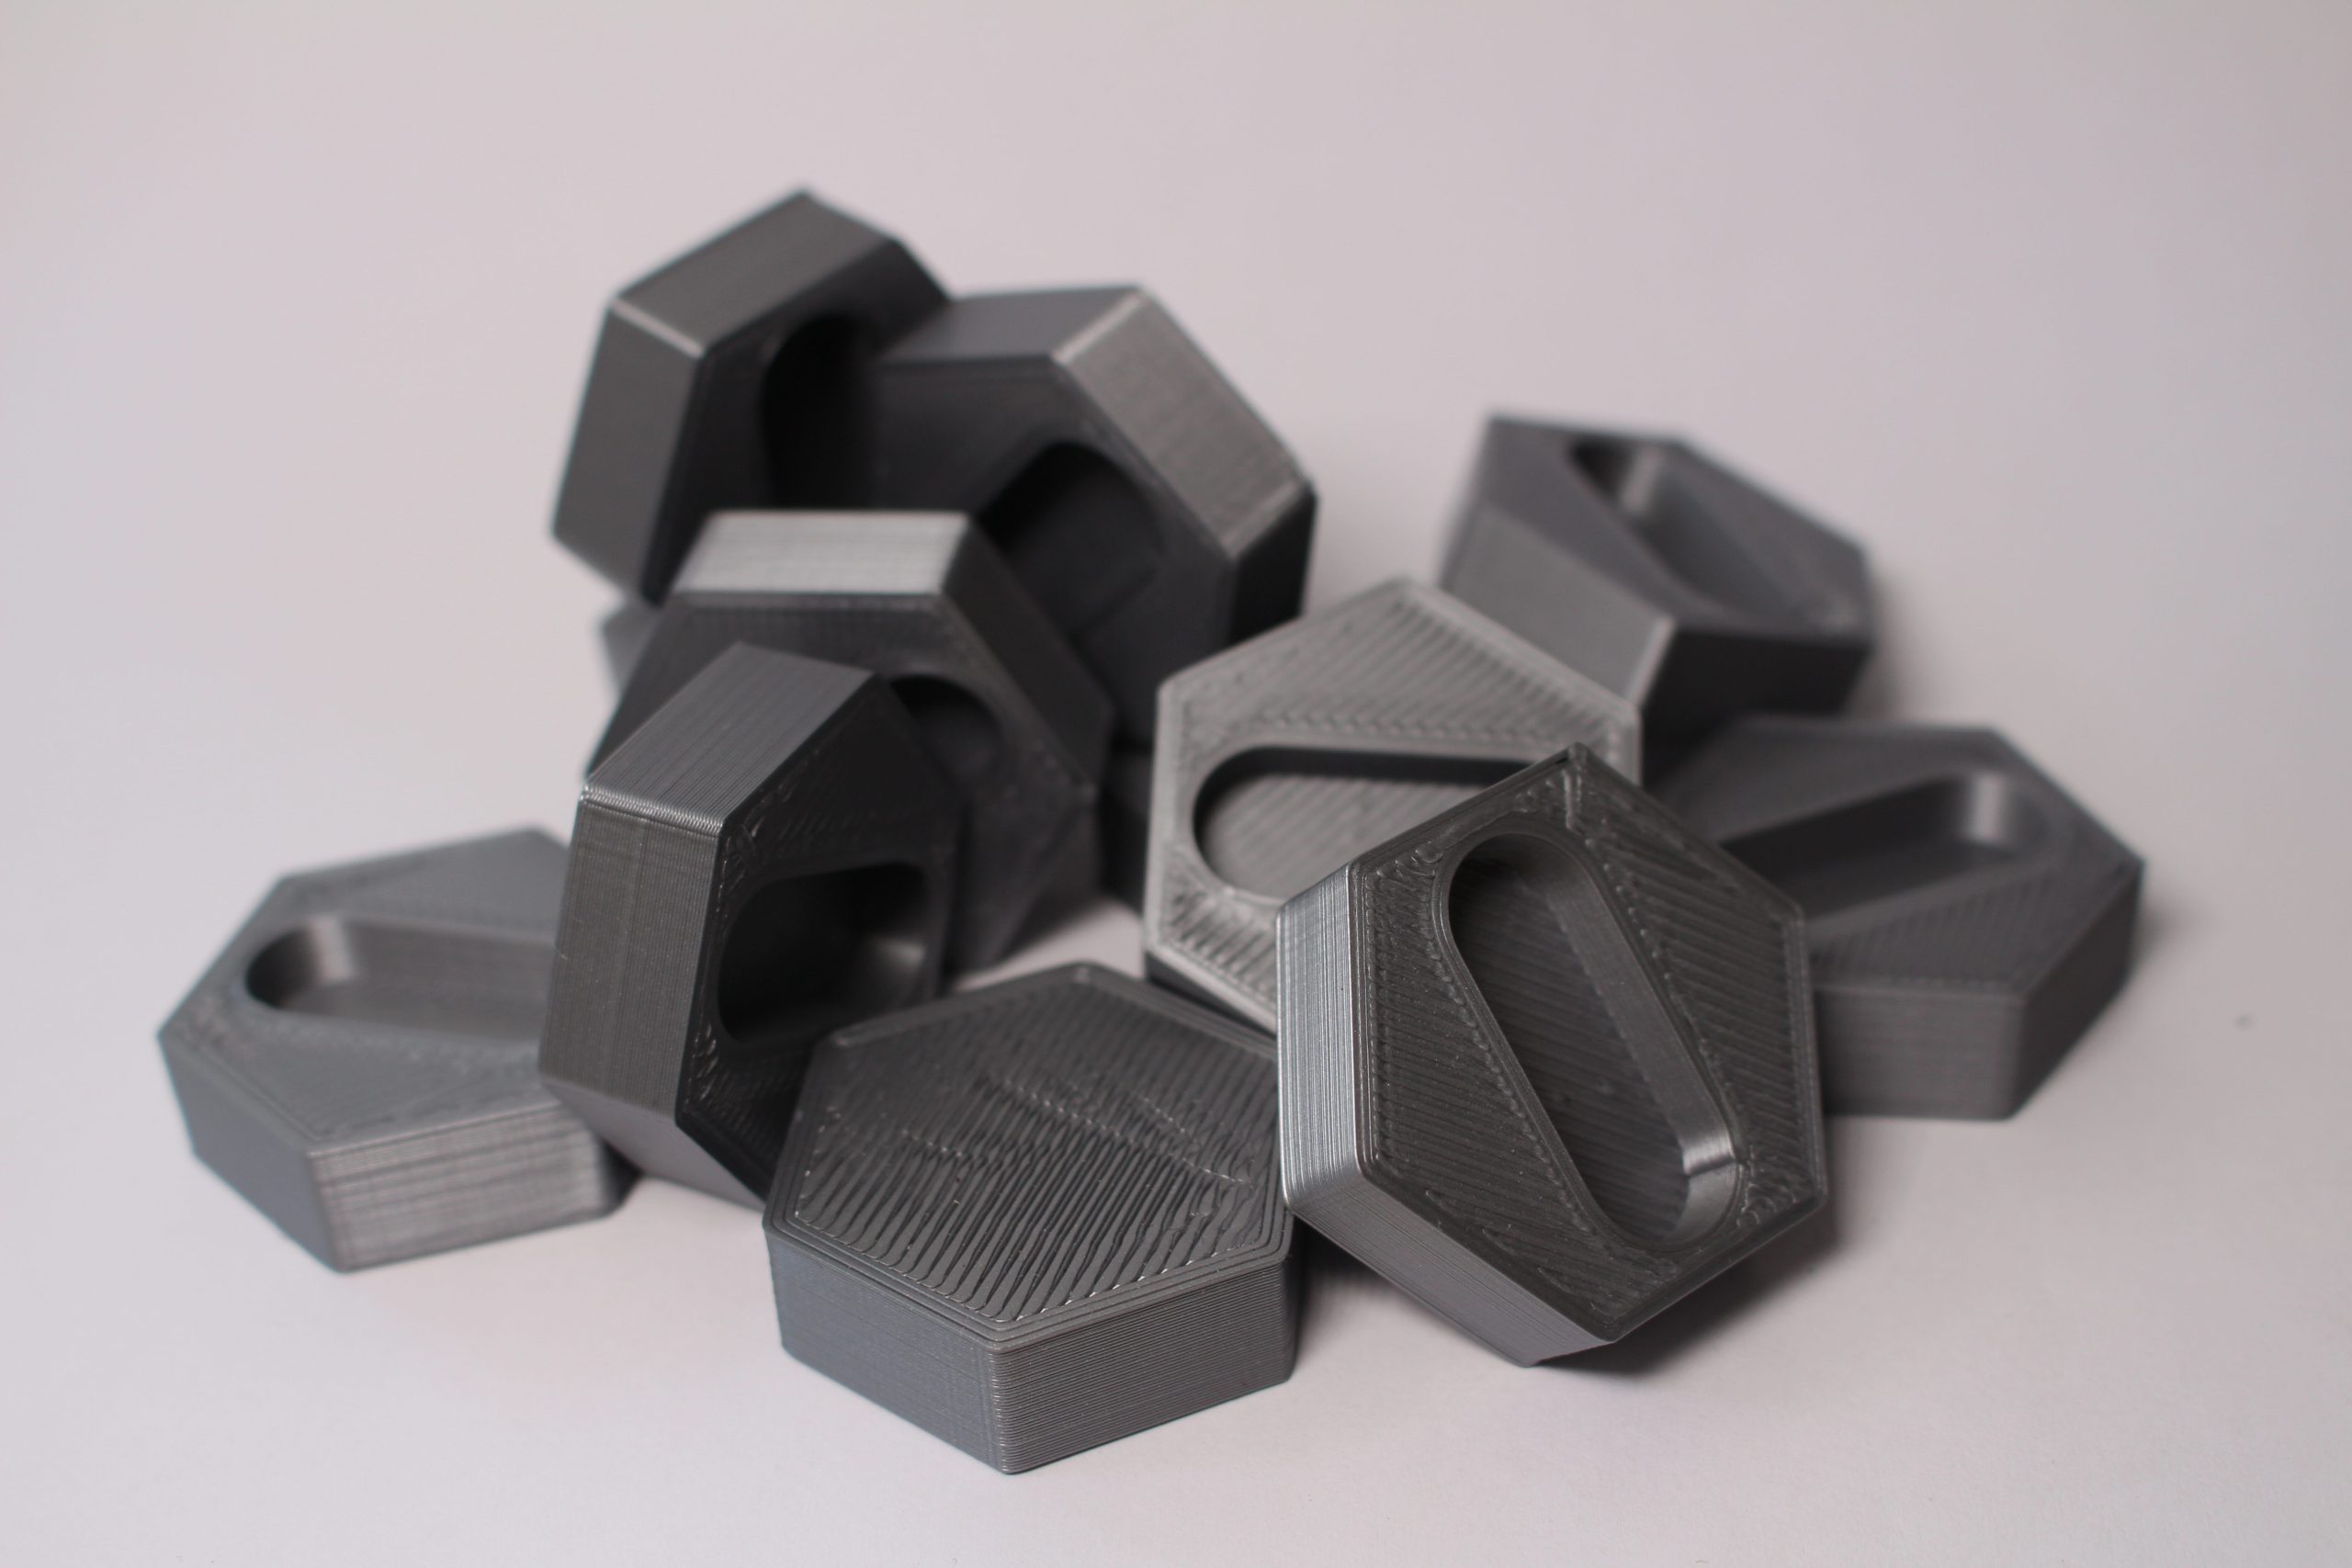
Finally, we tried our hand at a few functional mechanical tests with a planetary gear system and a screw assembly. Dynamic assemblies like these allow us to determine how dimensionally precise a printer is, since the fluidity of the parts’ movements and the overall ease of assembly are entirely dependent on how tight the tolerances are.

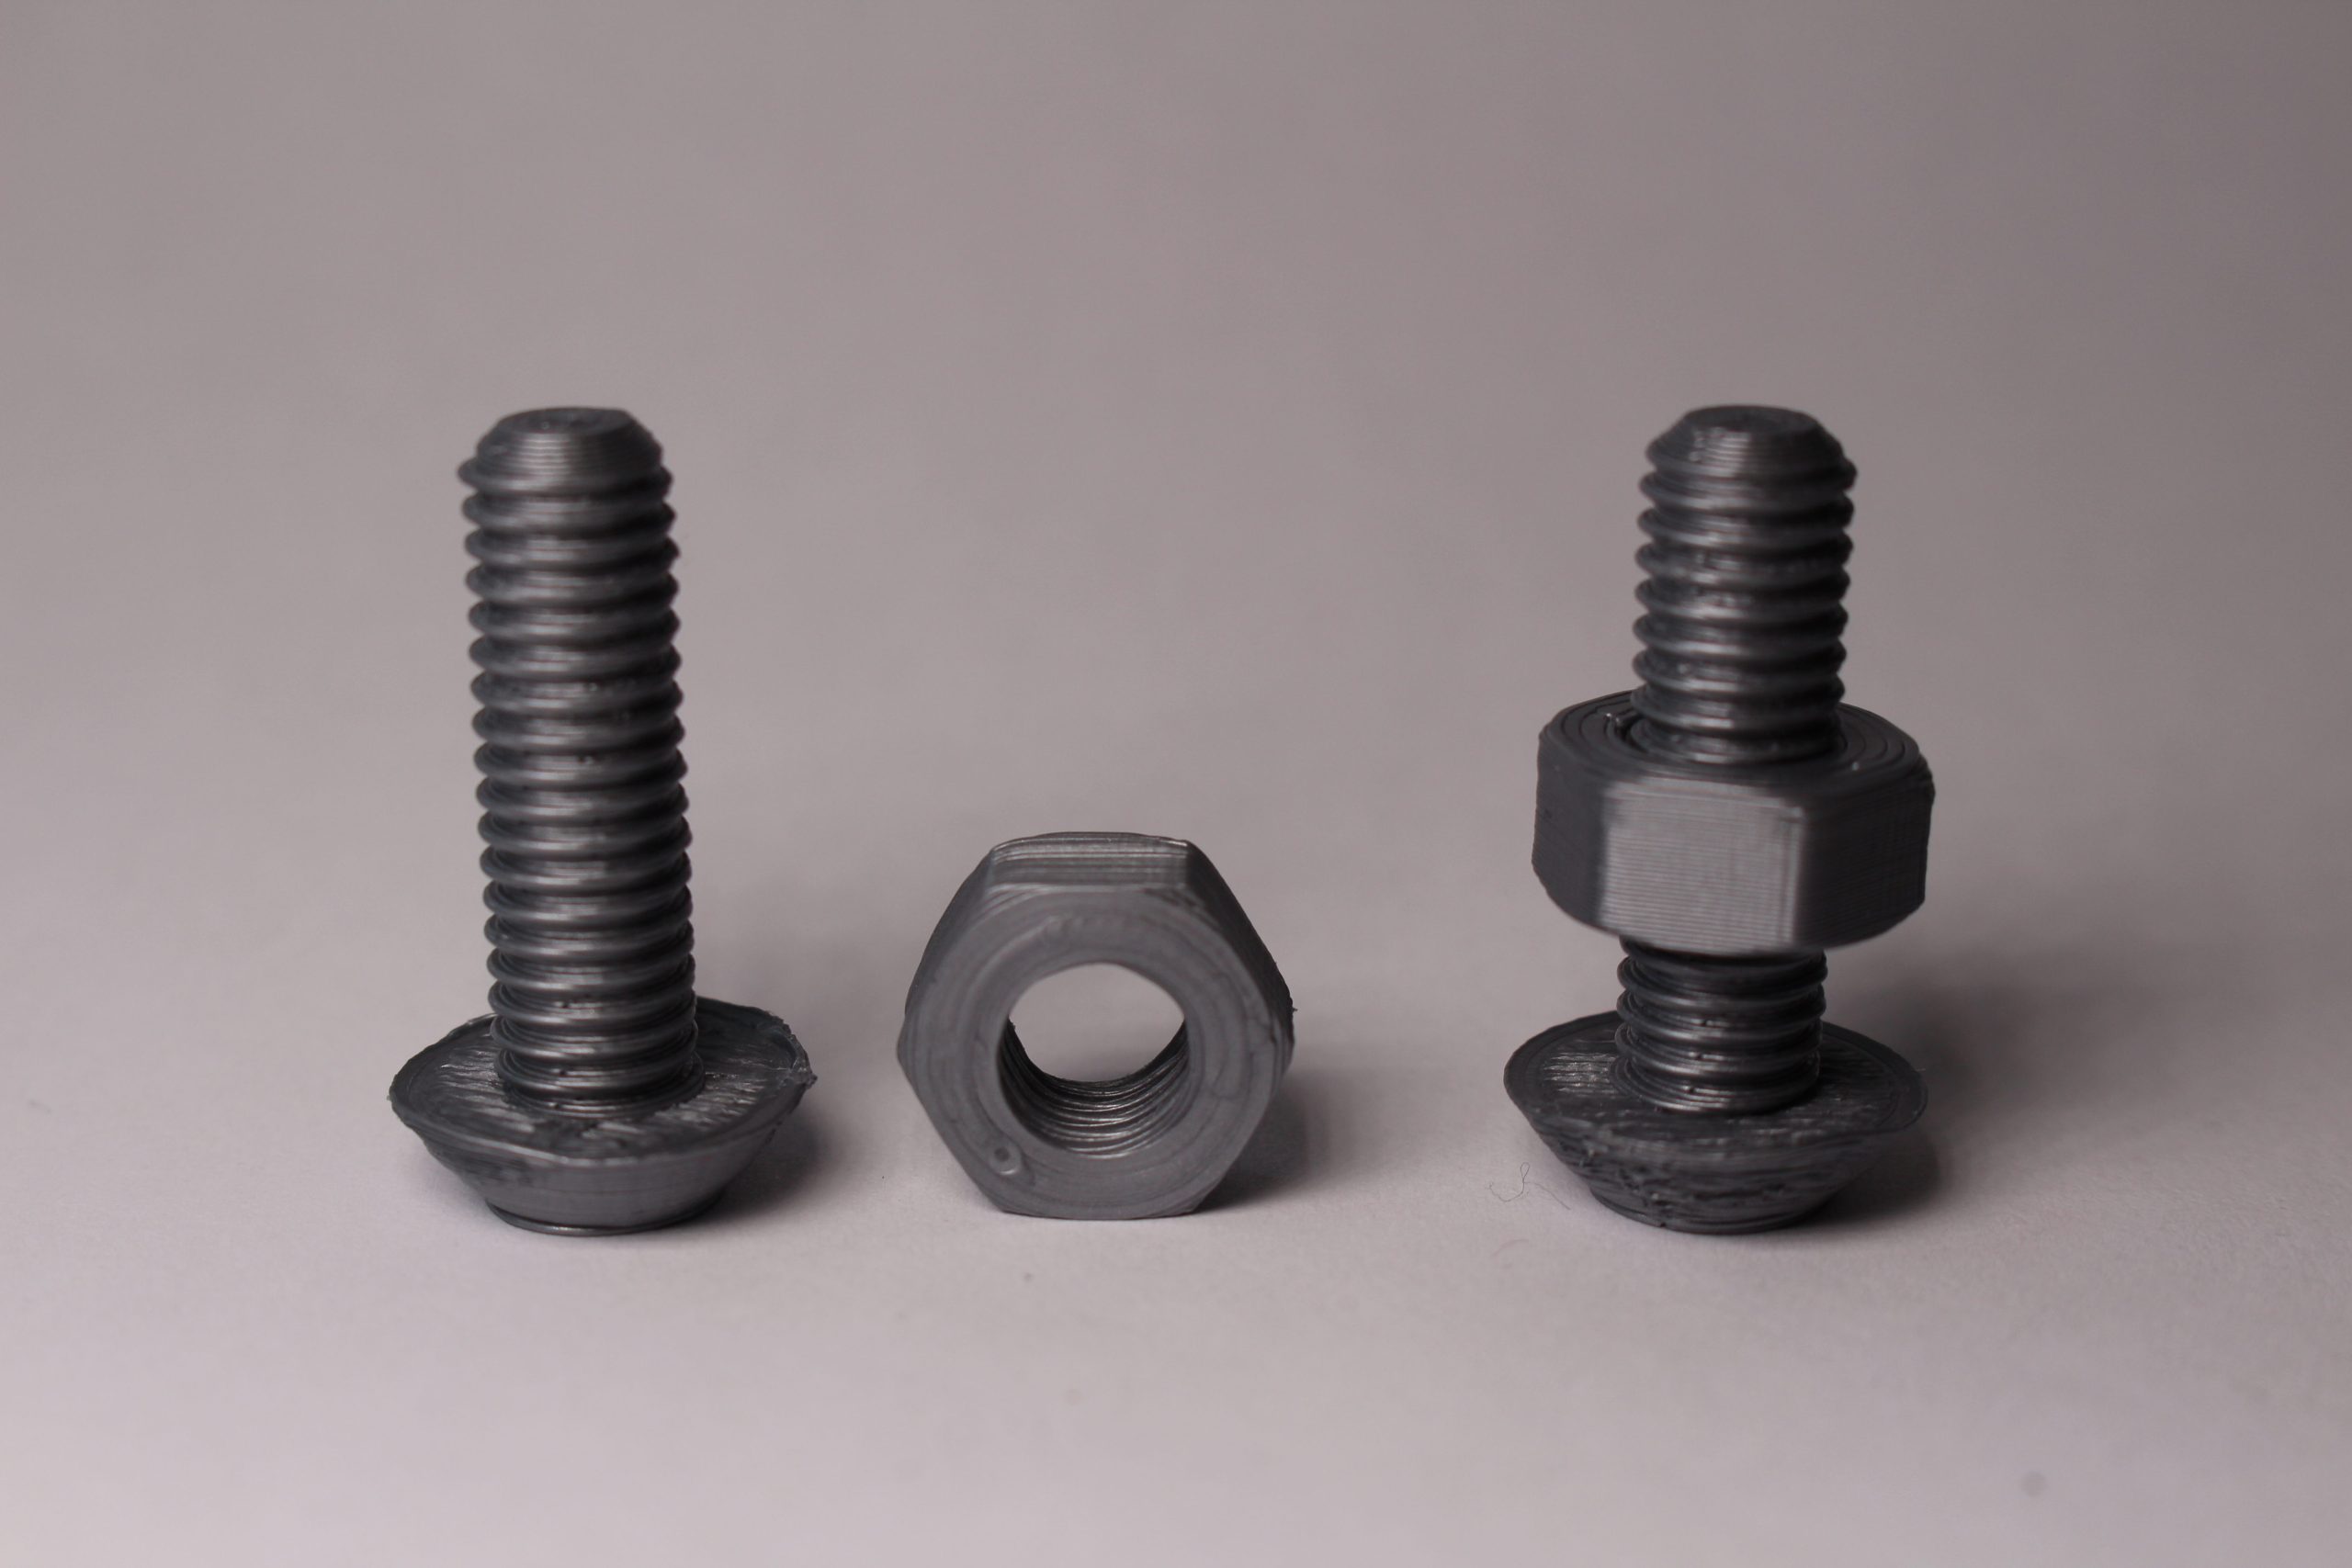
Both sets of prints came out beautifully. The gear system required absolutely no post-processing, and there was very little resistance between the gears – it could certainly be used as part of a larger functional prototype. Similarly, the 28mm screw assemblies had no defects on the threads and were precise enough to assemble without a hitch. A huge success for the SideKick.
The verdict
After all the trials and tribulations, we can say that the TAZ SideKick is one of the more cost-efficient 3D printers in the LulzBot portfolio. The system is as sturdy as they come, the automatic leveling delivers, and the incredible array of configurable options allow for a highly individualized 3D printing experience – all without breaking the bank. Additionally, having the option to download and 3D print many of the smaller components of the machine can really extend its service life, which is much appreciated in an era of planned obsolescence.
As far as shortcomings go, the system could use some of the more advanced features that come as standard on professional 3D printers these days, including Wi-Fi connectivity and a touchscreen interface. The modest build volume is also nothing to write home about, but the importance of this will depend on your specific needs.
If you’re on a budget and need a reliable 3D printer for small part prototyping, the LulzBot TAZ SideKick will see you right.
Technical specifications and pricing
| Build volume | 162 x 162 x 181mm (4.75L) |
| XYZ resolution | 10, 10, 5 microns |
| Nozzle temperature | 290°C |
| Bed temperature | 120°C |
| Layer thickness | Up to 0.4mm (printhead dependent) |
| Nozzle diameter | 0.25 – 1.2mm (printhead dependent) |
| Filament diameter | 1.75mm/2.85mm |
| Connectivity | SD, USB |
Buy the LulzBot TAZ SideKick 289 3D printer here. The system is available to order now, starting from $795.
Subscribe to the 3D Printing Industry newsletter for the latest news in additive manufacturing. You can also stay connected by following us on Twitter, liking us on Facebook, and tuning into the 3D Printing Industry YouTube Channel.
Looking for a career in additive manufacturing? Visit 3D Printing Jobs for a selection of roles in the industry.
Featured image shows the LulzBot TAZ SideKick 289 3D printer. Photo by 3D Printing Industry.