3D Printing Industry reviews the FlashForge Adventurer 4 3D printer.
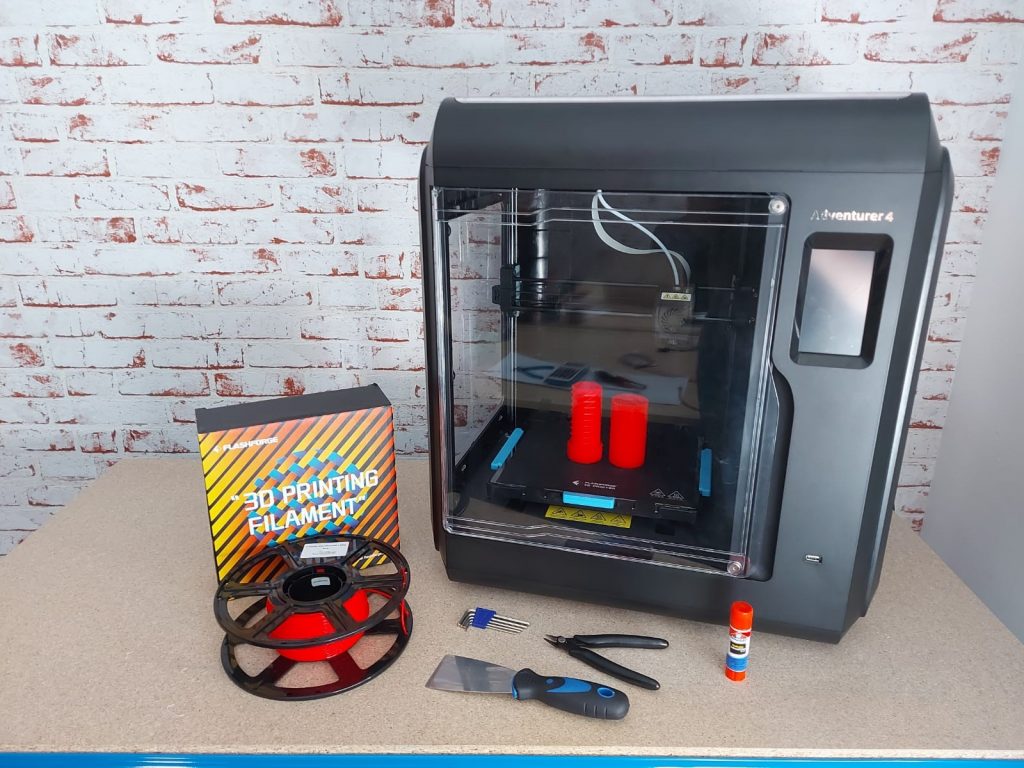
The latest addition to the FlashForge USA portfolio is the Adventurer 4. Intended as a successor to the previously launched Adventurer 3, the single extruder FDM system comes complete with several feature upgrades that make it an iteration worthy of attention.
FlashForge USA’s Adventurer range is a versatile one, offering everything from budget beginner-friendly systems to professional-grade manufacturing engines. Sporting a larger build volume, a new patented swappable nozzle design, and remote print management capabilities, the Adventurer 4 packs more features than ever into a neat desktop frame.
Priced at an affordable $799, the 3D printer is aimed at a wide variety of potential users. This includes casual hobbyists, educational institutions, and even professional designers and engineers looking for their next functional prototyping companion.
Building on the Adventurer 3
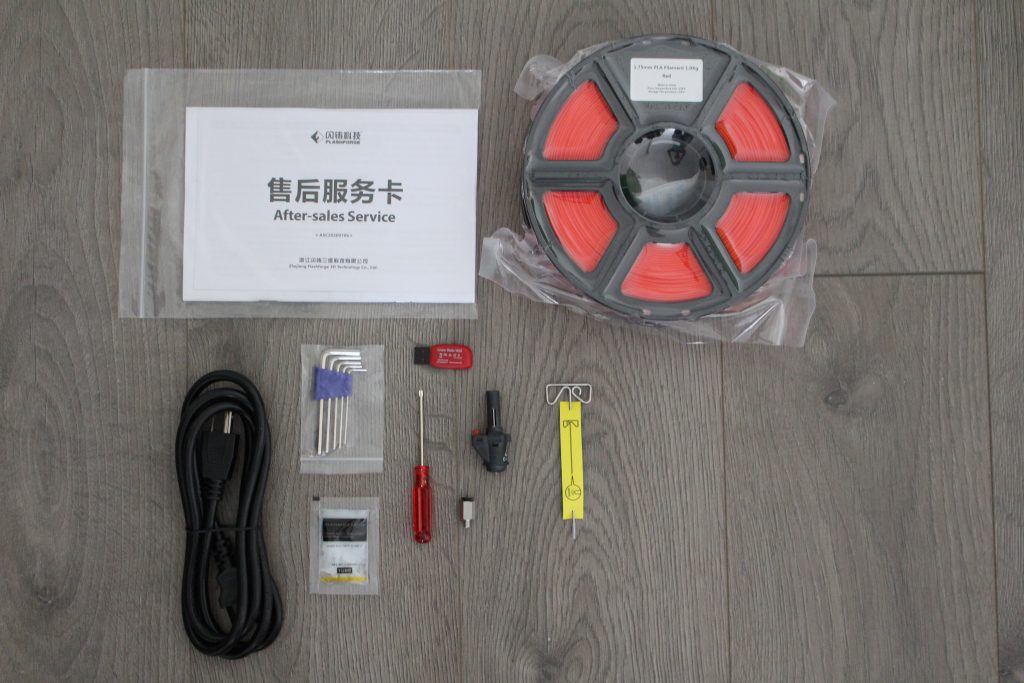
Our admiration for the Adventurer 4 started right at the unboxing stage, where FlashForge proved to us just how far a little care and consideration could go. The Adventurer 4 came extremely well packaged with all of the moving parts encased in foam. The printer also ships with everything you need to start printing right in the box, including a 1kg spool of PLA and a 16GB USB stick.
Much like all of the FlashForge systems we’ve reviewed at 3D Printing Industry, the Adventurer 4 is noticeably robust and rugged. Under the polymer casing is a full metal chassis to provide stability and integrity, which is evident just from handling the machine. Riding the coattails of its predecessor, the 3D printer also operates on a cartesian setup and features a fully enclosed build chamber, enabling users to 3D print higher-temperature filaments without delamination and warping issues.
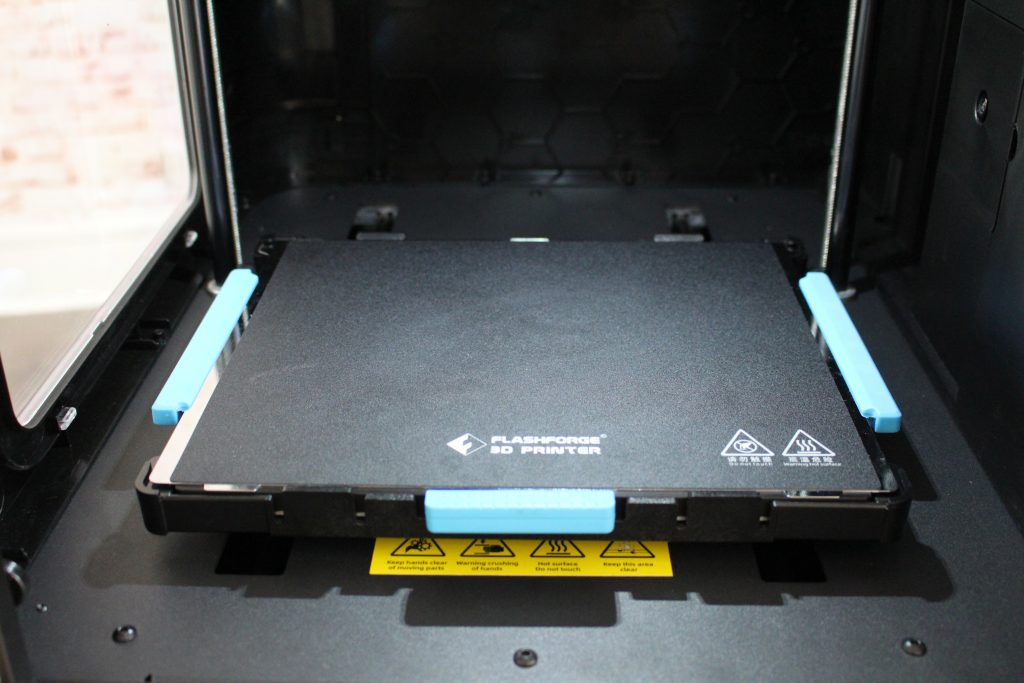
The first of the major upgrades is the new expanded build volume, which now sits at a hearty 220x200x250mm (vs 150x150x150mm). The extra play area is great for those looking to dabble in larger part production, as more complex models won’t need to be broken down into multiple builds due to size constraints. Users wanting to print at higher temperatures can also leverage the new 110°C heated bed to ensure excellent part adhesion. In line with its predecessor, the system also offers a flexible, removable bed that allows parts to be ‘popped’ off without much trouble.
Additionally, FlashForge has implemented what it calls a ‘level-free platform’ with the Adventurer 4 – a system that combines a CNC-machined aluminum base plate with automated nine-point leveling to eliminate manual calibration altogether. On this printer, the build plate only moves along the Y-axis and there are no springs under the bed to adjust the axes. Instead, it’s the aluminum plate that the bed rests on which guarantees bed flatness at all times. The company has even integrated dual Y-axis guide rails for that buttery smooth platform movement.
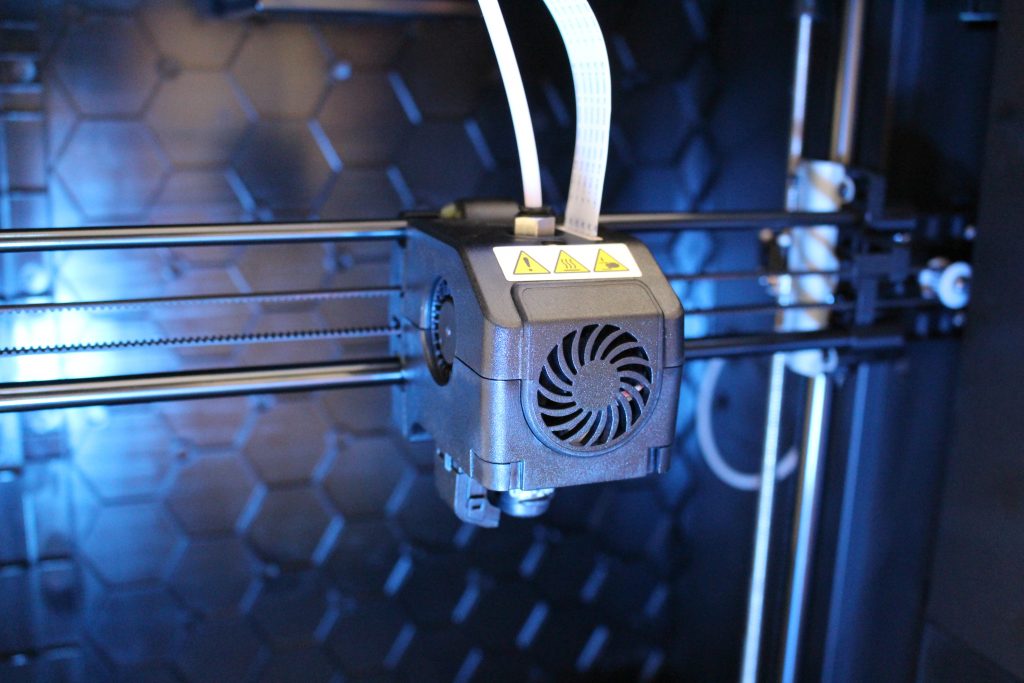
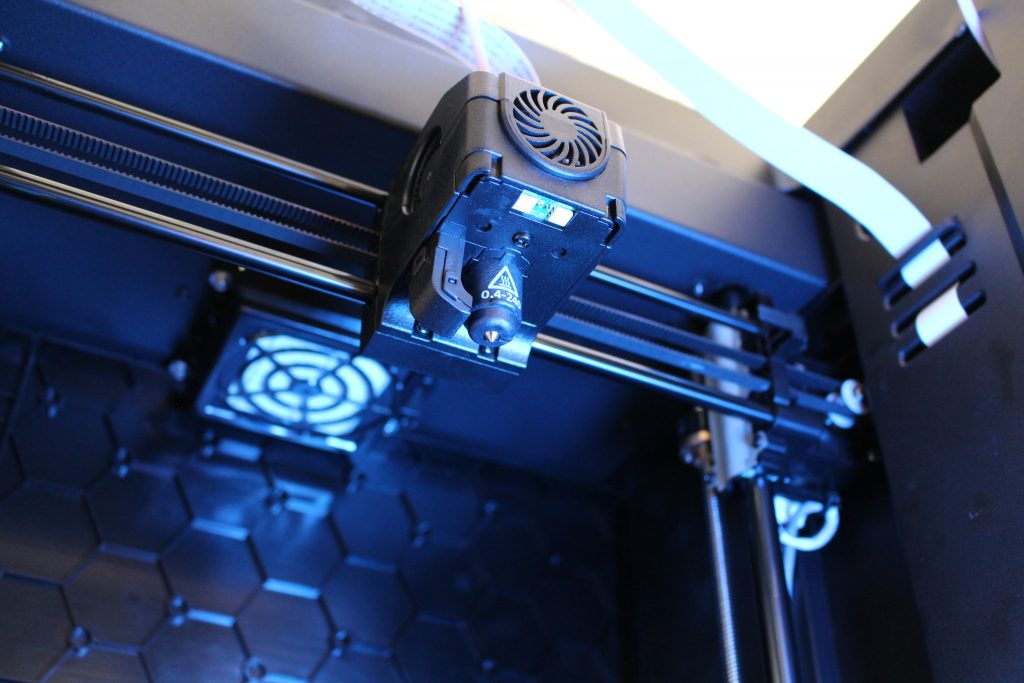
Looking at the extruder setup, the modularity of the Adventurer 3 has made a reappearance, except now we have higher nozzle temperatures and even greater material compatibility. Using the swappable nozzle system on the Adventurer 4, users can switch between two different hotend types, 240°C and 265°C, in just a matter of seconds with the click of a button. The former is suitable for PLA and ABS while the latter will enable PC, PETG, and carbon fiber composites. There’s nothing to say about this system other than the fact that it works and it works well.
All the bells and whistles
Naturally, FlashForge’s latest machine also comes with all the quality of life features (and more) you might expect from a printer in this price range. With safety in mind, the system’s new HEPA 13H air filter effectively stops up to 99% of TVOC powder and activated carbon dust from ever leaving the enclosed build chamber. The odor from the printing process is also significantly dulled, making for an extremely comfortable printing environment.
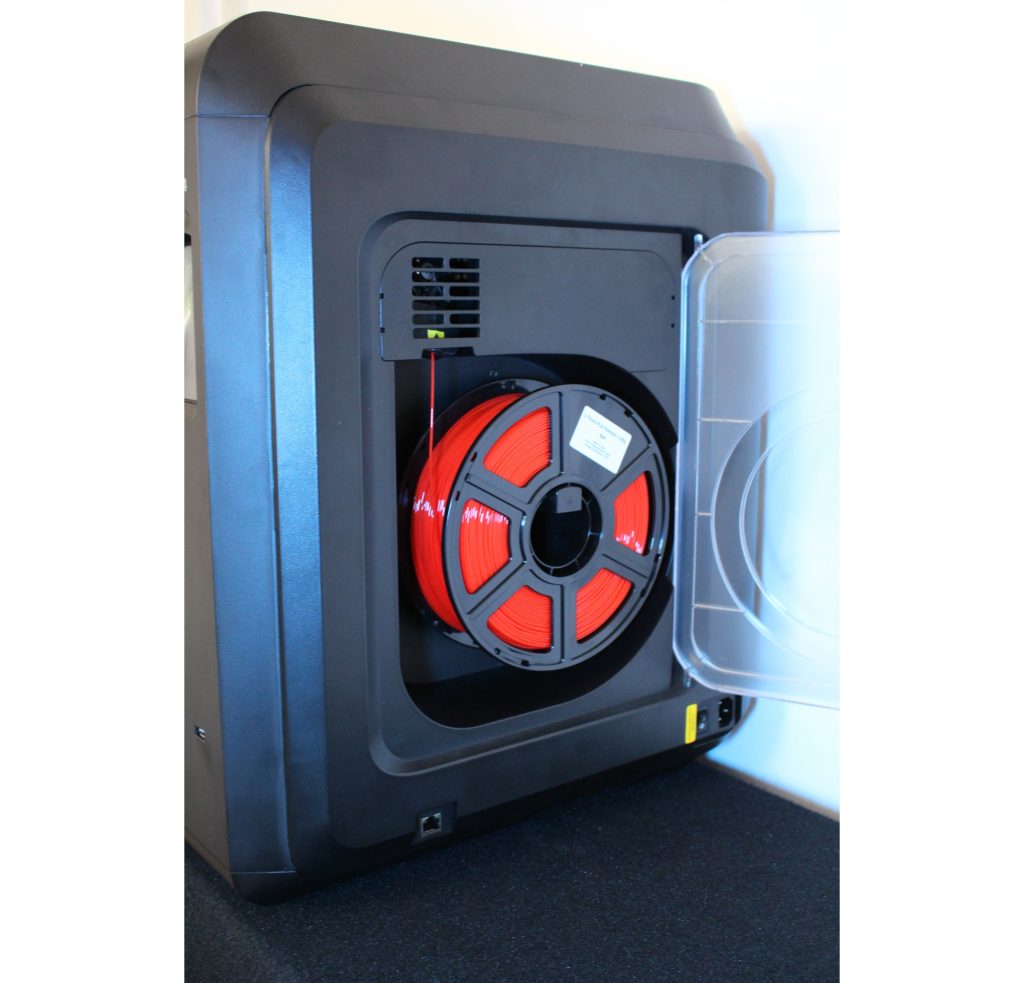
There’s also something to be said about the new filament spool holder installed into the side of the printer. The material bay has been expanded to fit 1kg spools with ease and even has its own transparent door. We felt a lot more confident commencing large overnight prints knowing we had ample ammunition in the chamber.
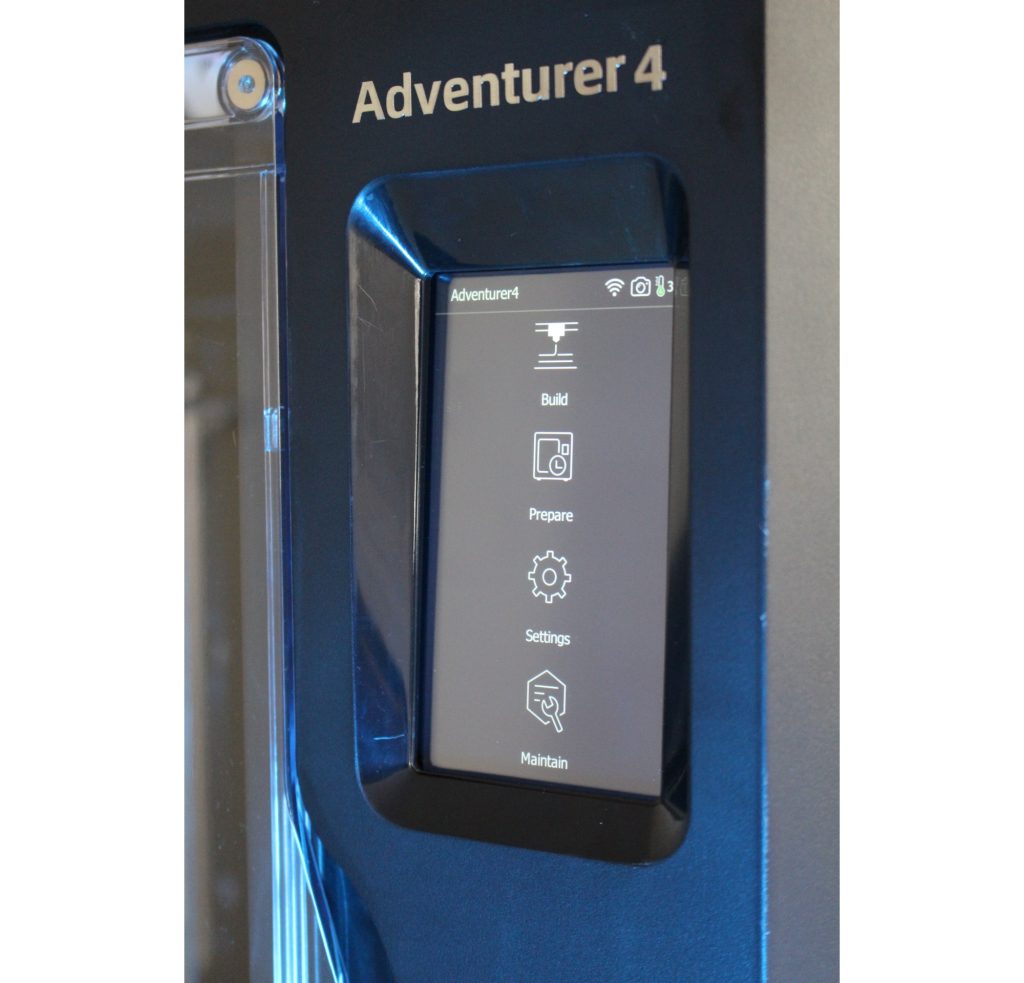
On the electronics side, we have a 4.3” touchscreen on the front where users can initiate auto-calibration, load filaments, and begin builds. The UI is clean and the menus are intuitive. There’s also an in-built HD camera for remote print monitoring purposes and that all-important Wi-Fi connectivity for remote build control. For those that get a little optimistic about material usage, FlashForge has very kindly implemented a filament runout sensor that pauses prints when the machine runs dry. This can be a life-saver on multi-day prints but you won’t know its value until it gets you out of a pickle.
FlashPrint slicer
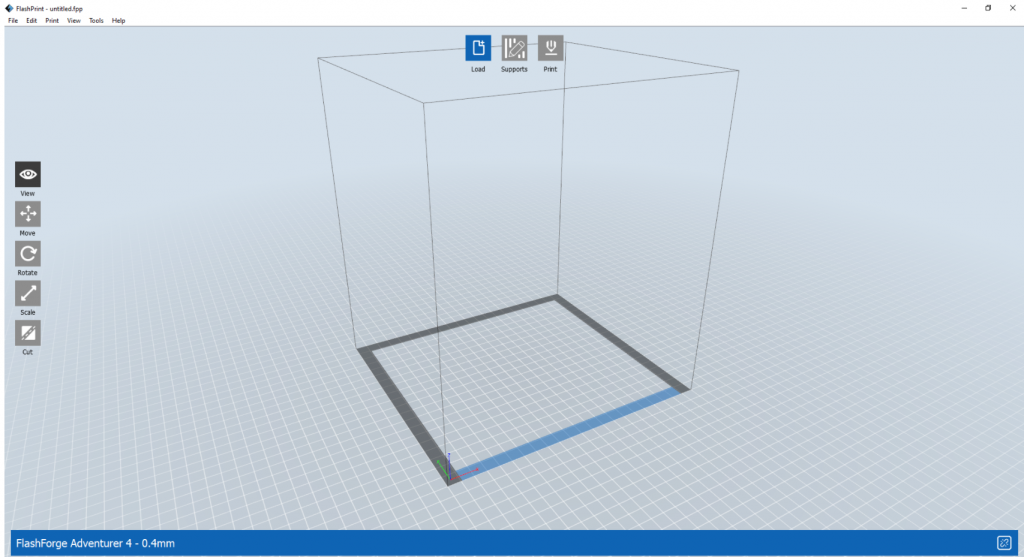
FlashForge provides its own slicing software for use with its FDM 3D printers: FlashPrint. Sporting the classic grey and blue color scheme, the slicer is known for its clean-cut UI, well-organized menus, and ease of use.
Much like Cura or any other mainstream slicer out there, FlashPrint is built on a set of basic translation, rotation, and rescaling functions. This makes it extremely simple to pick up, especially if you’re already familiar with the FDM 3D printing workflow. Once the model is nested in the virtual build space, users can choose between linear and treelike support geometries. FlashPrint’s support structures can be auto-generated to save time or added individually in a more precise point-and-click manner, although both work just fine in most situations.
For the more advanced users out there, FlashForge does of course provide an ‘expert mode’ too, where the full range of print parameters can be tinkered with. This includes cooling profiles, speeds, infills, and even LED colors.
All in all, FlashPrint is probably one of the more refined slicers we’ve used here at 3D Printing Industry. We’ve never run into any trouble with bugs or glitches and the software is about as easy-to-use as it gets. The program truly is one of FlashForge’s most noteworthy achievements, serving as proof of the company’s expertise in FDM 3D printing.
Benchmarking the Adventurer 4: 60/100
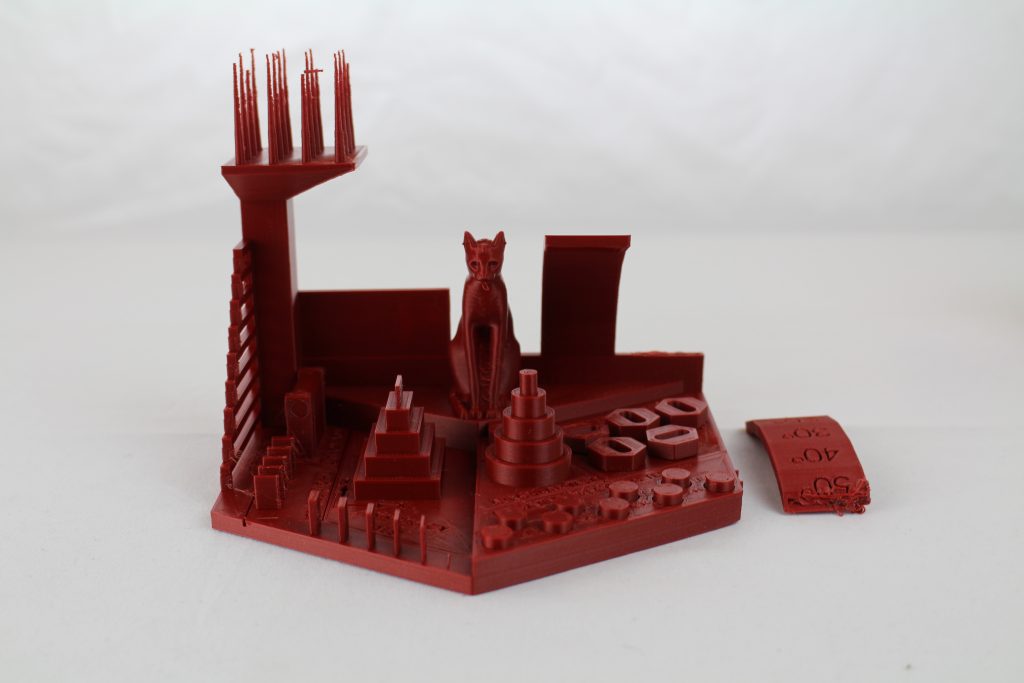
Now comes the benchmarking portion of the review, where we evaluate the printing performance of the Adventurer 4. We start off with 3D Printing Industry’s own benchmarking model, which consolidates many of our smaller print tests into one comprehensive part. We usually print this test in PLA to compare results between printers, but we also often try a PETG or ABS variant to see how the machine handles higher temperature filaments.
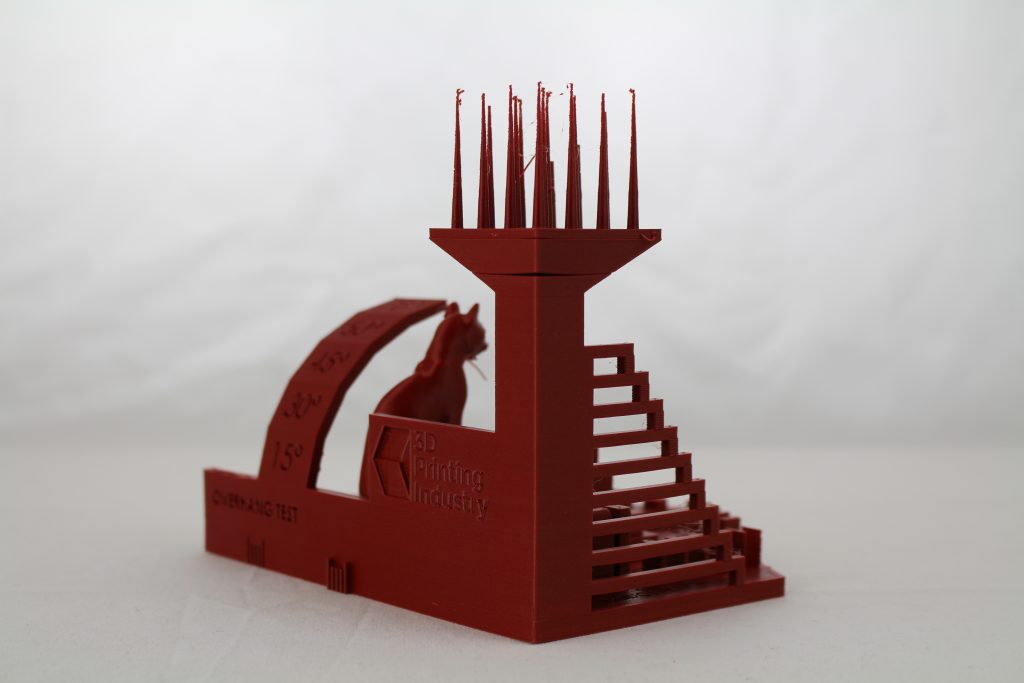
Printed in ABS, this model gave us an opportunity to see the base 240°C nozzle in action. We assign each of the individual sections a weighted score based on factors such as dimensional precision, surface quality, and structural integrity. The Adventurer 4 earned an overall 3D Printing Industry score of 60/100 (a good professional-grade 3D printer is a 60+).
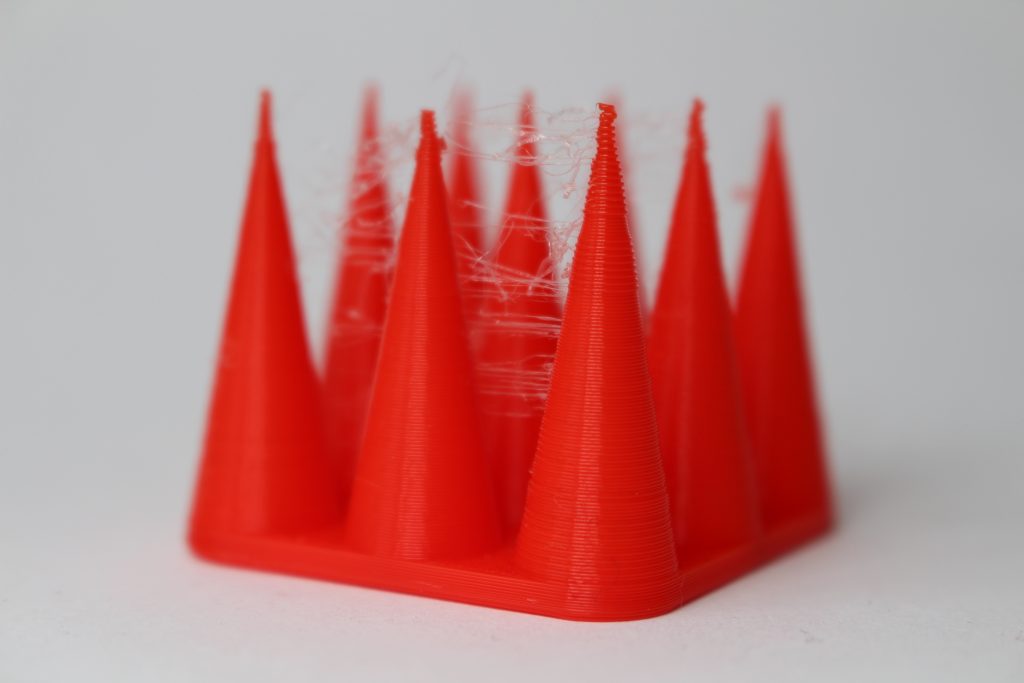
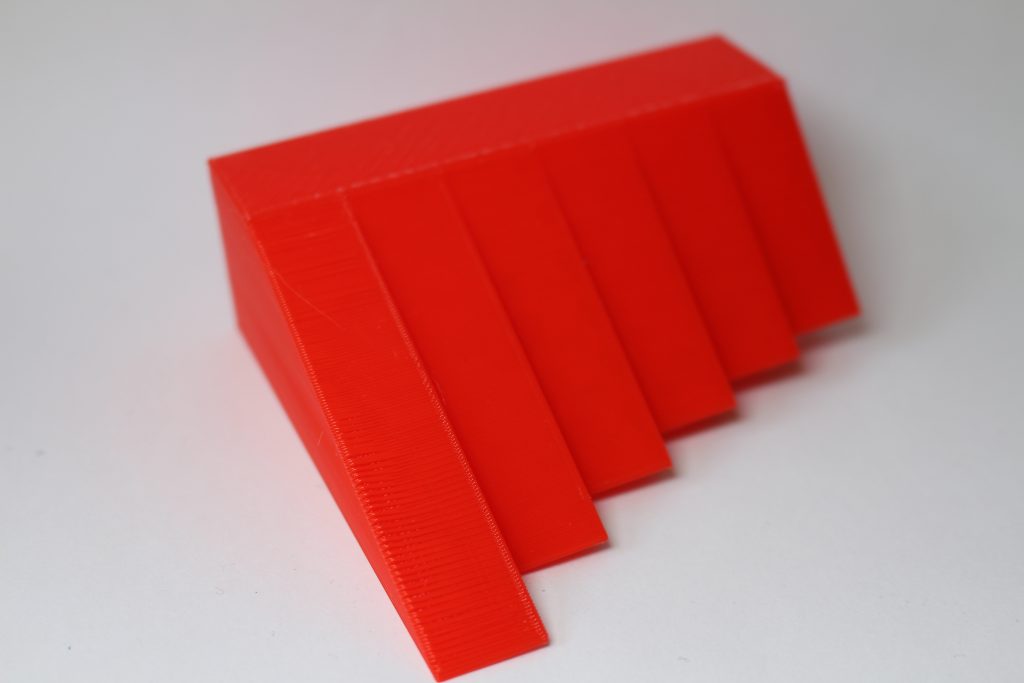
Looking at the overhang section the test, which is designed to determine the angles at which the system is able to print without support structures, the Adventurer managed to print up to an impressive 60° without any problems. This is an exceptional result, especially for a notoriously difficult material like ABS. Unfortunately, we did run into some issues with the Z-axis here, as the nozzle clipped and broke off one of the overhang structures during the printing process. We suspect this was a hiccup with the printer’s bed leveling but didn’t run into the problem again with our other tests.
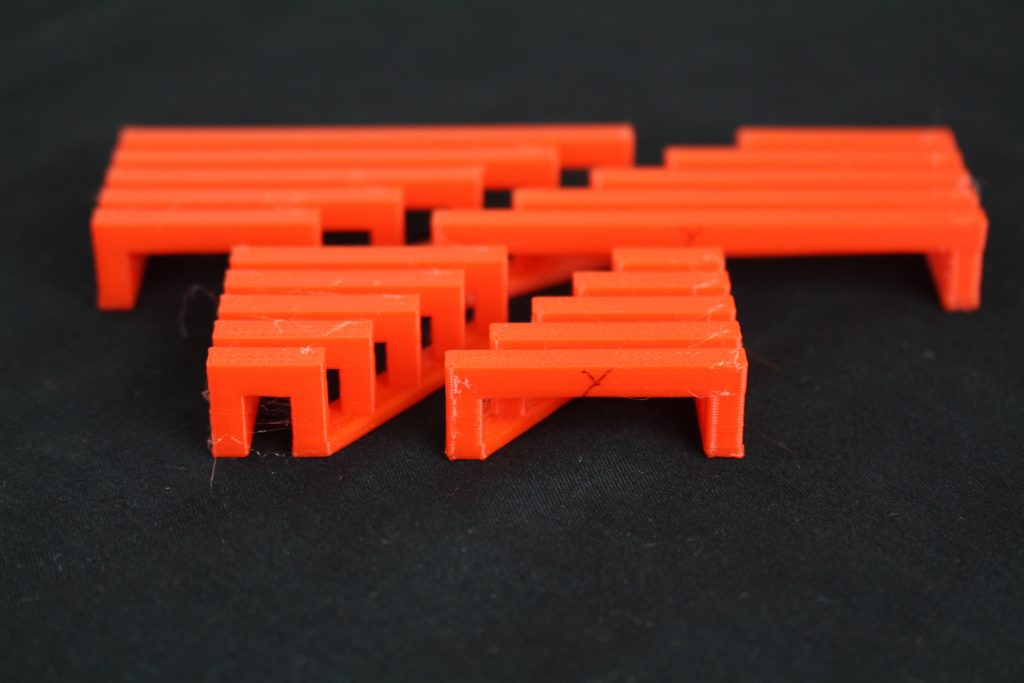
Next up, the bridging test, which determines how well a system is able to print horizontally into the void. Much like the overhang test, the bridging test yielded decent results as the Adventurer managed to reach the 30mm bridge length before the structures started curving and morphing. With the maximum bridge length sitting at 50mm, this wasn’t a perfect print test by any means, but solid for the price point.
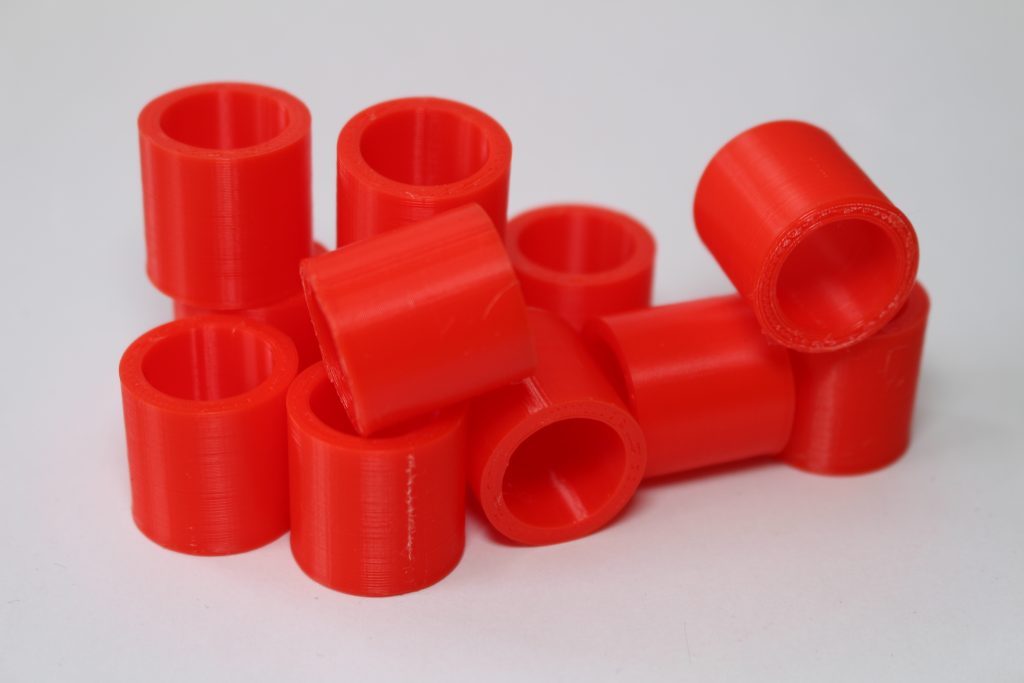
Much to our surprise, the negative precision portion of the test was executed particularly well. This is the first time we’ve been able to remove seven of the printed tubes so easily, where usually we only manage to pull off about three of them before the contact area becomes too great.
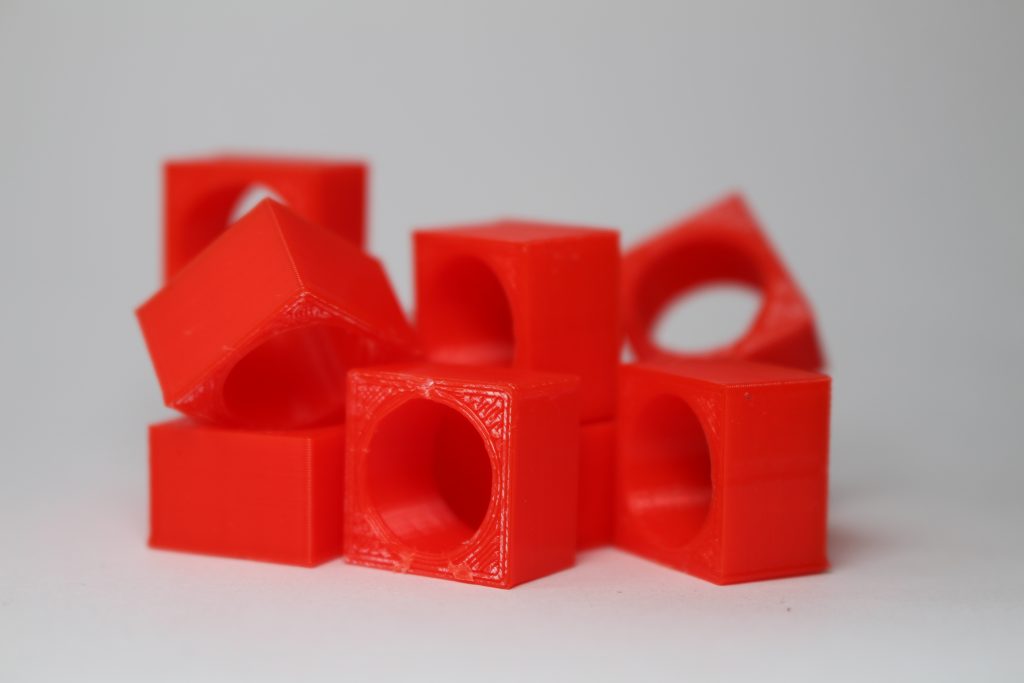
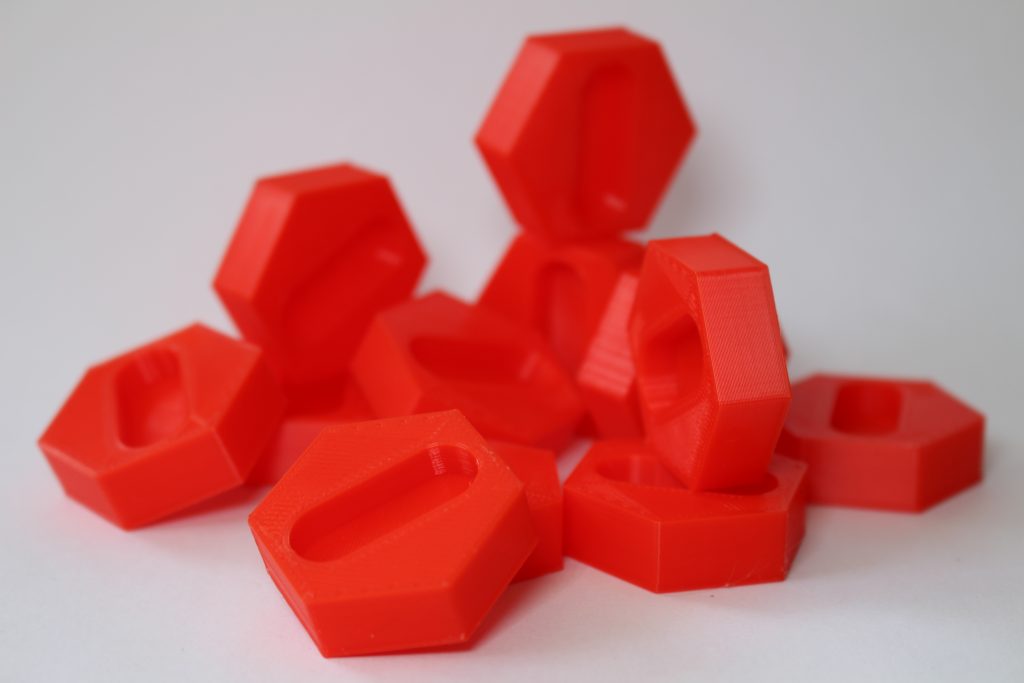
Moving on, we tested the Adventurer 4’s repeatability, which is a system’s ability to reproduce multiple parts with identical dimensions. This test includes three different geometries – squares, tubes, and hexagons – each printed several times and compared to the reference dimensions of the original STL files. We study the normal distribution of the measured dimensions and class ‘success’ as a mean of difference of under 0.1mm and a standard deviation of under 0.05mm. The accuracy of our measurement equipment is ±0.015mm.
Looking at the results, we can say the Adventurer 4 is above average for its price range when it comes to repeatability. The average mean of difference for all geometries came out to 0.0626mm (<0.1mm) while the average standard deviation clocked in at 0.0315mm (<0.05mm). These results are excellent as even industrial-grade FDM systems often tout dimensional accuracies of up to 0.1mm, which qualifies them for high-precision prototyping in industries such as automotive or manufacturing tooling.
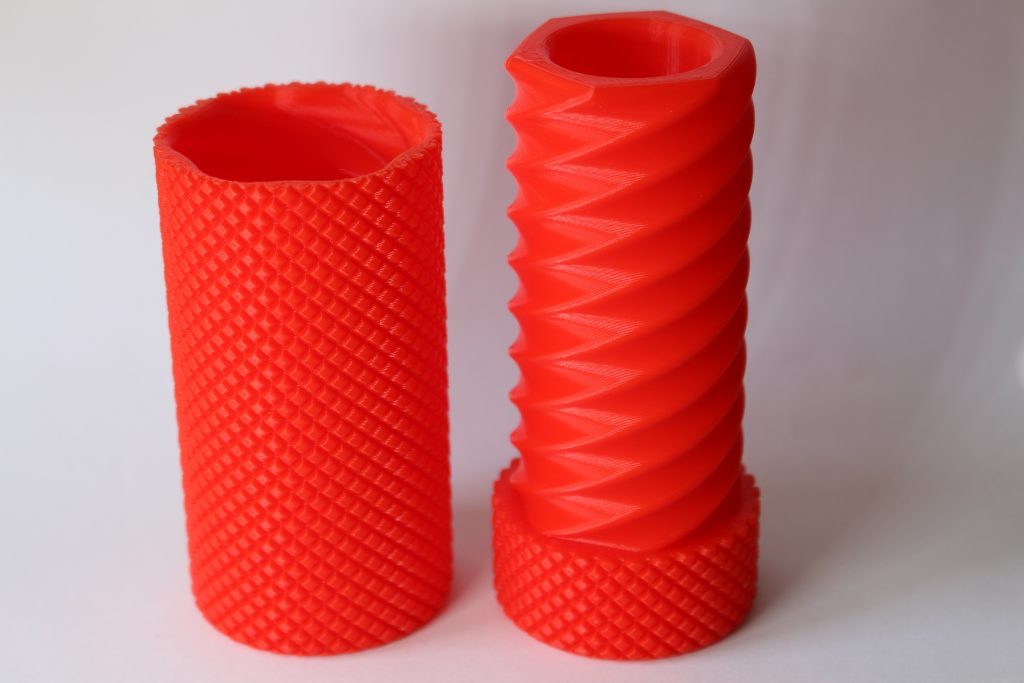
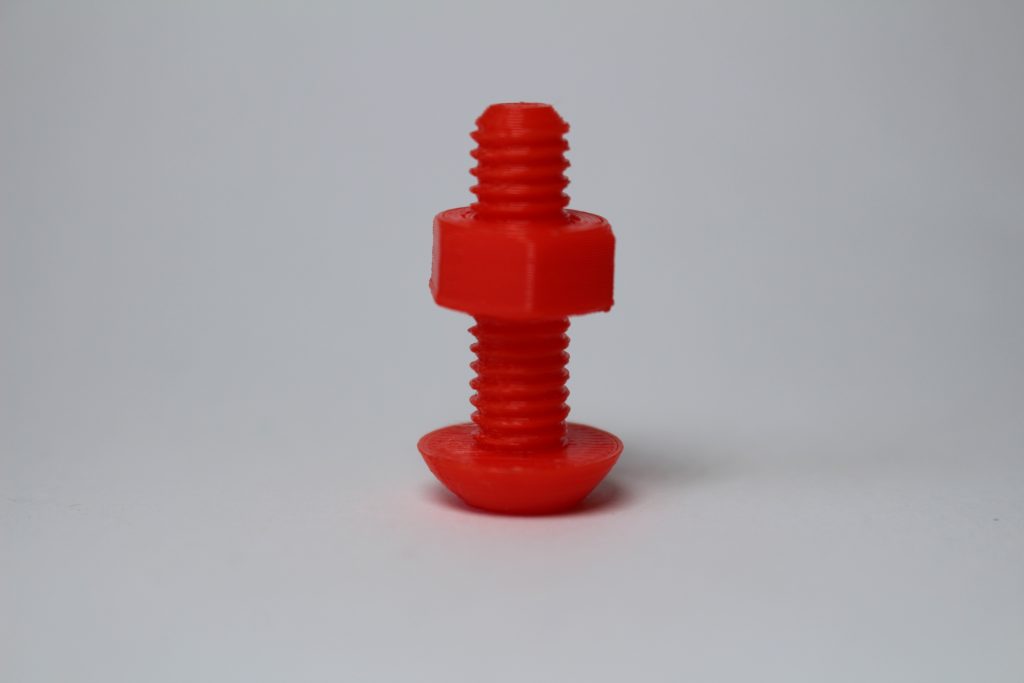
We also tried our hand at a couple of screw-based models to see how the Adventurer might fare in a design environment with small and precise parts.
Both assemblies came out beautifully with no defects on the threads, smooth surfaces, and fine feature details. The screws can be assembled with ease and put up virtually no resistance. We would definitely be able to use them as part of a more complex mechanical system.
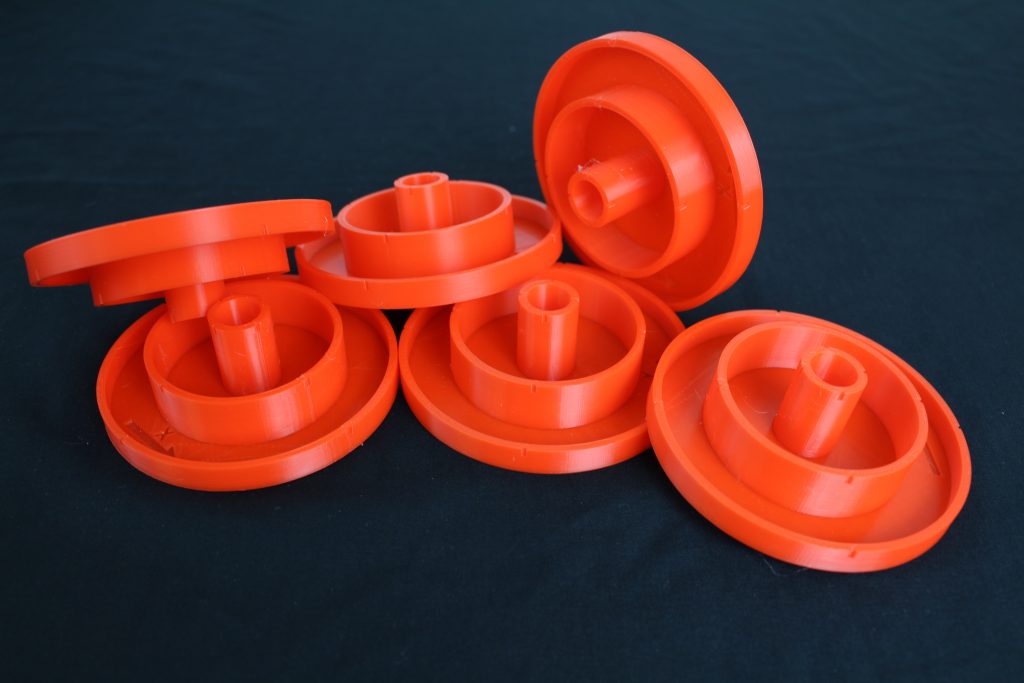
Marketing your system as being able to print carbon fiber-reinforced filaments is a bold claim, especially on a sub-$800 3D printer. The Adventurer 4’s higher-temperature 265°C nozzle is designed to enable just this, so we put it to the test with a functional planetary gear system made of FlashForge’s own PA-CF material.
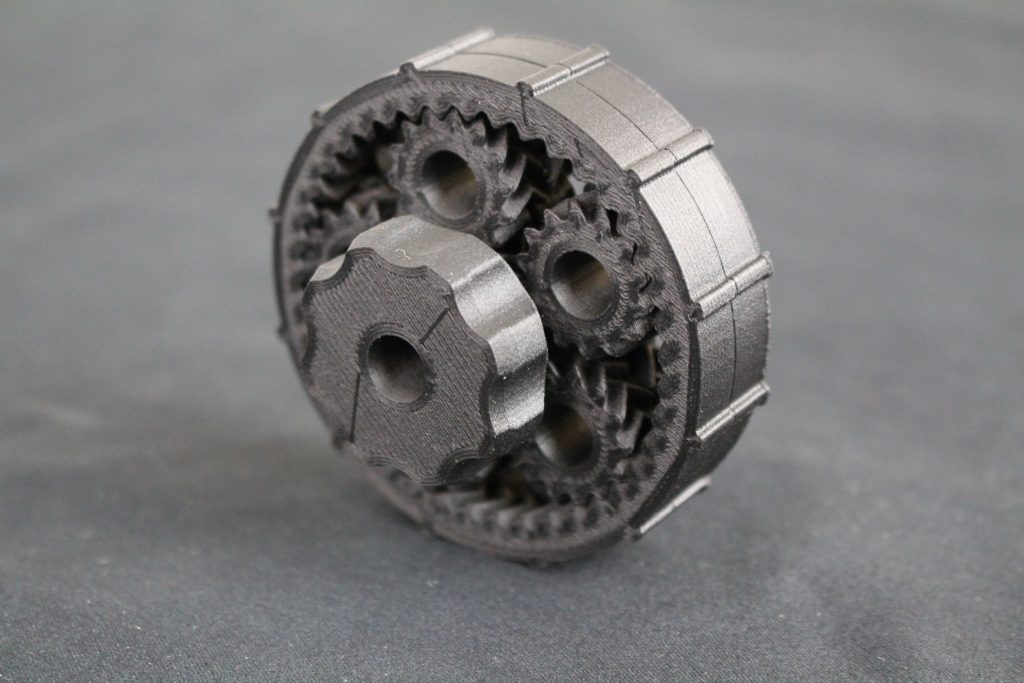
Right off the bat, the print was excellent – the surface quality was great and the individual gears were defect-free. We also didn’t have to worry about post-processing as all of the components were printed without supports. The Adventurer 4 can indeed 3D print carbon fiber composites successfully.
Additionally, this print run also gave us an indication as to just how precise the printer is. The gear system as a whole, once assembled, operates very smoothly with minimal resistance. For this to be the case, the tolerances on all of the individual gears would have to be extremely tight, resulting in an assembly worthy of an engineering prototype.
The verdict
We’ve come to expect great things from FlashForge over the past few years, and the Adventurer 4 certainly doesn’t disappoint. Building on the success of the Adventurer 3, the system has kept what works and improved on the shortcomings (of which there were very few, anyway). With a larger build volume, swappable nozzle design, enclosed build chamber, and premium features like remote print control, the sub-$800 Adventurer 4 really does offer a lot without the hefty price tag.
Additionally, the carbon fiber printing capabilities of this machine are really something to marvel at. Rarely do you see a 3D printer at this price point with the ability to print such high-quality composite parts, making it a very powerful tool to have in the workshop.
If you’re on a budget and seeking your next low-volume prototyping system, you’d do well to go for the FlashForge Adventurer 4.
Technical Specifications
| Build volume | 220 x 200 x 250mm |
| Dimensions | 500 x 470 x 550mm |
| Weight | 20.1kg |
| Printheads | One |
| Travel speed | Up to 150mm/s |
| Max bed temperature | 110°C |
| Max nozzle temperature | 265°C |
| Connectivity | Wi-Fi, USB, ethernet |
| Nozzle diameter | 0.3mm, 0.4mm (default), 0.6mm |
Buy the FlashForge Adventurer 4 3D printer here. The system is available to order now for $799.
Subscribe to the 3D Printing Industry newsletter for the latest news in additive manufacturing. You can also stay connected by following us on Twitter, liking us on Facebook, and tuning into the 3D Printing Industry YouTube Channel.
Looking for a career in additive manufacturing? Visit 3D Printing Jobs for a selection of roles in the industry.
Featured image shows the Adventurer 4 3D printer. Photo by 3D Printing Industry.


