Francesco La Trofa is an italian 3d evangelist with more than 15 years of experience about planning, arch design and communication R&D. Among his activities, Francesco follows innovative 3D companies such as Turin, Italy, based Protocube. A development team directed by Valerio Fissolo developed a system which uses full color 3D printing to simplify the production of complex faces for use in stop animation productions, one of the entertainment sectors where 3D printing is proving most beneficial.
“Developing innovation and technology in areas that are strongly traditional is a fascinating challenge”, Francesco explained to 3DPI, thanks to the endless possibilities of expression that are made possible a creative vision that makes use of 3D printing technologies.”
Recent animation masterpieces by Laika, including Coraline, Paranorman or the more recent The Boxtrolls, demonstrate how stop motion animation is now more alive than ever, thanks to an artistic niche that was able to withstand the shock wave of huge productions, developed entirely through computer graphics.

Protocube, an Italian company with over ten years of experience in 3D innovation, has developed a specific workflow for the creation of a modular faceset that can be entirely 3D printed for stop animation applications. This workflow, which can be summarized in seven stages, is the result of an intense process of technical and creative research, based on the know-how gained by the company in many business sectors.
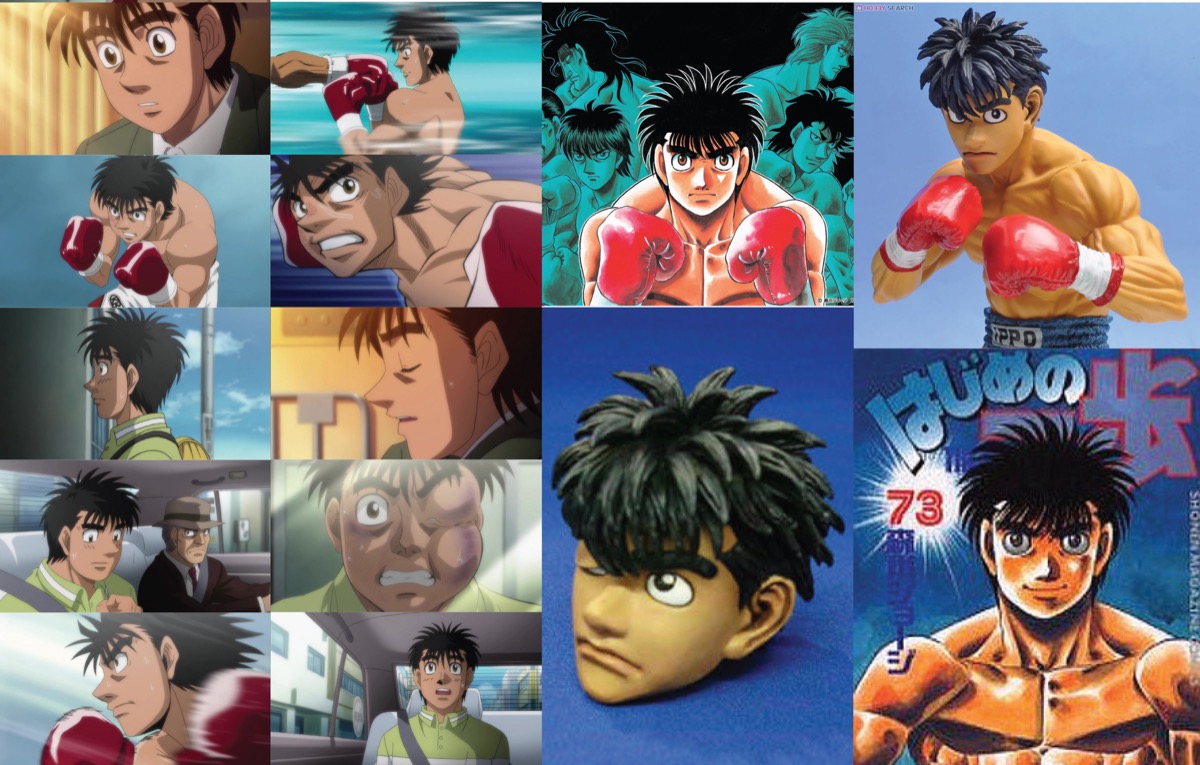
It all begins with the “Character Reference”, than is the accurate analysis of the character in different situations, which leads to the creation of a first “neutral” 3D model, which will be the base for all successive expressions. The faceset is thus defined in step two through a careful study of the reference and interaction with the art director, in order to define a matrix containing all necessary conditions necessary for animation. The expressions are then modeled in 3D.
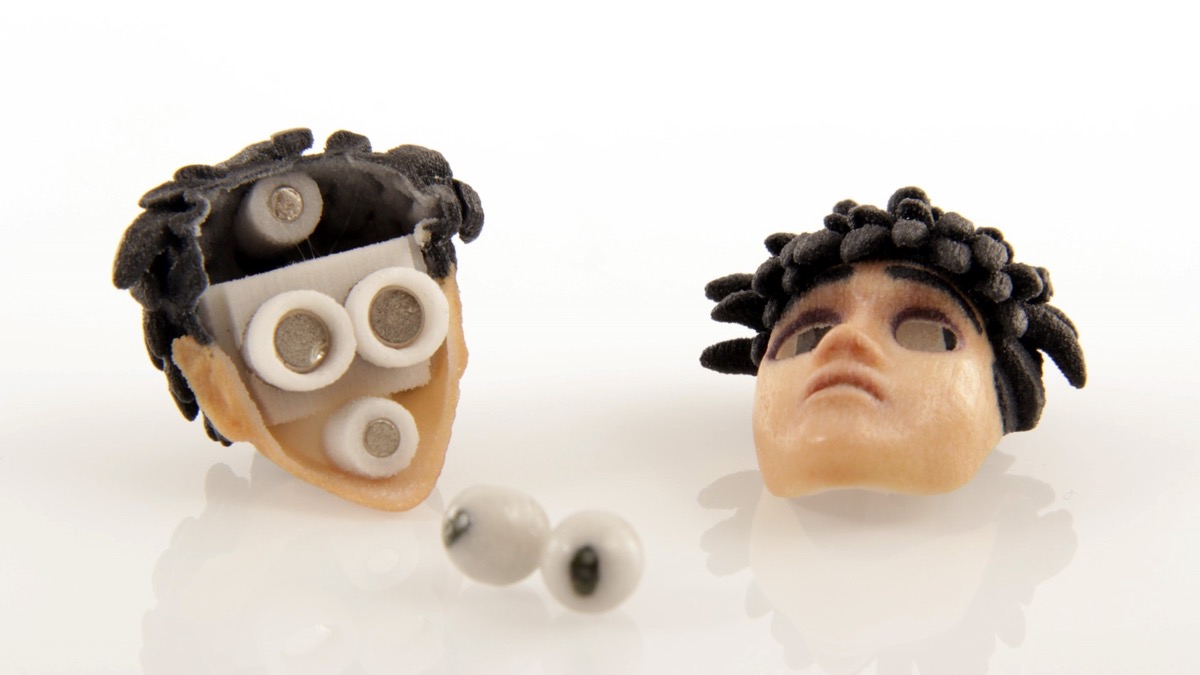
The third step is based on the implementation of a proprietary system consisting of three parts. One is the Head, equipped with space integration the moving parts and anchored the main skeleton of the puppet. Then come the Eyes, with a quick release system of magnets embedded in the head. Finally the face, which is articulated in one or more parts, to optimize the number of pieces on the basis of the variety and complexity of the expressions of the character.
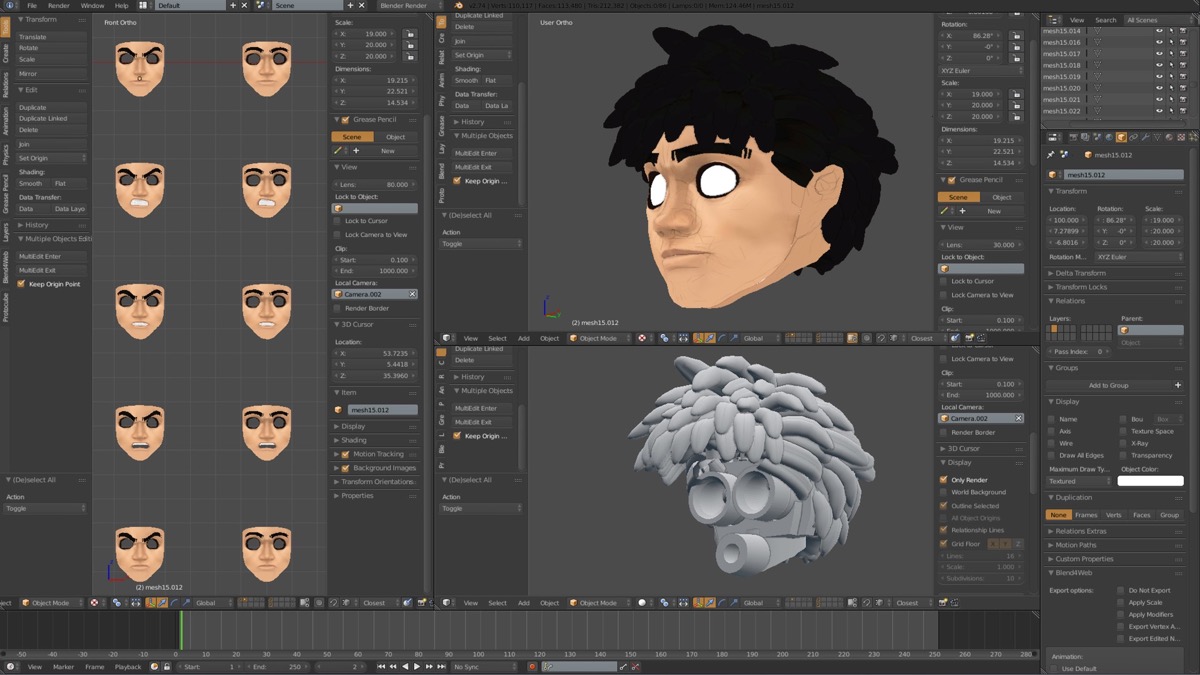
All stages of modeling and texturing are implemented entirely in Blender, an open source software increasingly being used in 3D printing related applications, thanks to its flexibility and powerful tools. The model defined aesthetically in Blender is then imported into Rhinoceros to be engineered.

The definition of the cuts requires very specific attention both in anticipation of the 3D printing process and subsequent parts management during the animation phases. Thanks to its surfaces management tool, Rhinoceros was used for the definition of the borders and for the optimization of the thickness for all surfaces to be 3D printed.
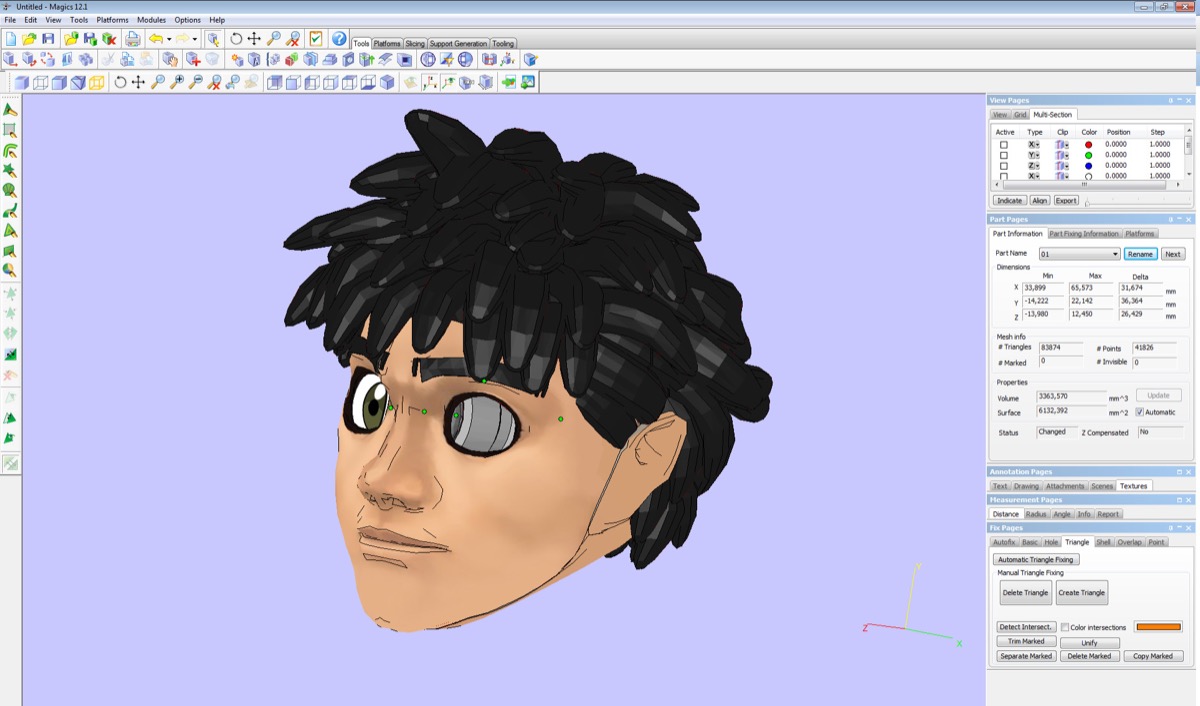
Before proceeding to 3D printing, it is absolutely essential to implement tolerance control and verification of the general geometry. Among the many software that can perform this kind of operation, Protocube chose to use Materialise Magics, a high-end solution that can optimize the mesh in a very simple and intuitive way.
3D Printing is the final of the seven steps. Protocube uses 3D Systems full color, sandstone based binder jetting technology. The multiple full color parts are assembled by setting the magnets in place, to then proceed to a final aesthetic check. Then the puppet is ready for the set. And the shooting begins.