I like to fancy myself as quite the geek. I have an obsession with sci-fi, I’ve been playing video games since I figured out how my thumbs worked, and I go to a lot of pop culture conventions, like this weekend’s MCM London Comic Con.
It’s only been over the last few years however, that I have delved into the wonderful world of Cosplay. I started out pretty easy, amalgamating characters to fit what items I had (think Steampunk Zatanna, Punk Little Mermaid, etc) before moving onto more complex creations. And that’s where the real fun (and hard work) started.
Prop building
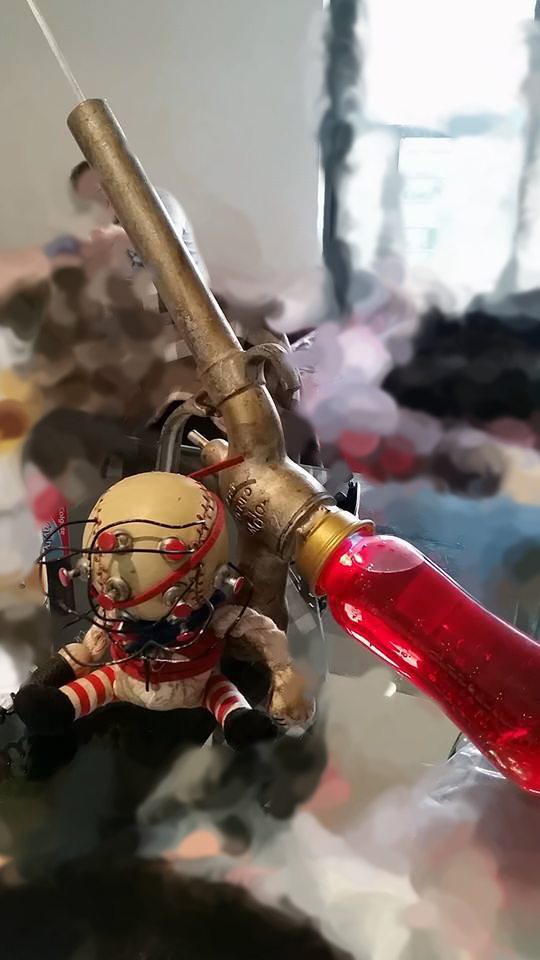
One of the first props I ever built was the ADAM syringe from the game Bioshock, a personal favourite.
This was a lot of fun to build, but it had a lot of flaws. Firstly, it was damn heavy. That gas pump nozzle is a real vintage one from the US, and it is made of thick metal. I carried it around for about 8 hours on the convention floor, and it was a pretty good substitute for weight lifting at the gym.
The weight also had an impact on shipping. This baby went from Arizona to Sydney, and then came with me to Melbourne PAX. The cost of shipping things all the way down to Aus is pretty high ordinarily, but when you factor in weight, the postage ended up costing me more than the nozzle itself.
There was also the issue of trying to stick the plastic bottle to the metal. A LOT of epoxy resin and hot glue was used in this process , which made the edges messy. I was also concerned it wouldn’t stay stuck, so that caused a lot of stress.
Finding a waterproof LED to stick in the bottle also posed a problem, but I ended up settling on one that flashed between red, green and blue. I just posed for photos when it was on red.
Sure, it looked super cool, but it was ultimately more trouble than it was worth. It cost me around US$150 total, it was troublesome to carry around, and it was nearly confiscated at weapons check (apparently my needle was too pointy and the prop itself was almost too heavy).
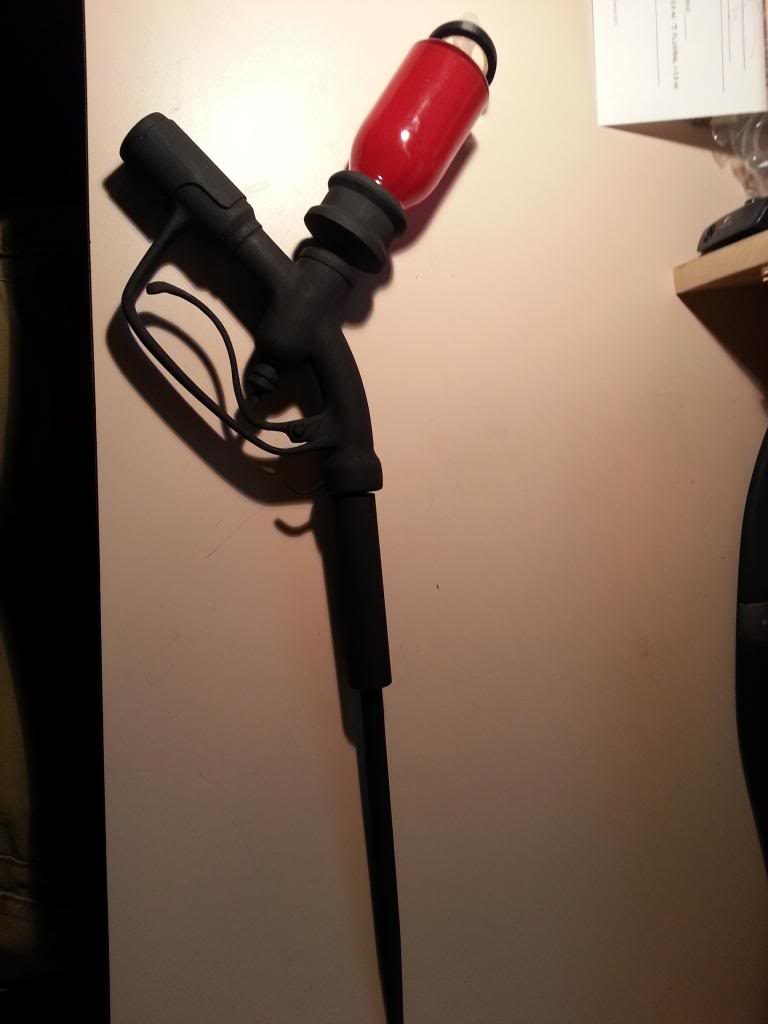
Fast forward a few years and I find this:
Yep, that’s a 3D printed Bioshock ADAM syringe. And look at how light amazing it looks!! The maker estimated that it cost around $10 in materials to print on his Makerbot, which he made for his high school prop design class.
If I had that kind of knowledge when I had planned my Little Sister cosplay, I would definitely have preferred to print my prop, and I’m not alone.
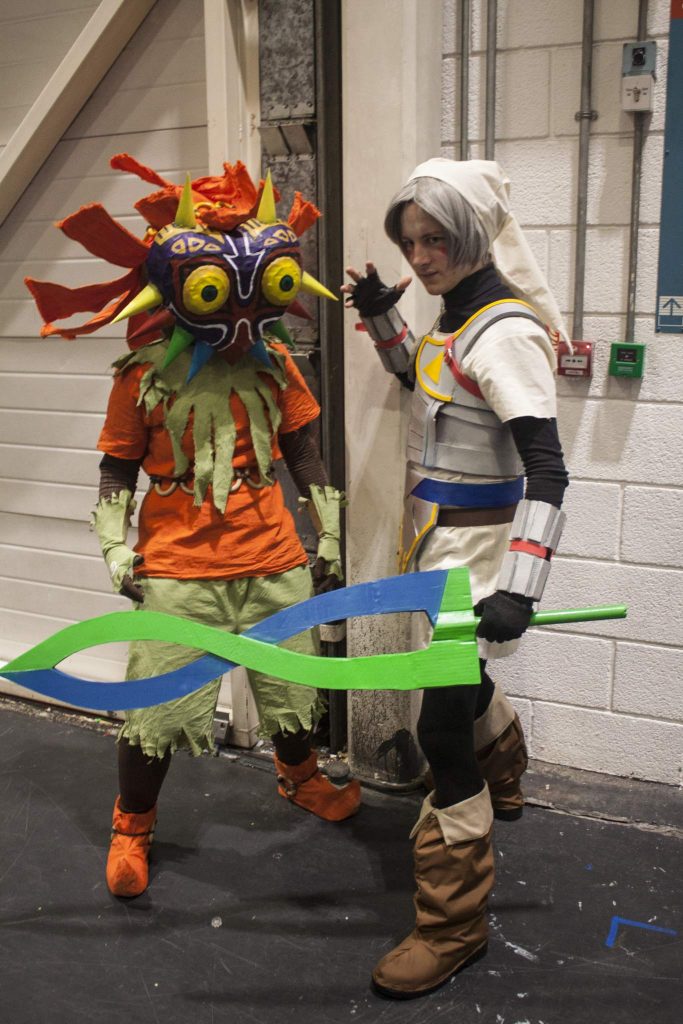
Walking around London Comic Con this weekend, I found myself talking to a lot of cosplayers about their creations. We talked about the length of time they took to make, what materials they used and how sturdy their pieces are. One was this Legend of Zelda fan.
This awesome Majora’s Mask piece is mostly made of cardboard and wood glue. The cosplayer told me she was worried about how fragile it was. I picked it up and it was pretty light, which can be great for headpieces, but it felt like it could break with a single rough bump from a fellow convention goer.
Now, her work is amazing, and the handcrafted nature of the piece is part of the charm, but the same result can be achieved by 3D printing the mask. You would get much more durable results, and still be able to hand paint it and really make it your own.
So what prop would you like to print given the chance?


