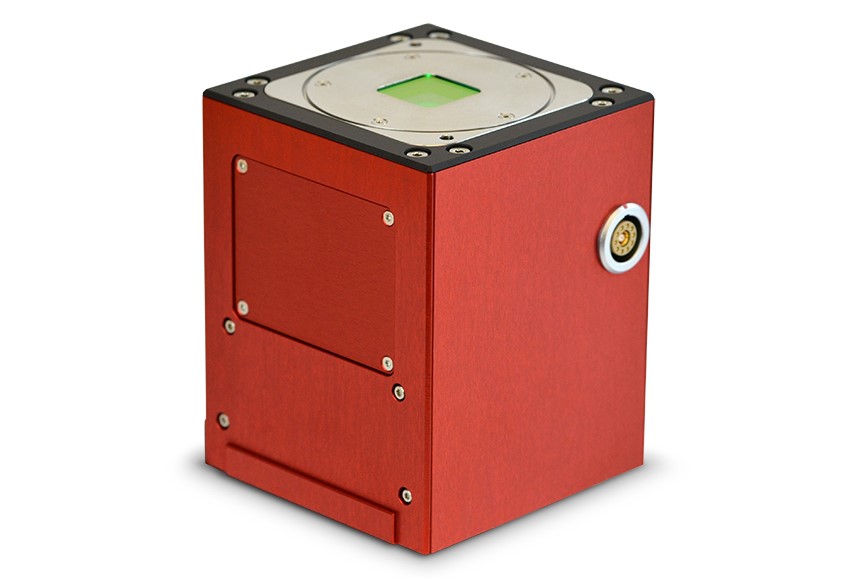
Laser beam specialist PRIMES has launched a new laser scanner characterization device for use with selective laser melting (SLM) 3D printers.
The ScanFieldMonitor (SFM) is described as an all-in-one diagnostic product for any and all laser beams and laser scanner devices, and grants users the power to determine various parameters about their laser sources. As such, the stand-alone device is designed to enable improved process optimization and system qualification, allowing users to better calibrate their laser-based 3D printers for industrial 3D printing.
“In less than three seconds, the SFM determines the most important production parameters,” explains Stephan Holesch, sales engineer at PRIMES. “With special measurement schemes, it is also possible to determine pincushion distortion, the merging of overlapping scan fields, the focus shift, and the laser switch-on and switch-off delay.”

Laser scanner qualification with the SFM
According to PRIMES, quality assurance in industrial 3D printing is lagging behind. In contrast to conventional laser welding, where diagnostic techniques for laser beams are well-established, SLM 3D printing still relies heavily on the dynamics of a printer’s scanning system. With more and more manufacturers increasingly integrating SLM into their process chains, sophisticated laser scanner characterization instruments are needed to set quality standards and guarantee verification.
The SFM operates on a patented laser characterization method, which leverages a glass plate engraved with a series of 10 – 15 micron thick measurement lines. When the user scans a laser beam over the plate, a photodiode measures the light scattered by each of the engraved lines. This process can be used to determine the laser beam’s path over the SFM, the caustics, and the field flatness.
Then, using the sampling rate of the integrated photodiode, the SFM is able to calculate the travel speed of the laser from the start to the end point of the path. From this, PRIMES’ proprietary algorithms can analyze several complex relations such as pincushion distortion, the merging of overlapping scanning fields, and even delays in laser activation and deactivation. Since data acquisition is completed in the time it takes to write the scanning vectors (a few milliseconds), the device is also suitable for time-resolved analyses such as thermal lens examination.
To precisely position a laser’s fusion track in the powder bed, it is crucial to synchronize the laser’s illumination sequence with the movement of the scanning mirror. Seeing as absolute positioning information is provided by the SFM, the instrument can ultimately be used to calibrate these two essential parameters.

What makes the SFM unique?
The key selling point of the SFM is its comprehensive nature, as it consolidates multiple measuring functions into one device. This makes the instrument scanner-agnostic, whereby it is able to characterize any laser-based scanning system thrown at it. This ultimately saves the user both time and costs, as the need for several capital investments is eliminated and the complexity of the workflow is significantly reduced.
With a frame measuring 80 x 80 x 100mm, the system is also compact enough to be placed anywhere in a printer’s build chamber. PRIMES has even added an ethernet interface along with a WLAN module, so the SFM can be controlled remotely from outside of the 3D printer. Unlike conventional beam diagnostic devices, the system is capable of analyzing the beam at full power, so measurements can be taken under actual operating conditions.

Subscribe to the 3D Printing Industry newsletter for the latest news in additive manufacturing. You can also stay connected by following us on Twitter and liking us on Facebook.
Looking for a career in additive manufacturing? Visit 3D Printing Jobs for a selection of roles in the industry.
Featured image shows the glass plate of the SFM. Photo via PRIMES.


