When people discuss engines, they usually mention the number of cylinders, horsepower, and maybe the engine’s torque, but do they have an understanding of all of the inner workings? Hands-on experience is one of the best ways to understand how mechanical systems work, yet most haven’t had the opportunity to disassemble an engine, let alone build one from scratch. Luckily, Thingiverse user Erik Harrell has uploaded everything you need to print a working mechanical model of a Toyota 22RE engine.
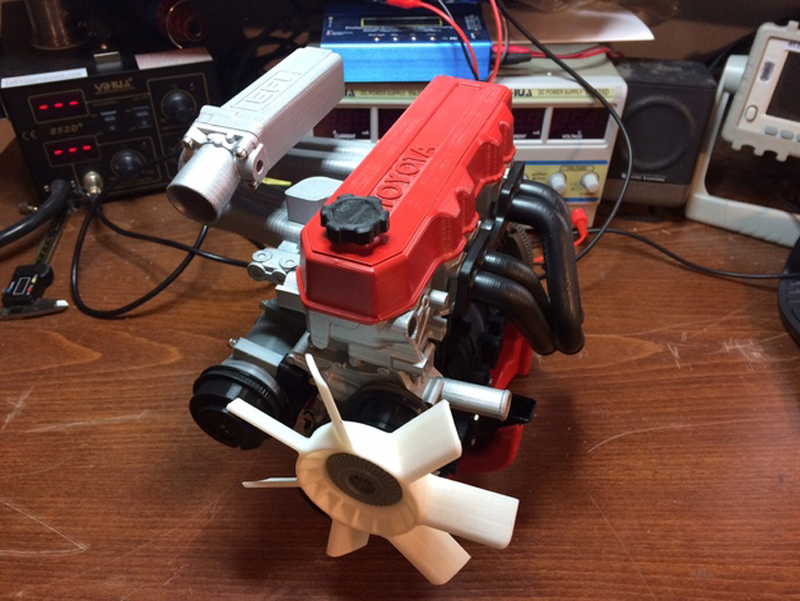
The 22RE was a popular 4-cylinder engine produced by Toyota from 1985-1995 that had an output of 105hp and a maximum 137lb-ft torque. Unlike the original 22R, the 22RE was fuel injected. Over time, it proved to be extremely versatile and became used in everything from Toyota’s pickup trucks to commuter cars.
Even though this engine hasn’t been manufactured in twenty years, there are still plenty of replacement parts available online. Someday, however, that might not be the case. This is where 3D printing can help save the day. With castable resins, such as those offered by FormLabs and EnvisionTEC, it’s possible for people to start printing and casting their own replacements parts. We’ve already begun to see 3D printing used for replacement car parts, and the market’s only growing.
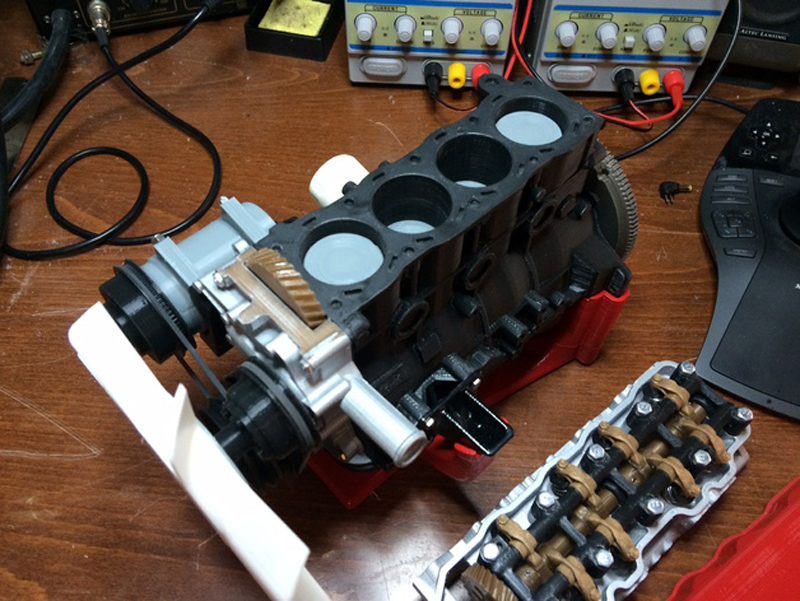
Along with the STL files, Harrell also included detailed assembly diagrams for nearly every part of the engine. In order to fit on an average printbed, the files have been scaled down to 35% of their original size. However, if you have a really big printer, and lots of time, they can easily be enlarged back to their actual size. The only non-printed parts needed are bearings, fasteners, and springs. Harrell ended up making his own valve springs out of steel mig welding wire, and provides instructions to guide you through the same process.
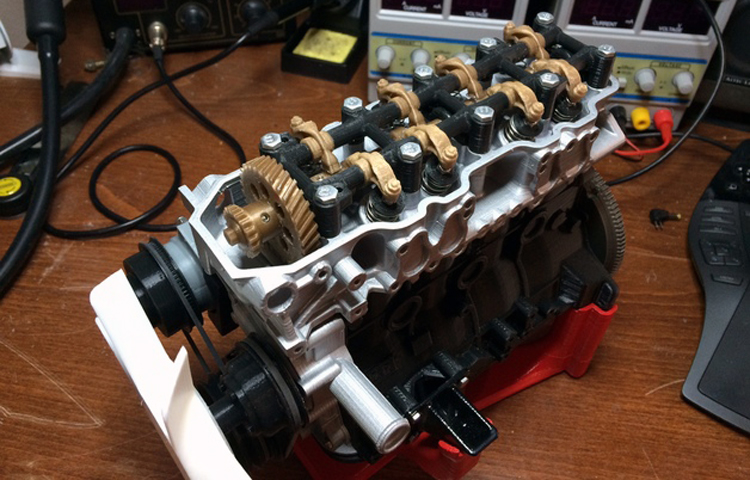
Be warned: This is a difficult print that can take well over 50 hours for all of the pieces. The parts were created with tight tolerances and printed using 0.2mm layer heights, so make sure your printer is accurately calibrated and in reliable working order before beginning. After printing all 80 components, the Harrell had gone through an entire kilogram of filament, so having a backup roll is highly recommended.
The project is still listed as a “Work in Progress”, so be sure to keep an eye out for updates!