This week I was invited on behalf of 3D Printing Industry to the headquarters of Sinterit in Kraków, Poland.
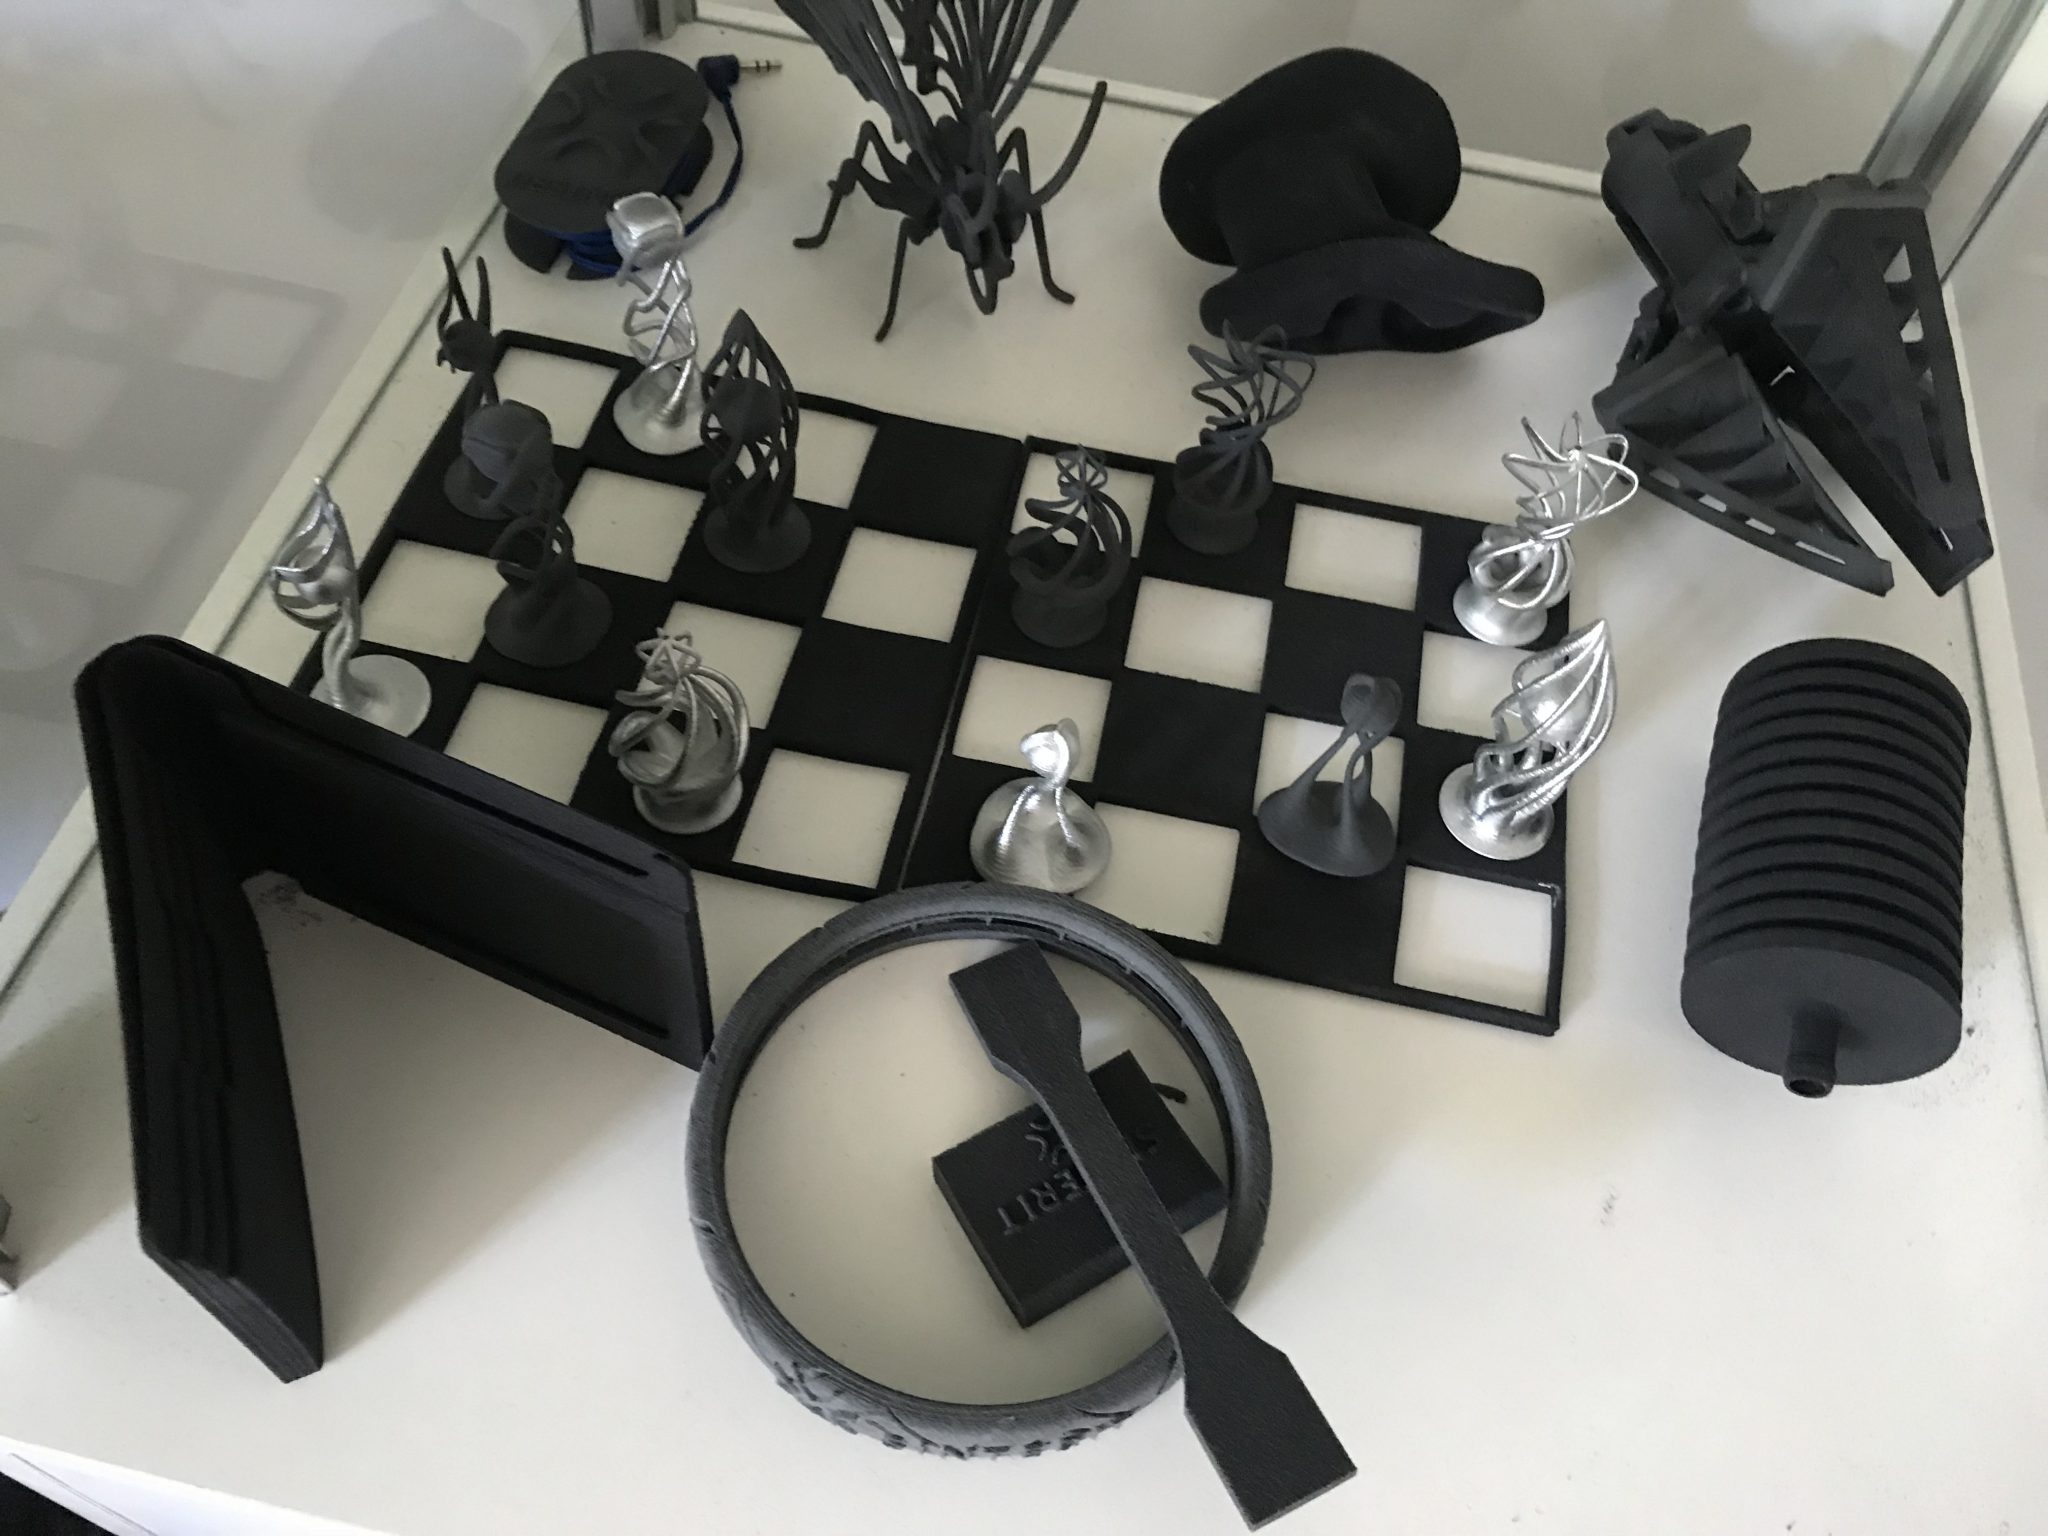
Sinterit was founded with the goal of bringing selective laser sintering (SLS) 3D printing to the desktop, opening up access to the technology. In 2015 this goal was achieved with the launch of the LISA 3D printer and, during my visit I was given a hands-on introduction to this first generation machine.
Now, in the coming weeks, Sinterit is set to launch a new 3D printer. Though full details will remain under wraps until later this month, we can share an exclusive preview of the forthcoming Sinterit SLS.
Getting started with SLS
Robert Garbacz is a Support Manager for after sales troubleshooting and queries at Sinterit. The most important thing to remember with SLS, Robert tells me, is the direction and concentration of heat across the print bed.
Polymer laser sintering is a delicate balance between the temperature of the powder bed, heated to just below melting point, and the contact of the laser. At the point where these two temperatures meet, the powder feedstock melts, then cools to form successive layers, building a finished, support free, 3D printed part.
Step 1, then, is to determine the positioning of a model.
The balance between bed and laser
Admittedly, for me, positioning and orientation is perhaps the hardest part of the SLS 3D printing process. However, Sinterit’s proprietary Sinterit Studio software has a number of smart features to help an operator decide on model positioning.
Due to the necessity of a heated print bed, a so-called “red zone” develops at the edge where temperatures are higher than recommended. Just inside the red zone, there is a “yellow zone” that can be happily breached by the edge of some models.
The “green zone” however, at the center of the build plate, is the LISA 3D printer’s sweet spot, where the temperature from all sides of the chamber reaches an optimal balance. With a 3D model in the center of the bed, the operator then needs to consider orientation.
Heat rises, which can cause distortion. A part containing bridges, such as a bottle, should be placed upright with the base on the bed to avoid collapse. As a guide, Robert recommends that many parts can be 3D printed on the LISA at a 45 degree orientation across each axis – X, Y, Z. This also helps with the grade of layers in a finished part.
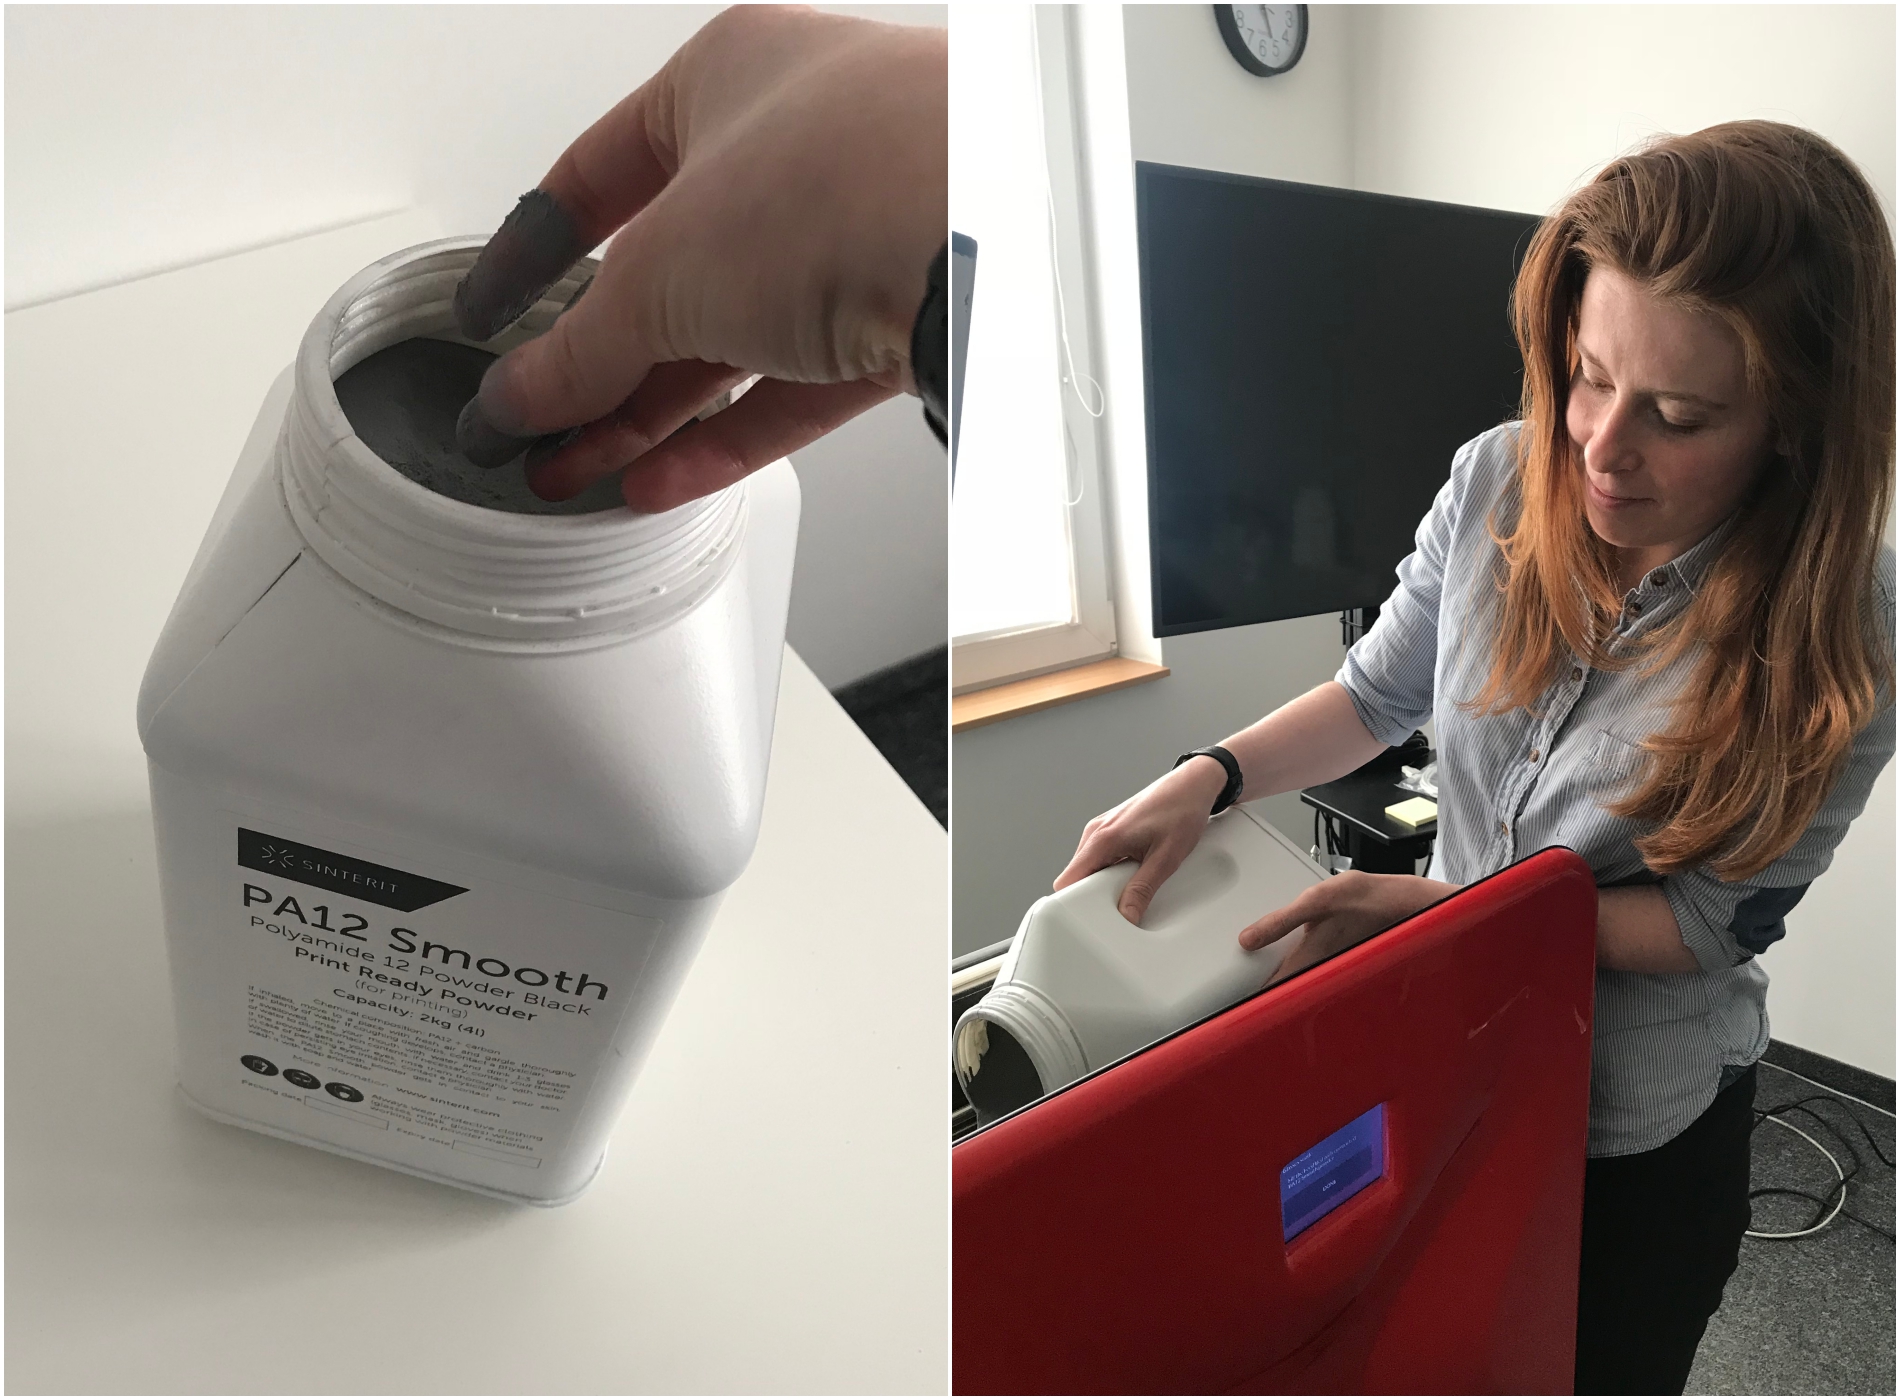
Press print
Step 2, now the part is positioned correctly, we can begin by preparing the machine. The touchscreen menu on the Sinterit LISA guides the user through every part of this process – from cleaning the laser plate through to filling the bed with fresh powder. In total, the process took around 30 minutes on my first time.
As Sinterit’s goal is to make this process as simple as possible, the company hopes that one day 3D printer will be operated at the “click of a button.” As yet though, there are many processes in the pipeline that require automation.
Post print
The estimated print time for a single spectacle frame, 3D printed as a test in my tutorial, was around 20 hours, including heat up and cool off time which is typically around 2 hours either side. However, one neat thing about SLS is that other objects can be nested into the bed without causing much increase in the print time.
I started my spectacle frame print at 5pm on Tuesday, and by 10am the next morning it was ready for removal from the powder cake. Optomizing workflow and starting 3D prints at the end of the day will be commonplace for users of other AM technologies. Enter step 3.
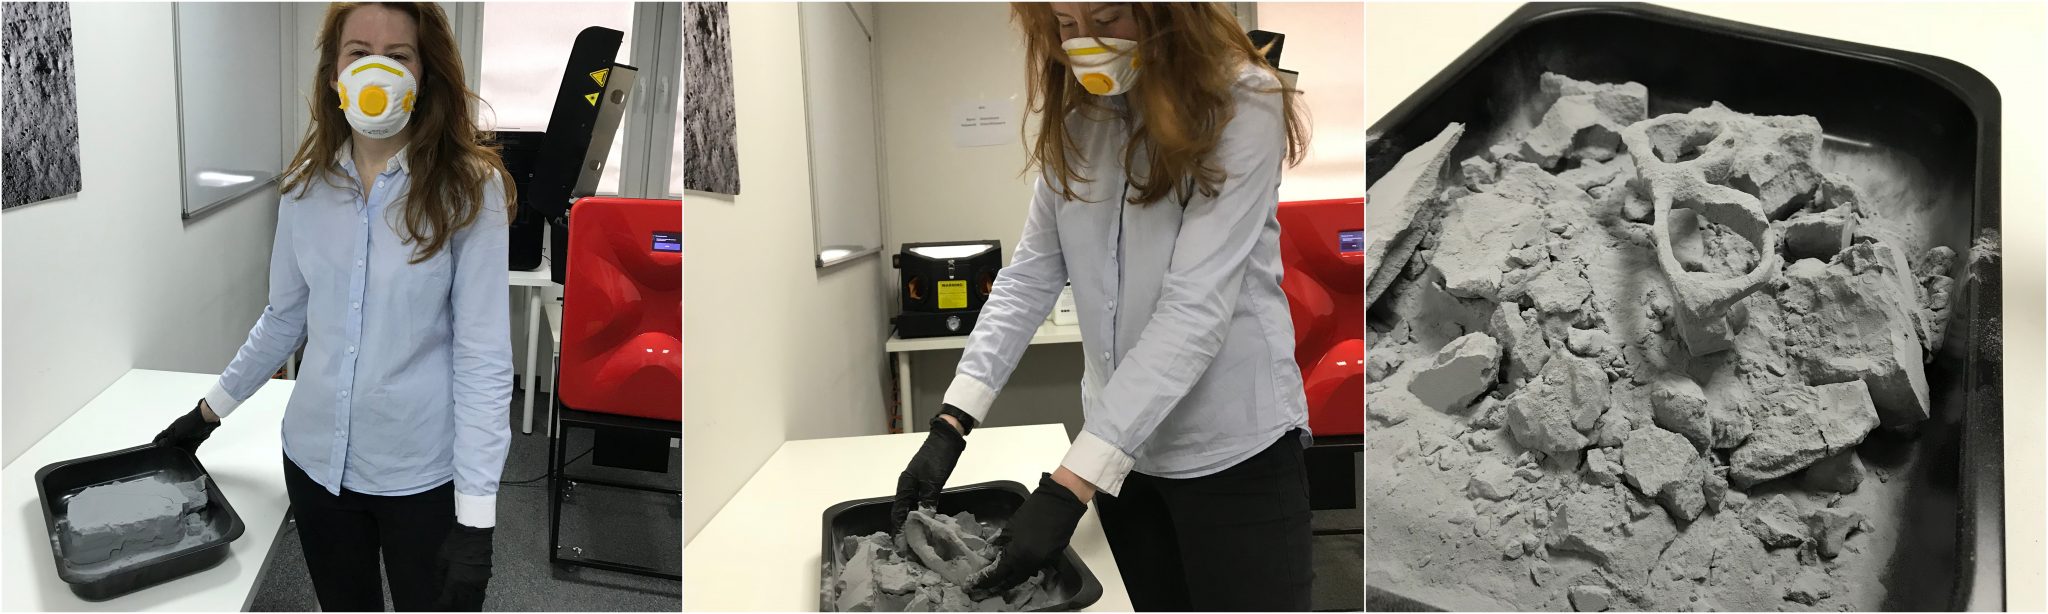
Here we had to remove the powder cake from the bed, and clean all the excess. Like excavating a lost artifact, the process is first done by hand and with brushes.
When the majority is removed, the parts are then sandblasted by hand.
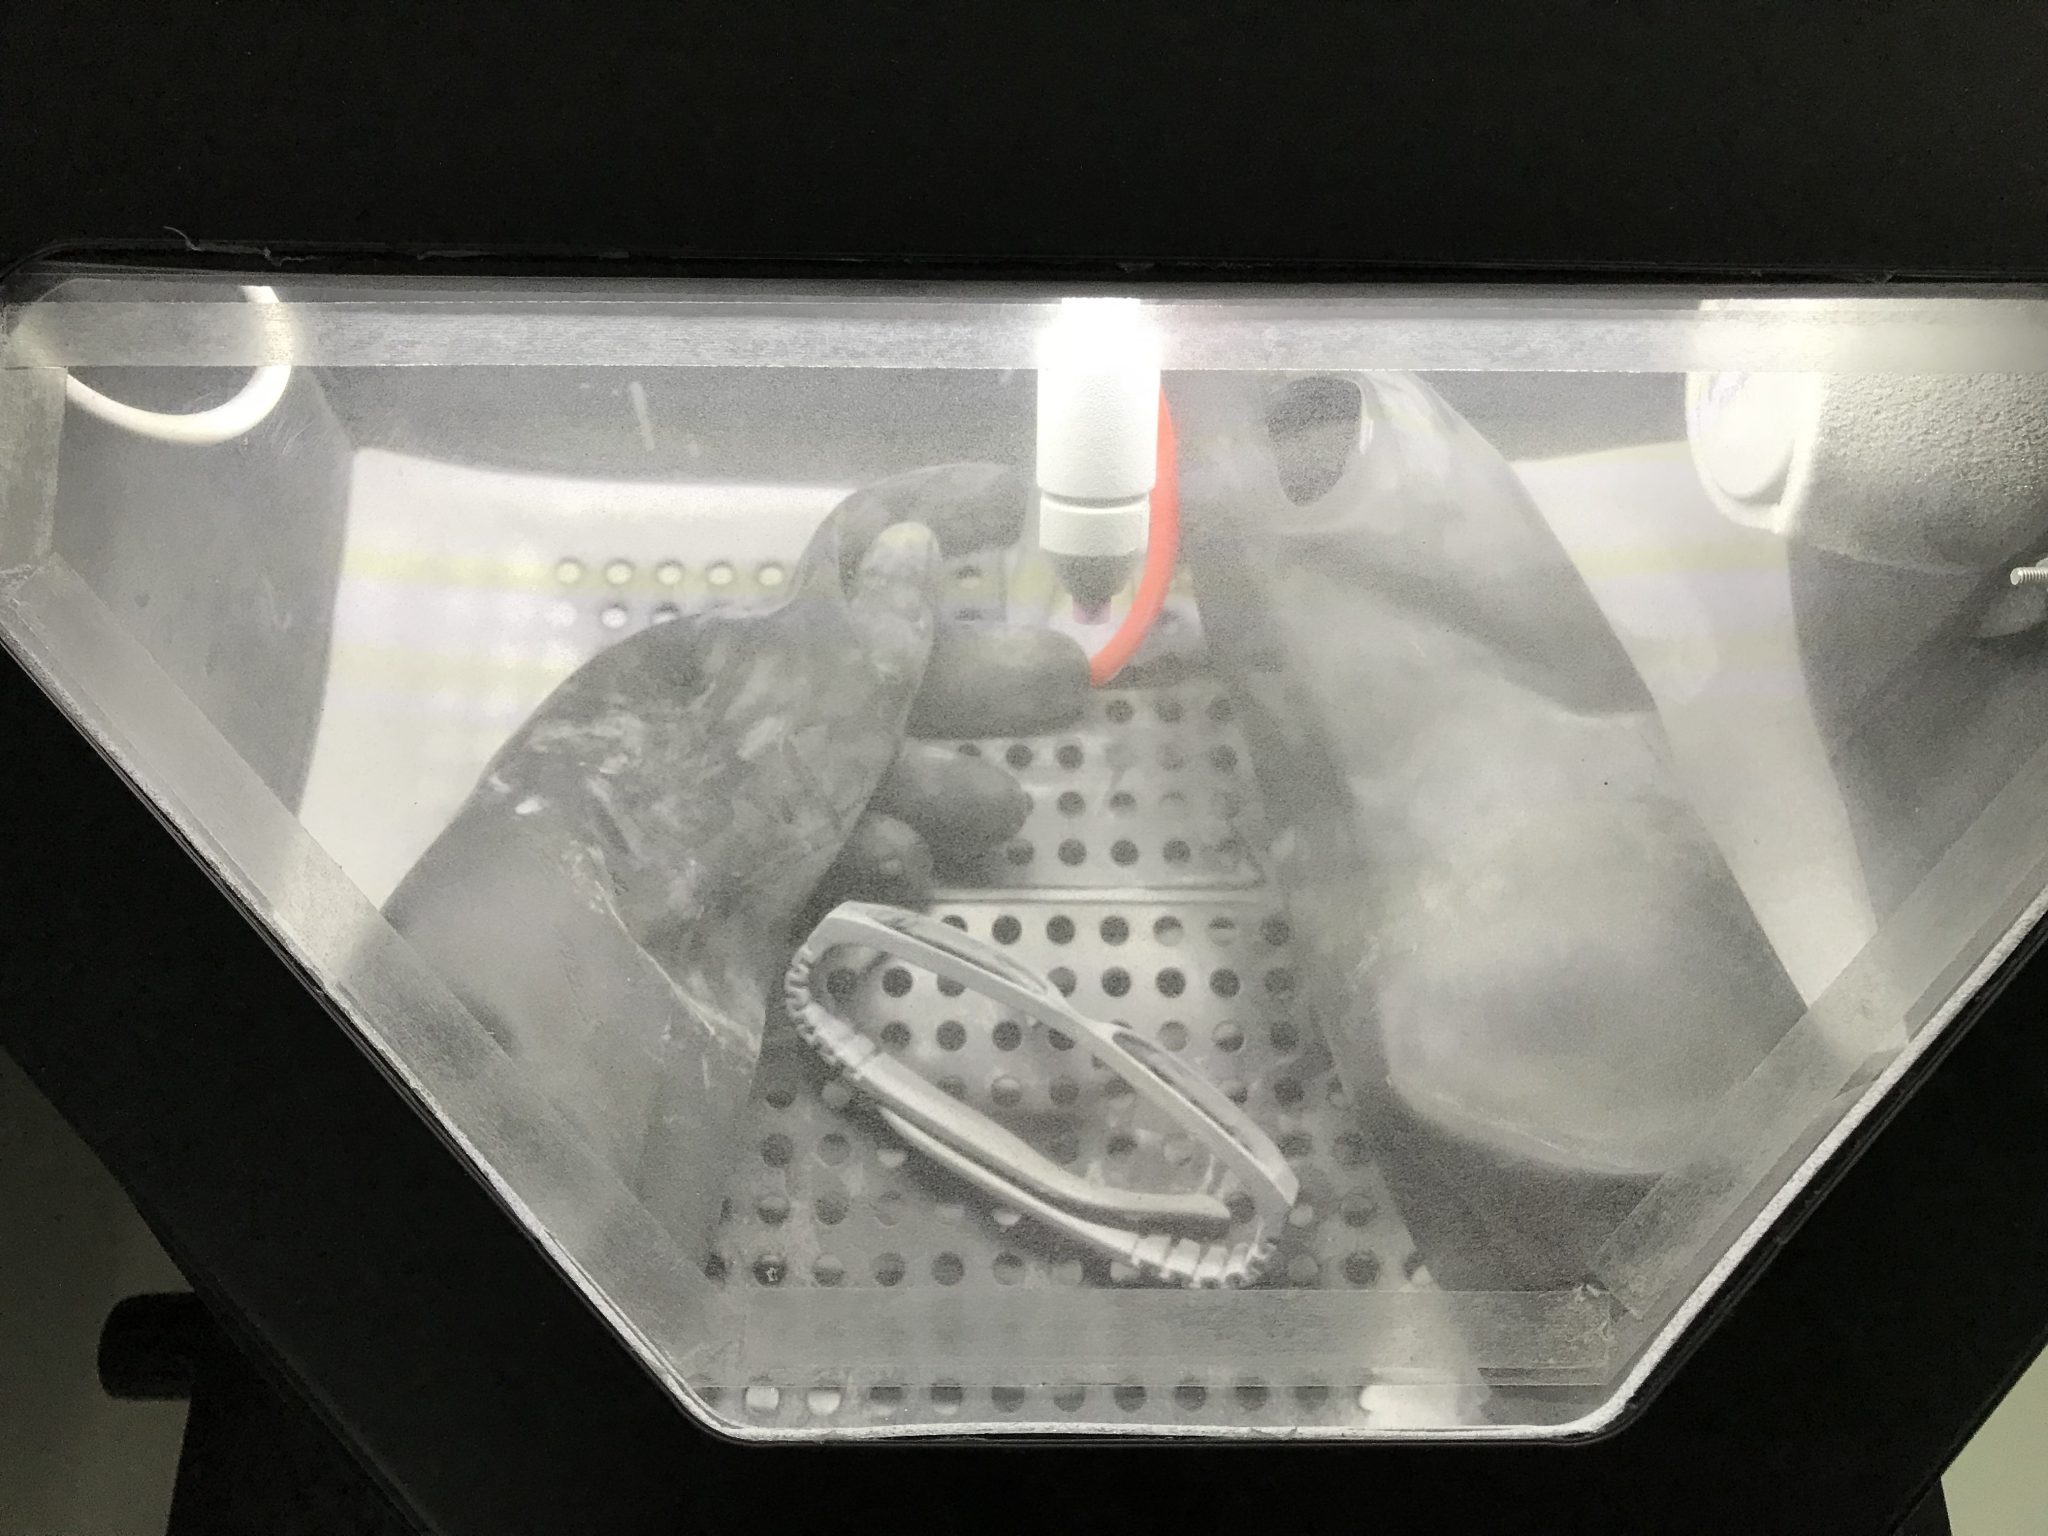
After this step, excepting any further coloring or coating, and taking care to blast narrower parts of the object, the part is ready for use or, in my case, wearing.
Coming soon from Sinterit
Extending its product line into the next stage, Sinterit is now ready to launch a new product to the market.
Like the LISA, the new system is an SLS 3D printer, but the technology has undergone a number of upgrades to fulfil customer requirements and further industrialize the capabilities of workshop SLS.
Paweł Szczurek, CEO and co-founder of Sinterit explains, “From the very beginning we saw the potential for [accessible SLS 3D printing]. This type of printer gives you a lot of freedom, strength and what you need for professionals that design mechanical parts.”
Sinterit’s latest 3D printer will be released later this month.
To be the first to hear about the Sinterit 3D printer release and receive more exclusive insights from 3D Printing Industry, sign up to our daily newsletter, follow us on Twitter, and like us on Facebook.
Search and post 3D Printing Jobs for opportunities and new talent across engineering, marketing, sales and more.
Cast your vote in the 2018 3D Printing Industry Awards where Sinterit are in the running for 3D printer of the year and most creative use of 3D printing.
Featured image shows a 3D printed spectacle frame still in the powder cake. Photo by Beau Jackson