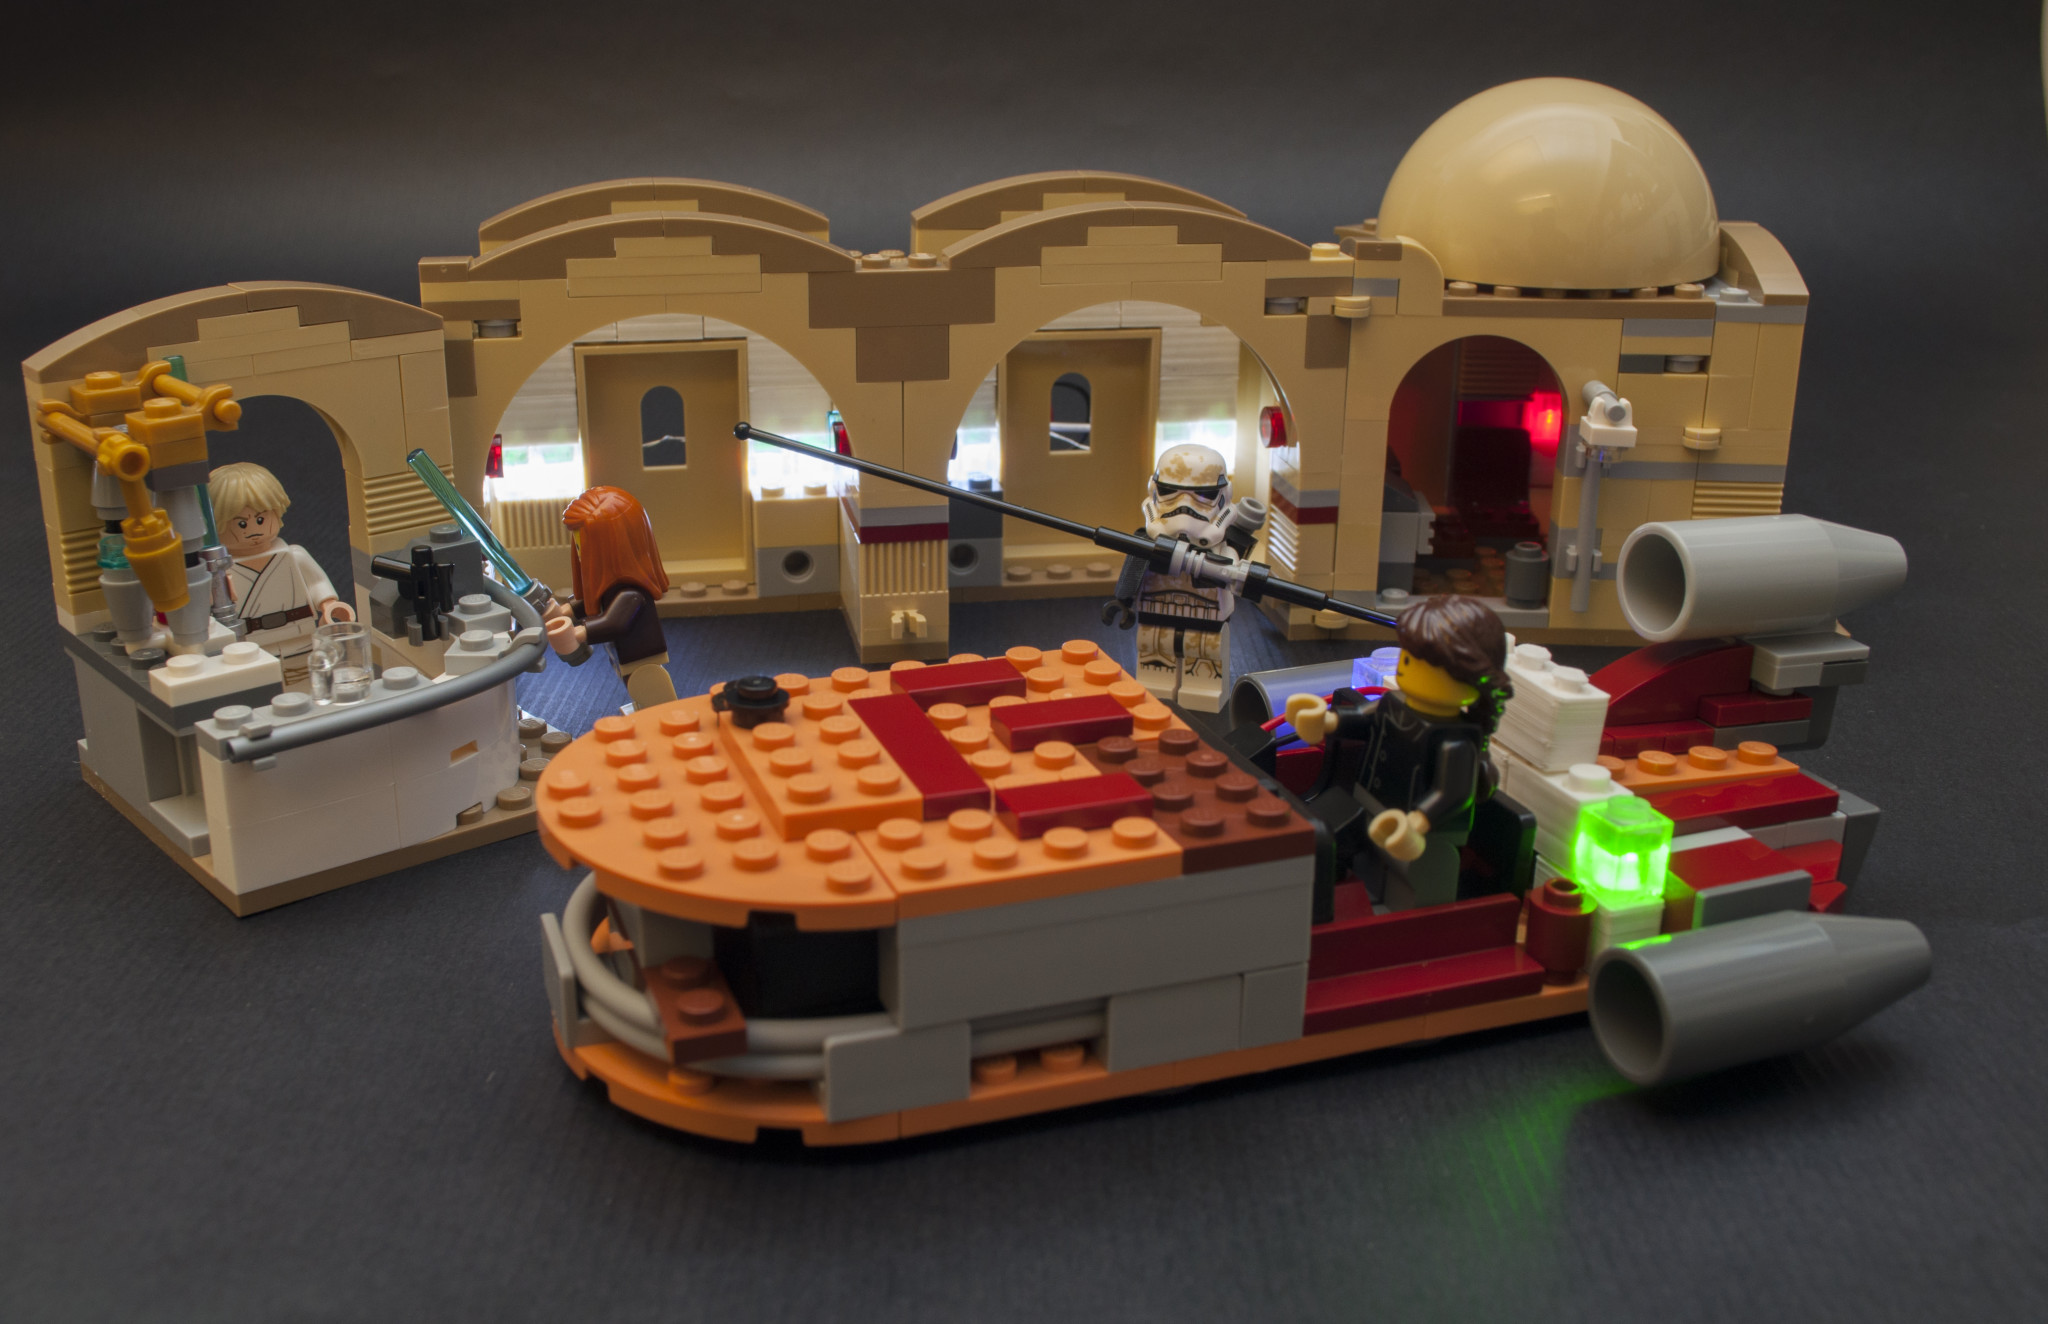
As we move from a consumer vs. producer society, in which skills are specialized and compartmentalized to individual manufacturing businesses, to a prosumer society, in which empowered individuals explore and merge every technical field to fully actualize their creative powers, more and more start-ups are emerging with simple products to teach customers the basics of previously complicated skills, like programming, electronics, and engineering. Among them is Lunchbox Electronics, which just took to Kickstarter to fund a fun and simple way to teach kids the basics of electric currents with something they’re probably already familiar with: LEGOs.
Seeing existing LED bricks as too big and clunky for every design, Lunchbox Electronics designed smaller LEGO-compatible bricks that allow builders to light up their creations, called Build Upons. In order to do so, Build Upons utilize three brick components: a power brick, a bridge brick, and an LED brick. The power brick connects to a battery pack and feeds electricity, via the bridge brick, to an LED brick which light up, while teach kids how electric currents work. But, before Lunchbox Electronics could take to Kickstarter, which should allow them to mass produce their Build Upons, the start-up had to first prototype their designs.
Using a LulzBot TAZ 3D printer, the Makers at Lunchbox developed and tested their designs with 3D printing. Over at the Lunchbox site, they’ve provided a detailed post describing just how they were able to embed electronics into their LEGO-style prints, even including the gCode, so that you can get to embedding electronics into your own prints at home.

It may not be a complicated process for embedding objects into your prints, but, because they’ve done all the work for you, all you have to do is modify their gCode for your own project and you can get printing. And, soon, you may even have your own Kickstarter on your hands!


