Our series looking at the future of 3D printing continues with insights from NIST about how additive manufacturing can be improved and optimized.
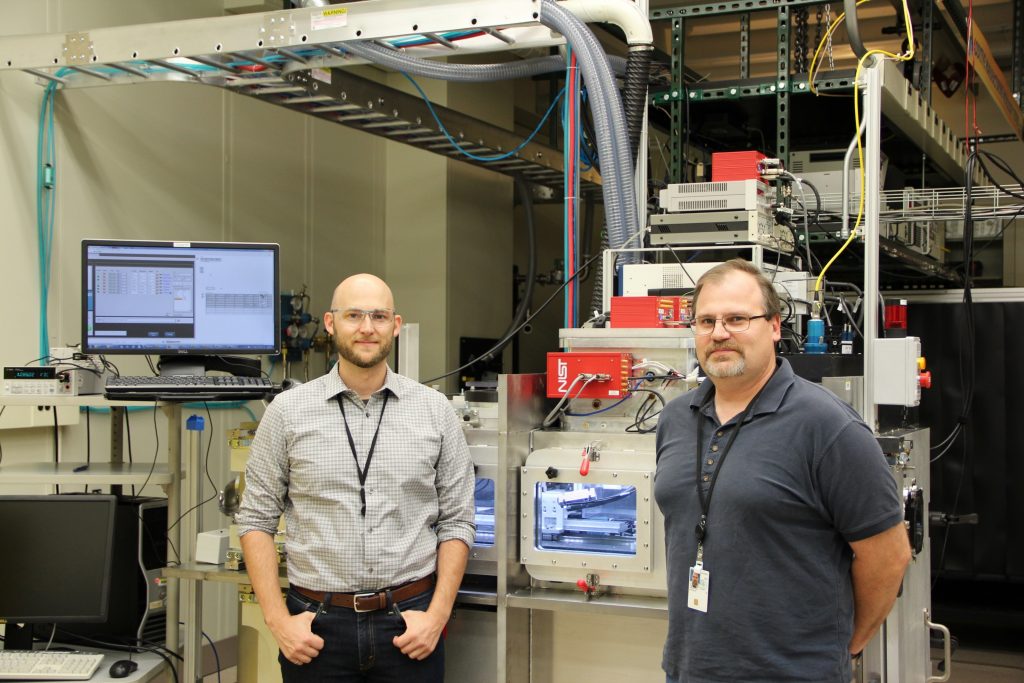
Brandon Lane received his Ph.D. in mechanical engineering from North Carolina State University in 2013, and soon after joined the NIST Engineering Laboratory. He leads the Real-Time Monitoring and Controls for Additive Manufacturing project, and co-leads development of the Additive Manufacturing Metrology Testbed (AMMT). His expertise is in applied thermography and radiometric thermometry of high-temperature manufacturing processes.
Steven Grantham joined NIST in 1999 after receiving his Ph.D. in optical science and engineering from the University of Central Florida. He has over a decade of experience in laser-matter interactions as well as optical and optomechanical instrument design. He is part of NIST’s Physical Measurement Laboratory team working on the development of the Additive Manufacturing Metrology Testbed (AMMT) and the Temperature and Emittance of Melts, Powders and Solids (TEMPS) system.
3D Printing: The Next 5 years by Brandon Lane, PhD, and Steven Grantham, PhD, NIST
We’re certainly in the midst of a manufacturing revolution. One of the most common words to describe the growth of metal additive manufacturing (AM) is ”exponential”. Although we hear about new industry applications of metal AM every day, manufacturers still need to keep one foot on the manufacturing floor and the other in the R&D department.
For researchers, like those at NIST, the number of questions surrounding the underlying process physics are also exponentially growing (as a good research topic should!).
Broadly speaking, the answers to these questions are cleared up through measurements, but the way you measure something generates additional questions. For example: Which measurement tools can best acquire the key physical information about the process? What do these measurements say about the quality of the AM build process? How can we determine the quality of those measurements?
These are exactly the type of questions NIST is known to answer, and is why NIST’s Measurement Science for Additive Manufacturing program launched in 2013.
Monitoring in an extreme environment
Metal AM, particularly laser powder bed fusion, is an extreme thermal process. Within the width of a few human hairs, a focused laser spot heats metal until it melts and even boils. Needless to say, we cannot just stick a thermometer in and read a number. By knowing the true temperatures in and around the melt pool, and knowing how good that measurement is through traceability to NIST primary standards, tons of useful information can be gathered.
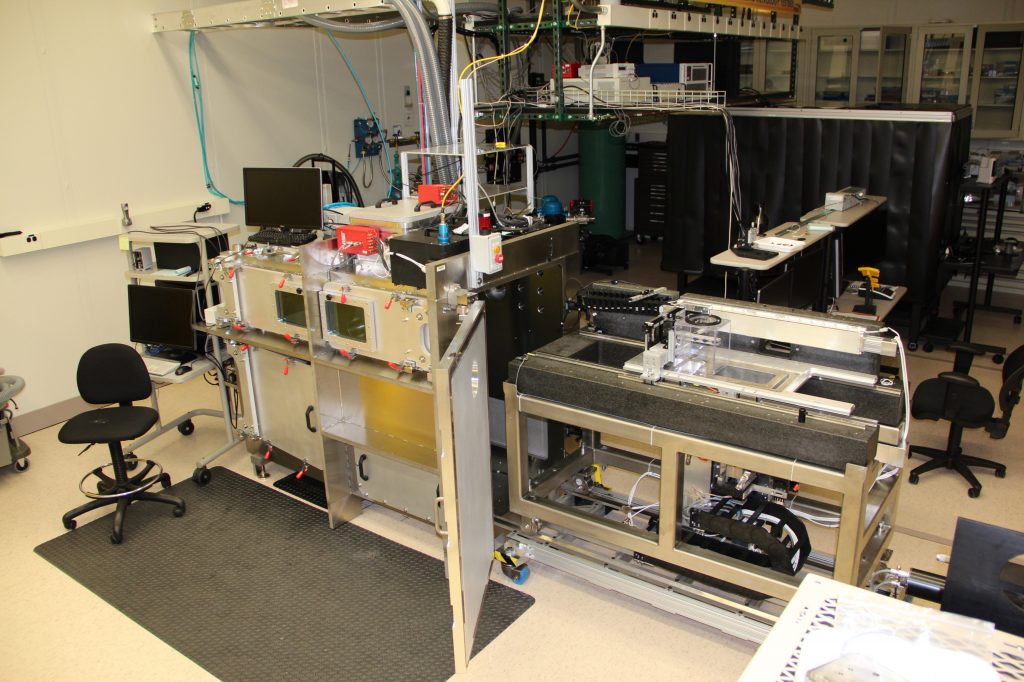
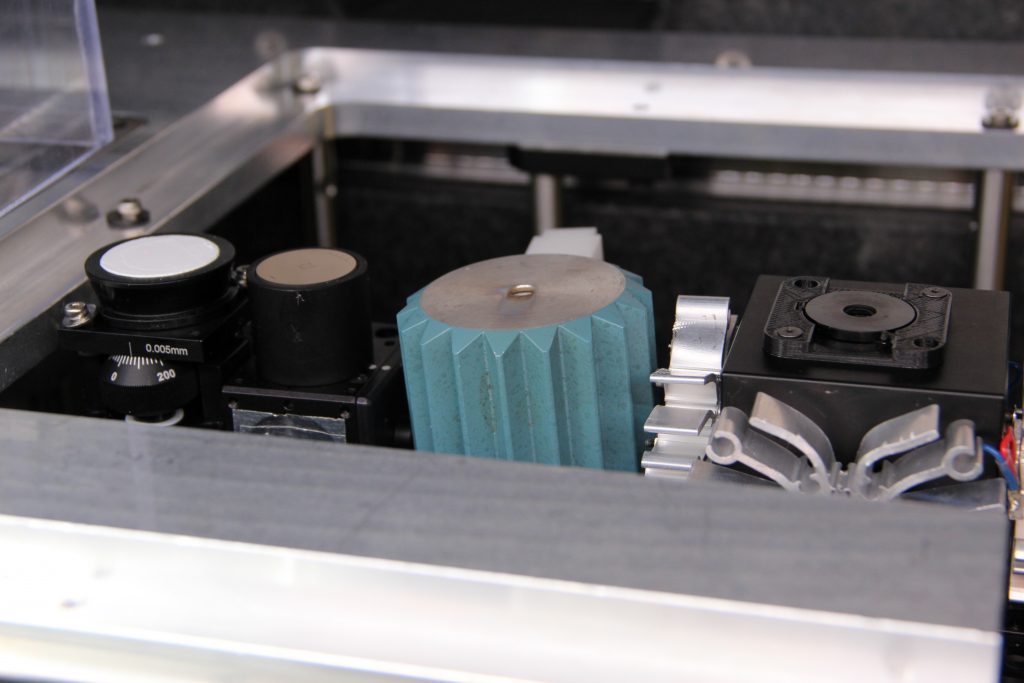
This is why we built the Additive Manufacturing Metrology Testbed (AMMT), for developing and evaluating various AM process-monitoring methods in an open-controlled platform, and the Temperature and Emittance of Melts, Powders and Solids (TEMPS) system, for traceable true temperature measurement of the laser-induced melt pool and heat-affected zone.
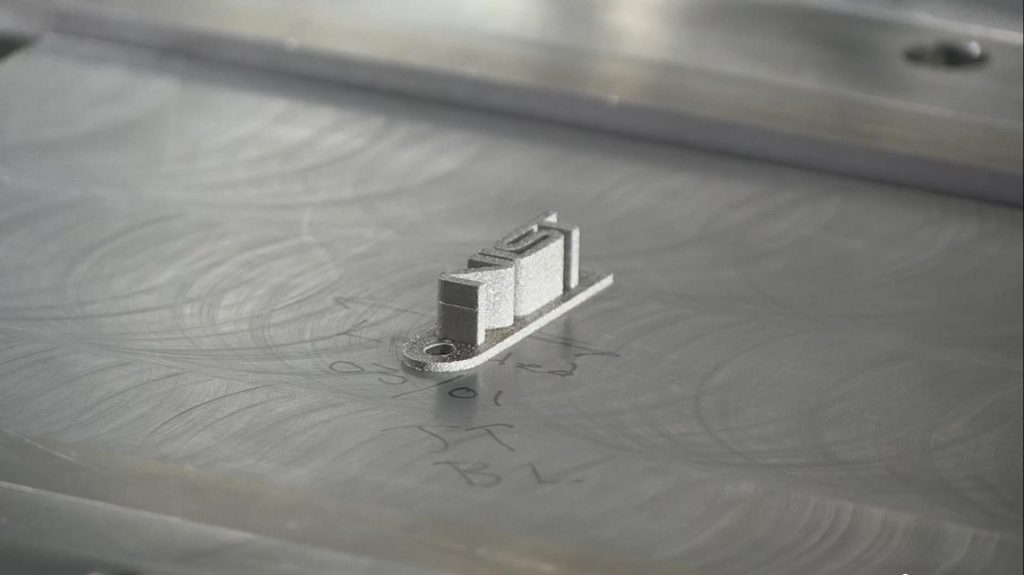
One key group of stakeholders for true-temperature measurements consists of those creating complex thermomechanical simulations. These simulations hope to predict various outcomes of the AM process such as residual stress and deformation, build defects, or even microstructure evolution.
As of today, the complexity of AM simulation physics surpasses the availability of accurate measurements to confirm their results. Overall, there is limited quality empirical data with which to compare. Large-scale collaborative endeavors such as the Department of Energy’s Exascale Additive Manufacturing (ExaAM) project, or the NIST-led AM-Bench conference series are coordinating empiricists and modelers to help each other improve these simulation tools.
The next few years will really show the power and utility of the simulations, largely enhanced and demonstrated by these large, public collaborations.
Coupling simulation with in-situ monitoring to improve additive manufacturing
Simulations are improved through measurements, but they can also help researchers interpret a measurement. For example, a simulation might predict the expected melt pool size and temperature during a 3D build.
This data can then be used as a baseline comparison for real-time melt pool monitoring. A few early examples of this concept have been demonstrated, but the true utility of coupling simulation results with in-situ monitoring data will be demonstrated in the years to come.
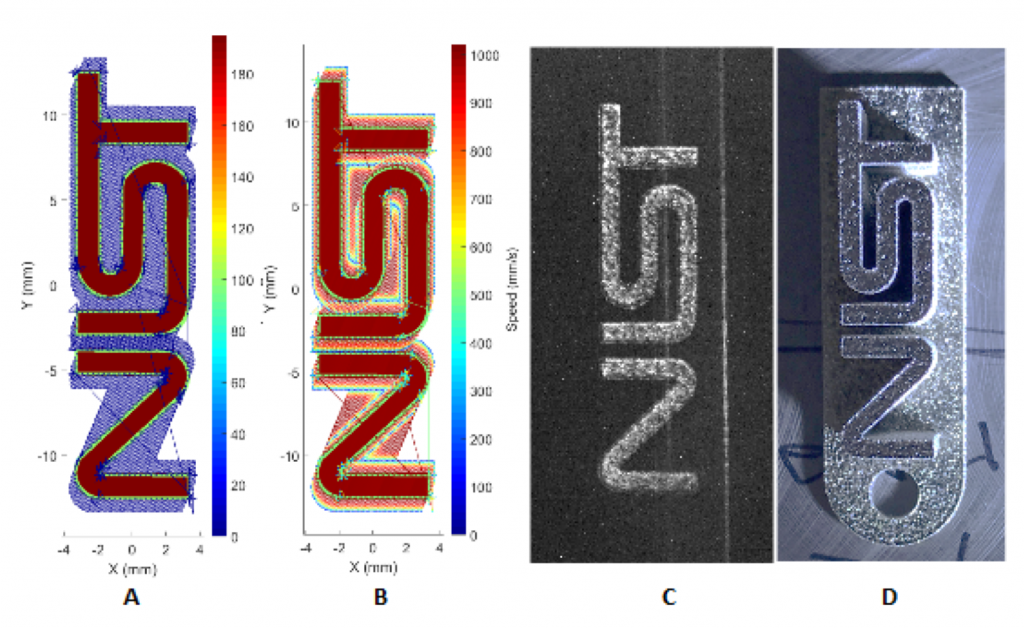
Melt pool monitoring systems are already appearing on commercial laser AM machines, and showing great promise to identify individual defects, or regions within a 3D part with a high statistical likelihood of defects. But, we are still years away before they may be a standard tool for part qualification and certification.
In the next 5 years, we will start to see best practices emerge, including calibration and characterization tools, and standards written to communicate these tools, which will be a key element for rapid part certification.

There are a lot of anticipated, futuristic visions for metal AM circulating such as controlled metal microstructure, functionally graded materials, and composite materials. Predicting a timeline for when these will be realized or even commercialized is difficult at best.
However, the various measurement tools applied to AM are coalescing and focusing on some specific technologies. We see, and will continue to see, both improved predictive modeling enhanced through well-characterized measurements, expanded and improved use of in-situ measurement tools to monitor the build process, and better understanding of process physics to improve or optimize control of AM processes.
You can read more articles in our future of 3D printing series here. If you’re interested in sharing your own perspective with our readers, then email us now.
For more 3D printing insights and analysis, subscribe to our free newsletter and follow our active social media accounts.

