
Many people ask how difficult it is to learn to laser engrave by oneself, how complicated it is and what is needed for it. Endurance Lasers would like to tell you about some of the nuances of laser engraving.
Our purpose is to show that the laser engraving process is easy enough for anybody to master. And we’d like to dwell upon some nuances.
Now step by step.
Choice of the material
First of all you need to choose a workpiece. You can choose practically any material as a workpiece, once you ensure that the material does not release harmful fumes when burning or melting.
IMPORTANT NOTE: DO NOT TRY TO ENGRAVE ON VINYL. Vaporizing vinyl can release extremely dangerous fumes which are also harmful to the laser’s electronics.
It is impossible to engrave aluminum, glass or transparent acrylic by the direct exposure of the material to a solid state laser (a powerful enough laser will mark transparent acrylic, but the material’s light scattering will smear lines or pixels, resulting in low resolution). But you can master the technology with which you can overcome the problem.
Leather
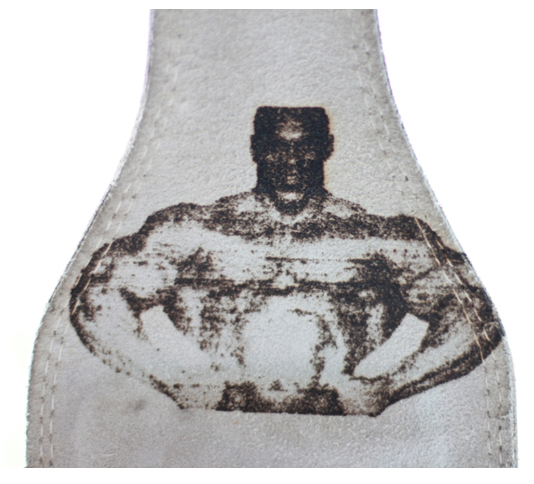
Let’s start with leather and take a regular athletic belt for powerlifting as a workpiece.
Let’s choose an image – Ronnie Coleman’s picture.

At first we need to process the picture. We copy it in the CNCC Laseraxe program, where we are going to work further.
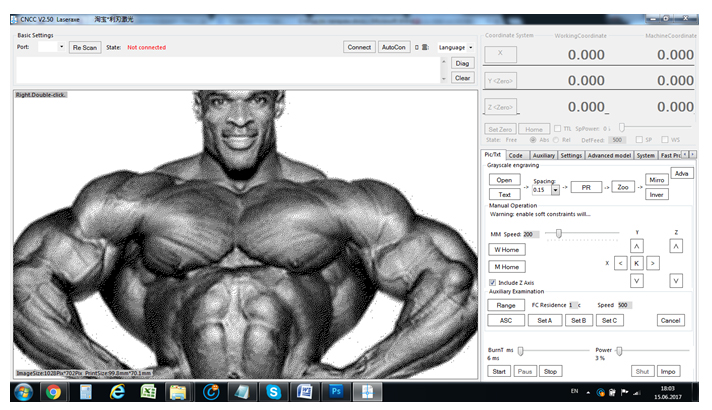
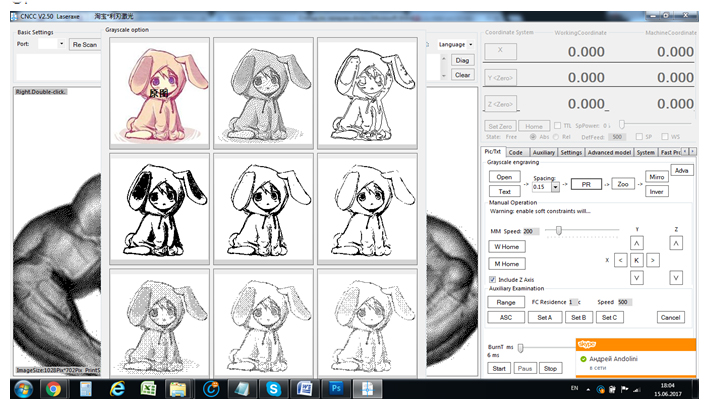
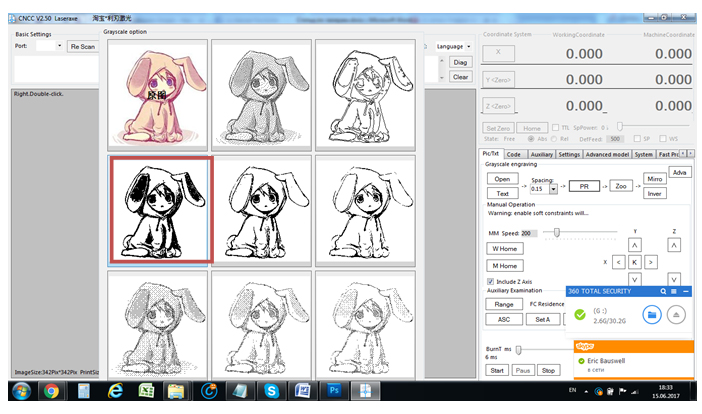
To convert the image into the format we need we’ll use the “PR” tab and select the upper second pattern for conversion.
Or
Now our image consists of black and white dots. In laser engraving the black color means the laser on mode, the white color – off.
Using the Adva tab we convert the image into a G-code. The bigger is the image the longer is the conversion time. Up to 1 million G-code lines will be generated for the image 100х100 mm. So you will need to be patient if your PC is not fast enough.
Now we are ready to start engraving.
Note that to engrave leather you need to minimize the laser intensity. The 3.5W laser will burn the leather sample through if you use 100% of its intensity. You need to adjust the power in such a way that the laser beam makes black dots (if you engrave in dots).
Settings for the 3.5 W Endurance DIY:
Speed 500.
Laser power 35%.
Engraving mode – by dots.
Bread
We decided to surprise everyone by presenting the first engraving on bread.
Many confectioneries and bakeries would like to make their products special, to stand out among others. You can, of course, make a stamp to identify your bakegoods with your logo or inscription. But there is another way – to laser print an inscription or a picture on the product.
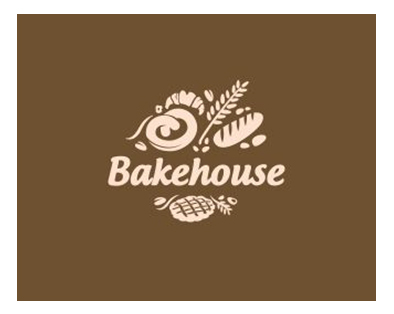
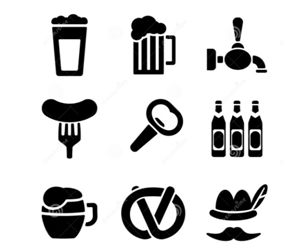
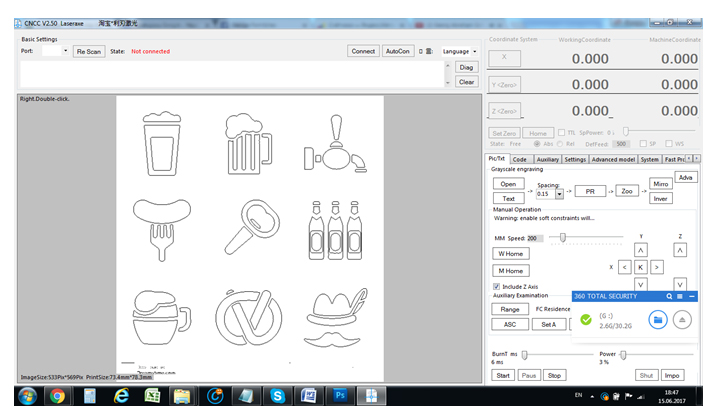
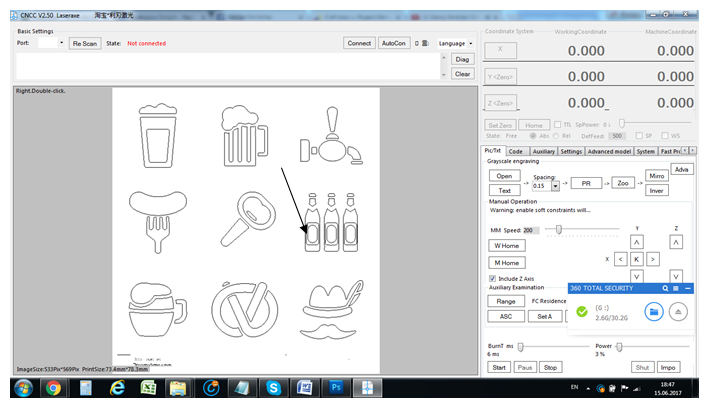
Let’s take a ready pattern.
It is easily converted into a G-code format.
Here we’ll use the outline mode.
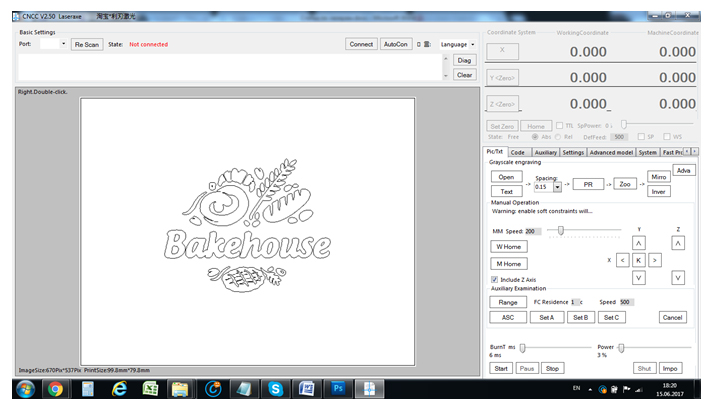
The engraving will take less than a minute.
Settings for the 3.5 W Endurance DIY:
Speed 500.
Laser power 50%.
Engraving mode – by outline.
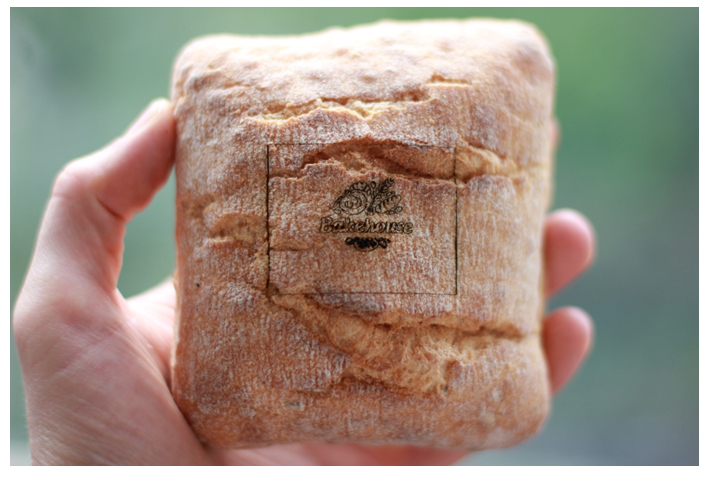
The engraved bread smells deliciously like newly-baked bread.
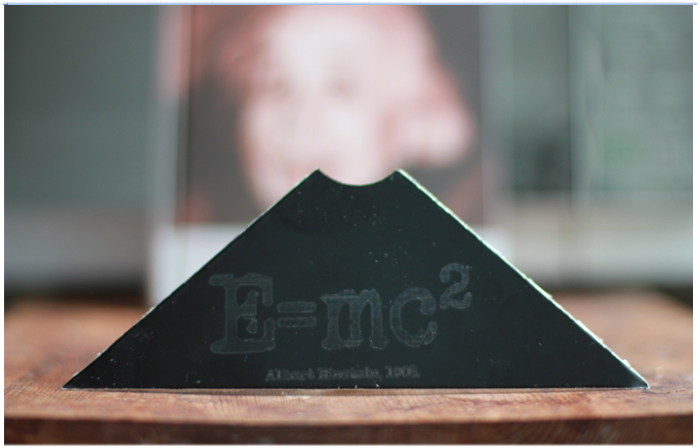
Painted / Anodized Aluminum
Almost every day people ask us, whether our lasers can engrave on aluminum. The answer is yes, but the aluminum should be painted or anodized. Let’s review the engraving process on a piece of painted aluminum.
We use composite aluminum for our base metal. You can buy it anywhere, where aluminum sections or sheets are sold.
For this example, we’re going to engrave the famous formula of the mass-energy equivalence, by Albert Einstein.
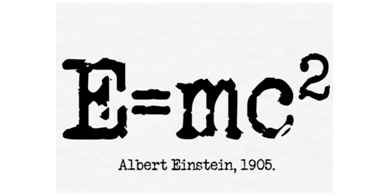
We specifically choose an unusual font.
In this case, both the speed and filling-in (engraving inside the outlines) are important to us. We select the following conversion format:
It will ensure the full filling-in.
Settings for the 3.5 W Endurance DIY:
Speed 300.
Laser power 100%.
Engraving mode – by outline with filling-in.
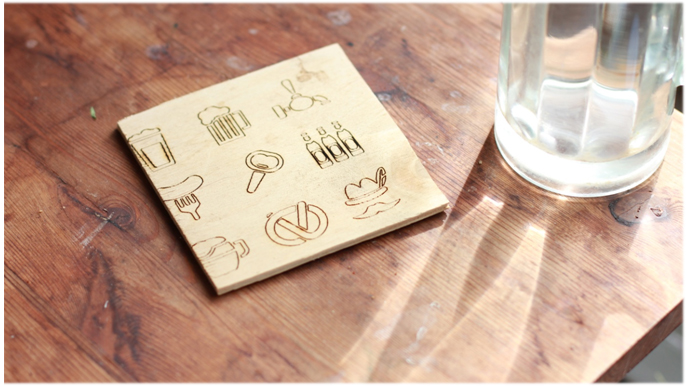
Wood / Plywood
Perhaps the most widely used material for engraving is plywood and wood. Plywood and wood are very easy for engraving at home and most importantly do not emit any dangerous gases in the process of engraving, therefore you can engrave on wood and plywood right at home.
As a workpiece we use a regular piece of plywood 3 mm thick, which you can buy almost in any hardware store. Let’s choose an image.
And the engraving mode by outline
The only important detail is the engraving speed and power.
Engraving parameters are different for different types of plywood, which can be darker or lighter, smooth or rough. The slower the speed the darker the engraving. The faster the speed the lighter the engraving. Plywood inflammation is also possible if there are too many lines in one location.
So you need to select parameters very carefully for every sample.
Settings for the 3.5 W Endurance DIY:
Speed 400-500.
Laser power 40-60%
Engraving mode by outline.
The same goes for wood samples.
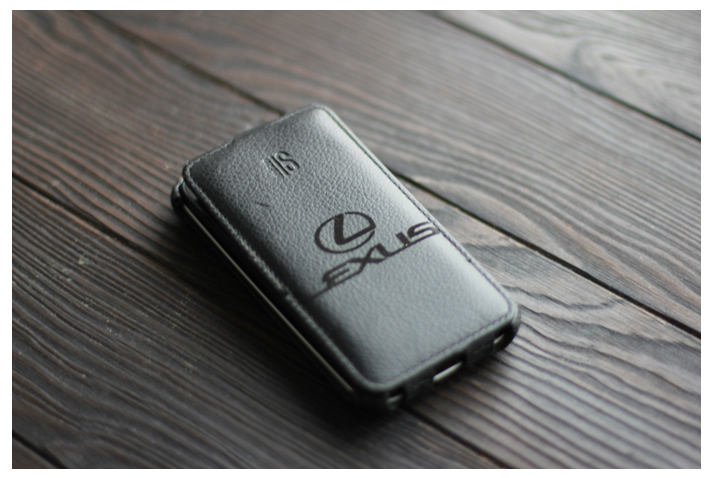
Faux Leather / Pleather
We know that many people would like to have engravings on cases for cell phones. And we like this idea. At exhibitions and conferences people are willing to pay betwee10-15$ for an engraving on a cell phone case.
Many people like to have engraved names or logos, incl. those of their cars.
The engraving method is the same as for engraving on painted aluminum – vector lines with filling-in.
But there are certain nuances in the settings:
Settings for the 3.5 W Endurance DIY:
Speed 450.
Laser power 30%
Engraving mode by outlines with filling-in.
Some brands of pleather can emit an unpleasant smell while being lasered – while this is not in any way dangerous, we recommend working in a ventilated room.
The result looks perfect!
Engraving without filling-in is also possible.
Settings for the 3.5 W Endurance DIY:
Speed 500.
Laser speed 30%
Engraving mode by outline.
Due to the small size and high speed of the device, it is necessary to regularly check the belt tension. When the tension weakens “waves” appear on the engraved item instead of neat lines. It took us a long time to understand the reason of the problem. We eliminate the problem by tightening the tension belts every few hours of operation. You can also add a spring to the tension belt holder (for fixed belt type) or add a tensioning spring to the belt itself (on the Makeblock). Most 3D printers already have a tensioning system in place.
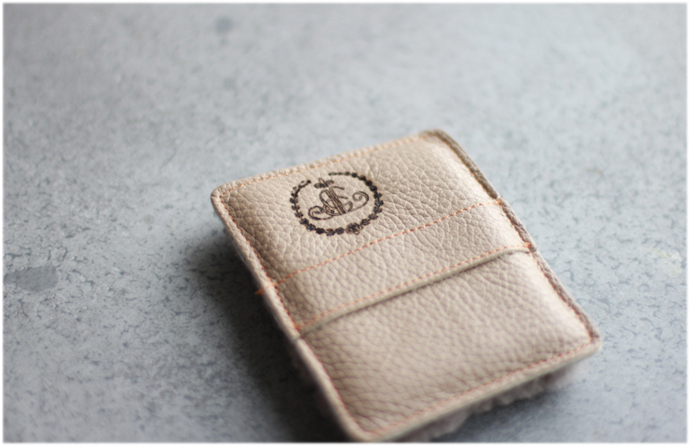
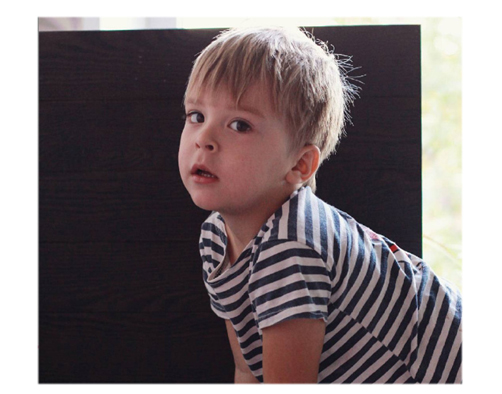
Photo Engraving
The most interesting we saved for last.
Many people dream of “eternal” photos. We know how to make photo engraving.
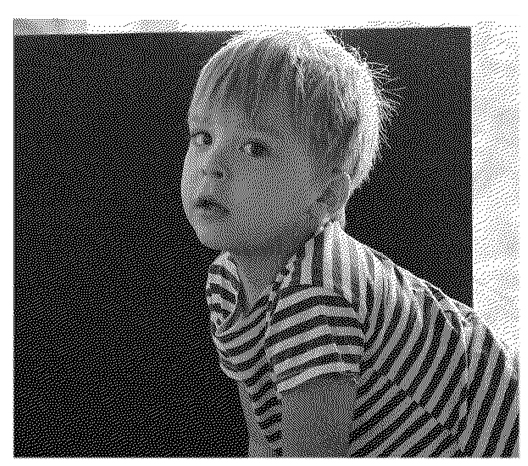
Let’s take a picture we like the most.
We convert it in the same way as for the work with leather. A raster picture into vector dots.
This is how the converted picture looks like.
Set the following parameters.
Settings for the 3.5 W Endurance DIY:
Speed 500.
Laser power 50%
Engraving method by dots.
Note: The process is time consuming. It will take about 1.5 hour for an image of 10 х 10 cm.
This is a sample of an “eternal” picture.
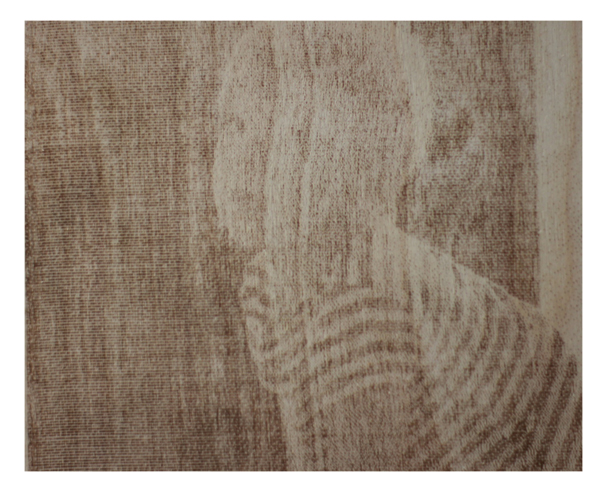
You can put this picture on a table or attach to a magnet and fix to a fridge.
Conclusion
We have demonstrated what kind of engravings you will get using various laser settings. It is difficult to describe all the nuances, but we have described the most important ones. The more you experiment the better results you will obtain. It will take you about 5-10 days to master laser engraving. But even by the end of the first day you will have a sizable amount of knowledge and experience.
Sometimes you will need to experiment; start from the parameters we provide, and try to vary your operation based on them.
We are happy to support our customers and answer any questions by mail:
or text:
+7 916 2254302 (incl. WhatsApp and Viber)
More information about Endurance Lasers is available here.
Further information about the range of products sold by Robots Everywhere can be found here.
