Landon Cox from Inhale3D.com has been designing electronic enclosures for DIY makers. There are a number of options available these days, and for most cases the standard one-size-fits-all enclosure models are sufficient. However, when a custom board is required, fitting it into a standard case might cause problems.
This is especially true for makers, who often don’t have a large corporation industrial design team to back them up. An obvious solution is a custom case, but typically this has proven to be costly if going for injection moulding or metal sheets.
However, 3D printing now offers a solution for producing a single unit, custom electronic enclosure – without blowing a hole in your wallet. And getting access to 3D printers is getting easier and easier by way of online services or at Fablabs or hackerspaces. More and more makers are also investing in their own 3D printers.
So whats next?
Let’s jump into practice. Landon Cox explains how to actually use 3D CAD skills and design in order to print simple enclosures using an entry-level CAD package: ViaCAD 2D3D 8. All source files can be downloaded from Thingiverse.
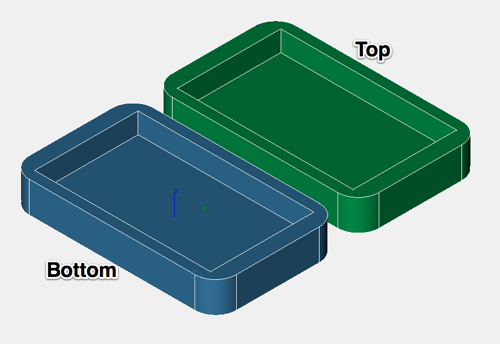
The finished clam shell enclosure is really simple, but it makes sense to start with something easy, before moving on to more challenging concepts. And the design is still useful even though simple.
Here is Landon’s video guide for the design part:
Once the CAD file is complete, it can be exported and saved as an STL file. Then follows two steps before the CAD design becomes an actual 3D printed object. First, GCode for the 3D printer needs to be generated, and the second is loading the GCode into software that controls the 3D printer and tells it to print it. See the full instructions here for using Lulzbot AO-100 3D Printer and Slic3r.
Here is a video of the Lulzbot AO-100 printing the top and bottom parts, 0.4mm layer height, 3mm ABS filament:
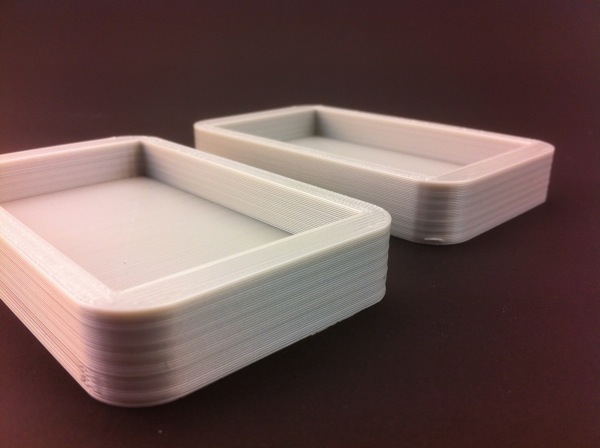
Here is the outcome exactly as it came out from the 3D printer:
Taking this to the next level
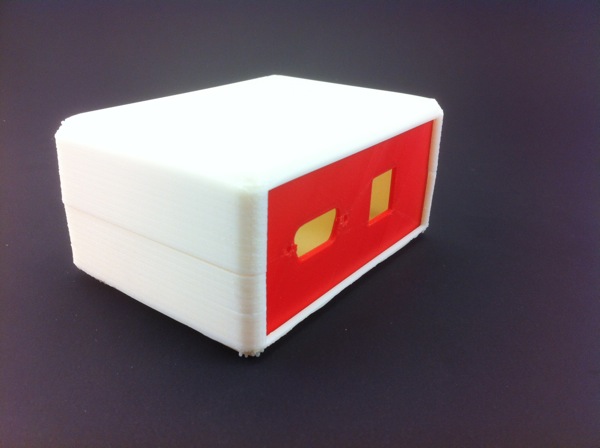
Ok, that covered the basics, lets move on to some more advanced stuff. This part extends the simple clam shell enclosure to have a removable faceplate and front panel that has connectors protruding through the face plate. Really cool!
The design files are also available at Thingiverse.
Again, the purpose is not to limit this to one design, but to provide the tools for makers to adapt these instructions to build their own enclosure to match their board.
The tutorial video has been divided into two parts:
After some minor tweaking was done, here are the results. Once again Lulzbot AO-100 was used to 3D print the enclosure.
Source and image credit: Inhale3D.com


