High-precision 3D scanner manufacturer 3DMakerpro recently launched its newest 3D scanner offering, the Seal.
The Seal 3D scanner is billed as offering high accuracy and resolution, whilst being compact and easy to use. 3DMakerpro is offering 10% off on their official online store.
This article will highlight the key features of 3DMakerpro’s new scanner, evaluate the unboxing experience, and assess the 3D scanning process using JMStudio software.
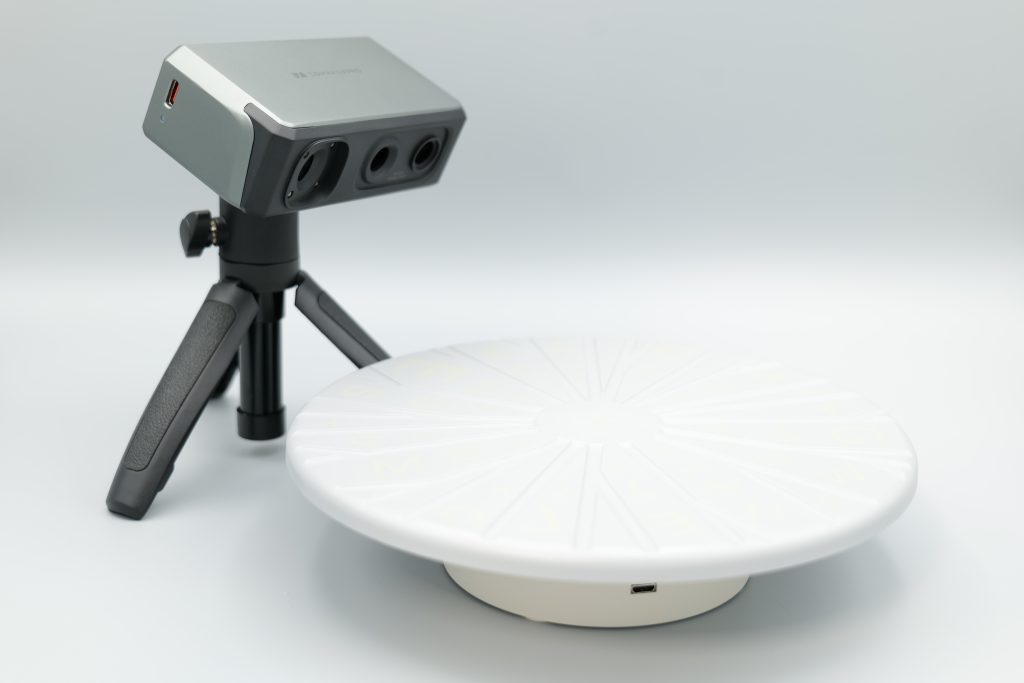
Key features of the 3DMakerpro Seal
Central to the Seal is its impressive detail capture capabilities. The new 3D scanner provides industry leading 0.01mm accuracy and 0.05mm scanning resolution, offering 5x the resolution of comparable scanners. Additionally, the Seal incorporates anti-shake optical lenses, enabling better results and a more stable 3D scanning experience.
The Seal also includes a 24-bit High-Definition Color Texture Camera. Incorporating a high-quality CMOS image sensor, this camera allows users to capture extensive object details. Indeed, the camera can capture up to 16,777,216 colors, enabling life-like model texture scanning.
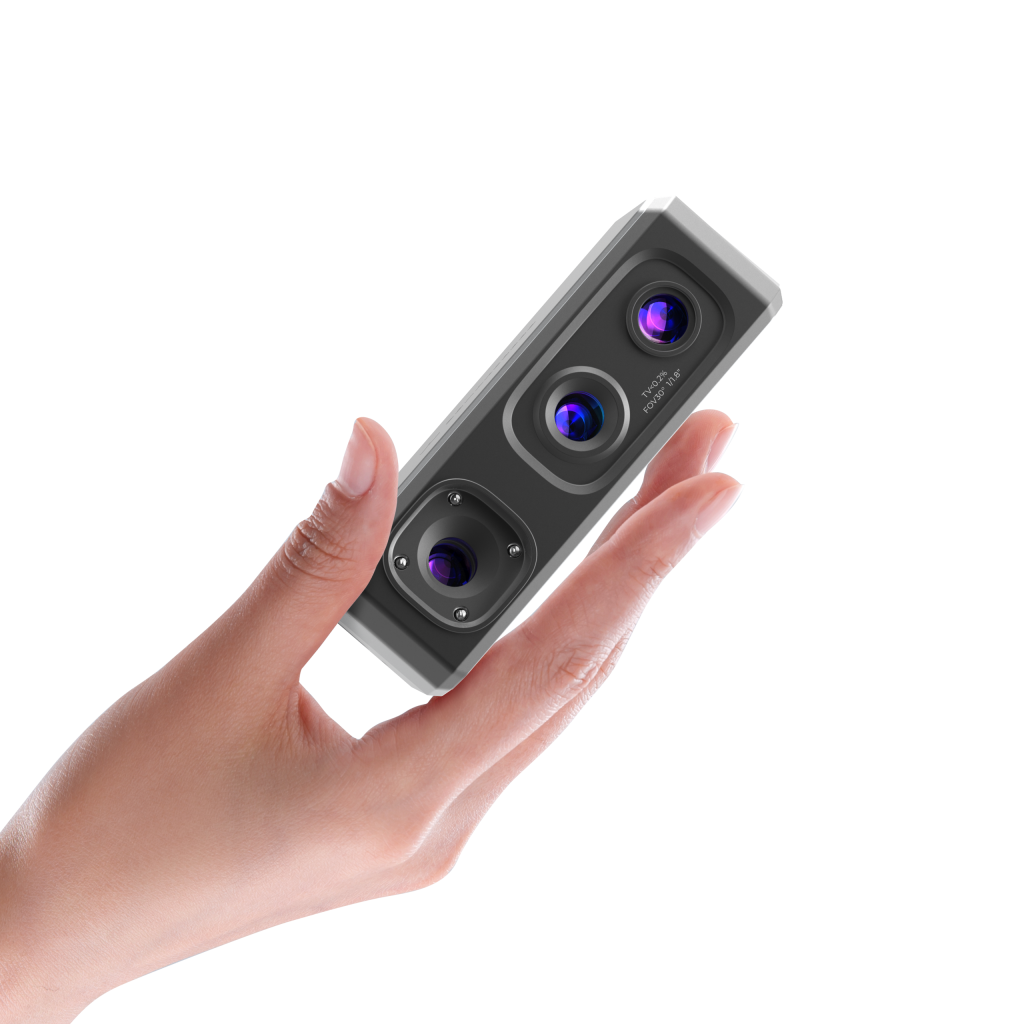
3DMakerpro’s new scanner employs a blue-light when scanning, as opposed to traditional LED or NIR light sources. This blue-light possesses a shorter wavelength of 400 to 500 nanometers, enabling 5x more detail per unit than comparable models. This structured light also supports high scanning accuracy and image resolution, allowing users to capture tiny concavities, textures, and edges.
The Seal 3D scanner also includes AI visual tracking technology. As a result, no markers are required during the scanning process, enabling users to easily and quickly target their desired object.
Supporting OBJ, STL, PLY, and ASC formats, the Seal is especially versatile and caters to a wide range of 3D scanning needs within modeling, animation, presentation, printing, and design fields.
The unboxing experience and first impressions
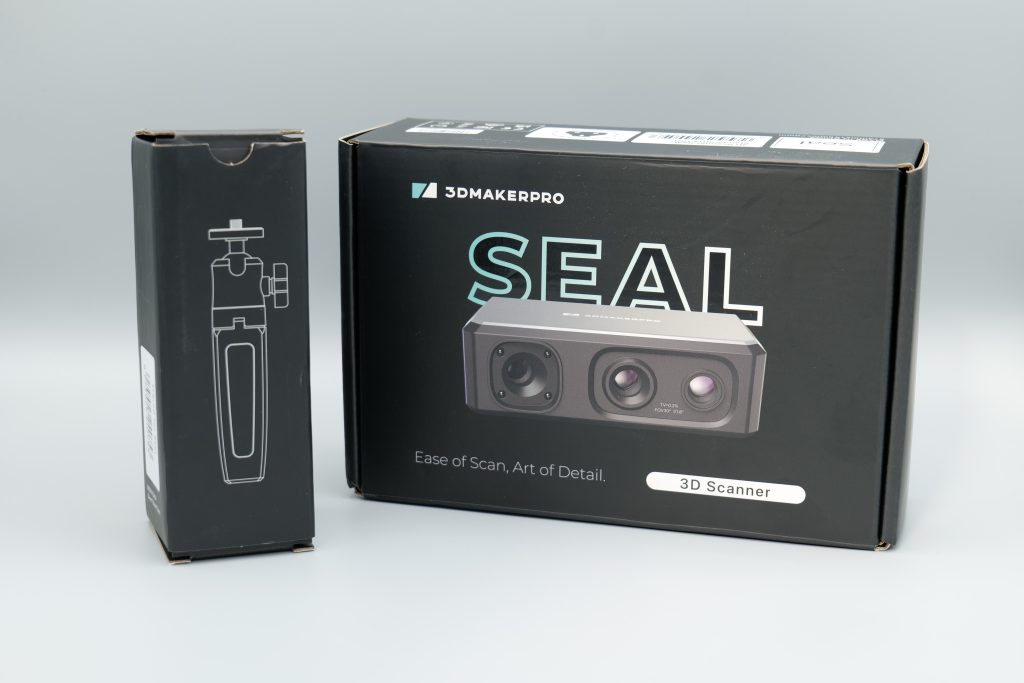
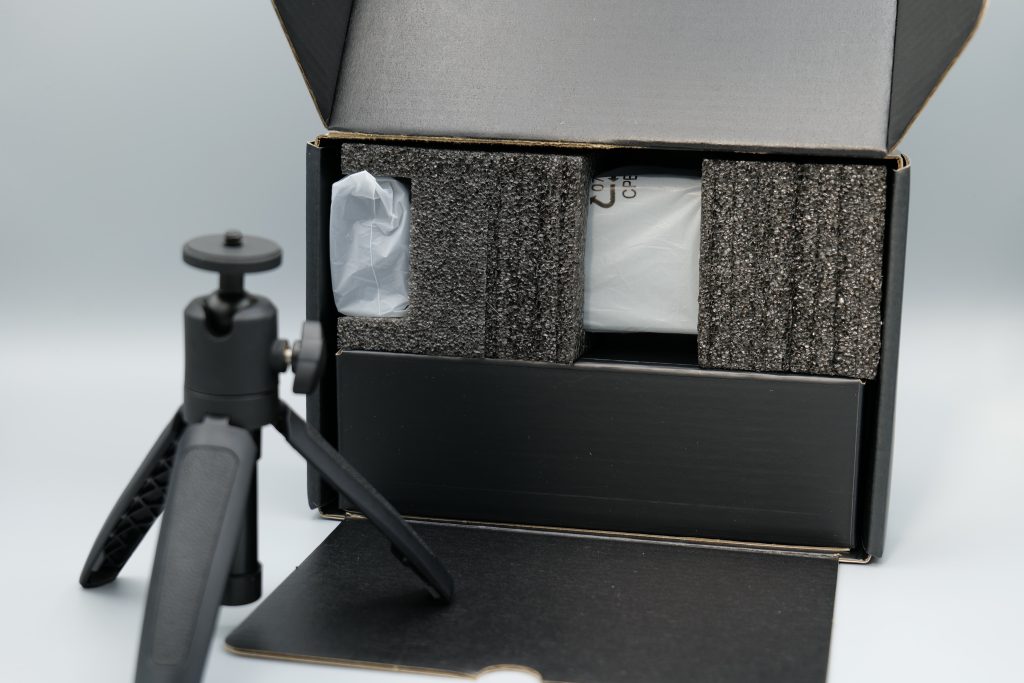
The Seal 3D scanner came well packaged, with the outer packaging incorporating a minimalist and attractive design. All components came well secured and protected within the boxes, ensuring that none of the elements were damaged on arrival.
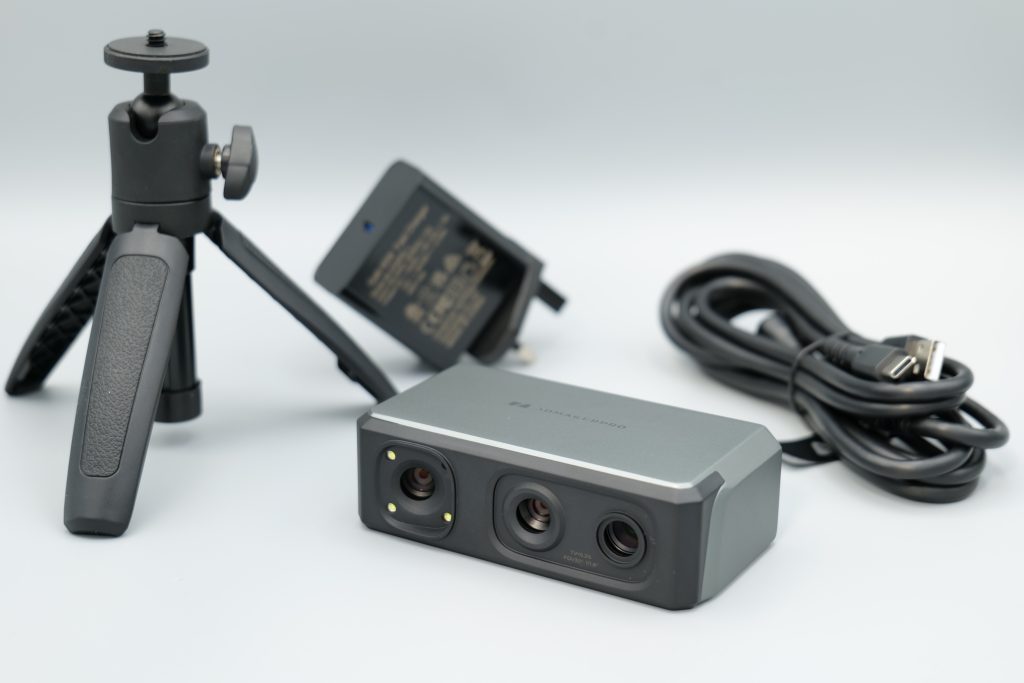
Along with the Seal 3D scanner, the package also included a telescopic tripod, multi-axis turntable, charging plug, and all the necessary cables.
The Seal scanner and tripod’s outer and inner packaging. Photos by 3D Printing Industry.
The Seal itself sports a sleek design and an all-aluminum-alloy body, giving the 3D scanner a high-quality feel. A USB-C port is incorporated into the Seal’s body, along with cooling grills, a screw-hole for attaching the tripod, two camera lenses, and the light source. The included 3D scanner power cable was of an especially high quality. This includes both a USB-C connector for the power adapter and a USB connector for computer data transfer.
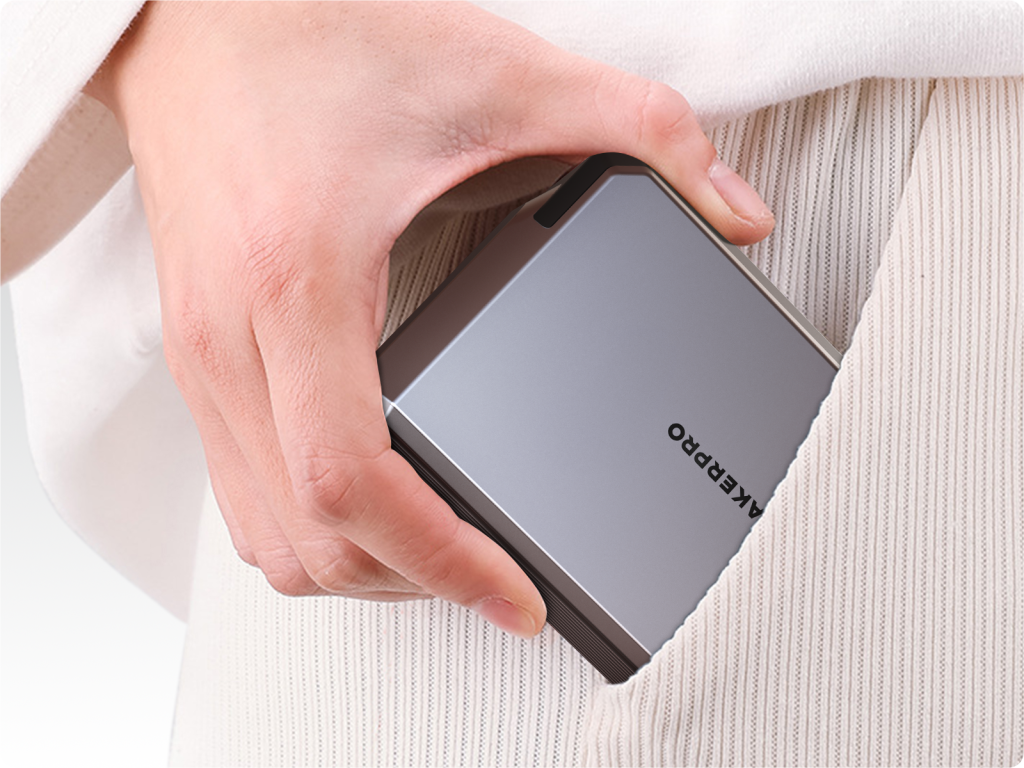
The Seal is also compact and pocket-sized, measuring only 110*60*35mm and weighing just 200g. This makes the Seal especially easy to transport, allowing users to 3D scan on-the-go. The Seal is also quiet during 3D scanning operations, further improving the user experience.
The included telescopic tripod is stable and extendable, allowing for a range of 3D scanning heights and angles. A combination of black metal and plastic, the tripod is especially easy to manipulate, and offers a stable platform for the Seal 3D scanner.
The turntable arrives in two parts: the top surface, and the turning mechanism. Combined, this component is compact yet secure. The turntable surface includes reference markers to aid the 3D scanning process. A micro-USB-to-USB cable is included, allowing the turntable to be connected to a power source.
JM Studio Software and the scanning experience
The 3D Printing Industry team tested the JMStudio software and Seal 3D scanning process straight out of the box, with no additional guidance or information. Overall, the software was found to be intuitive and easy to navigate, ultimately achieving high-quality results.
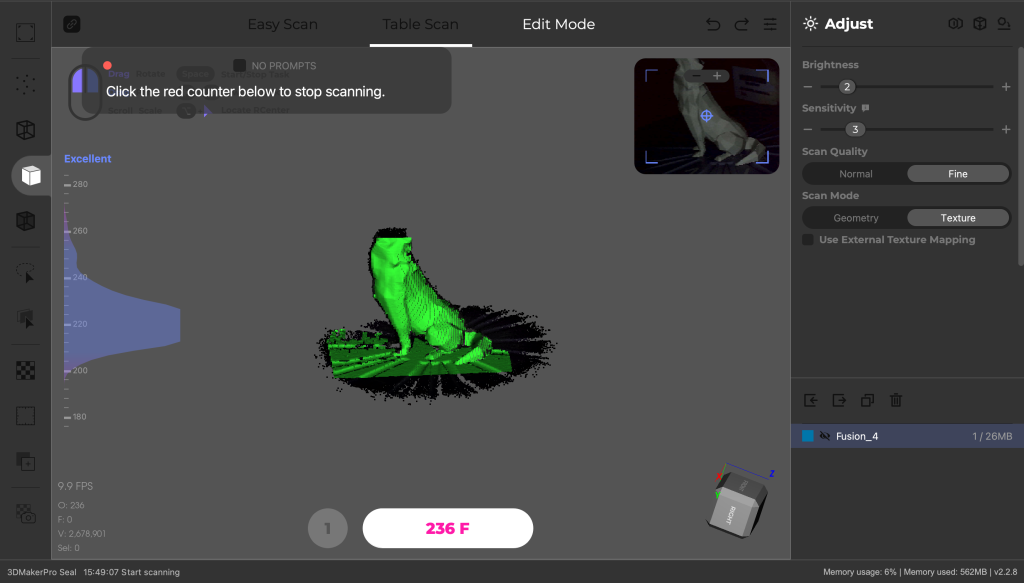
Using MacOS, JMStudio was easy to install and start-up, with this process taking a matter of minutes. The scanner calibration process was also very straightforward, with the scanner seamlessly connecting to the software once the designated ‘JM code’ was inputted.
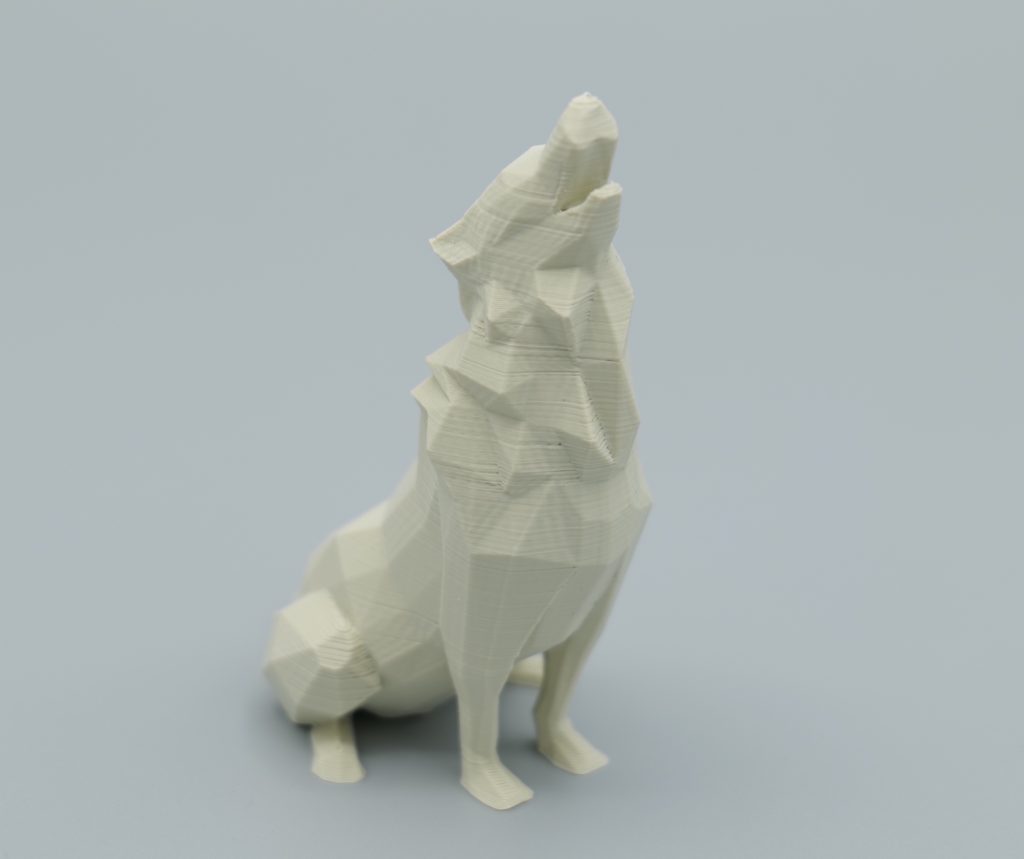
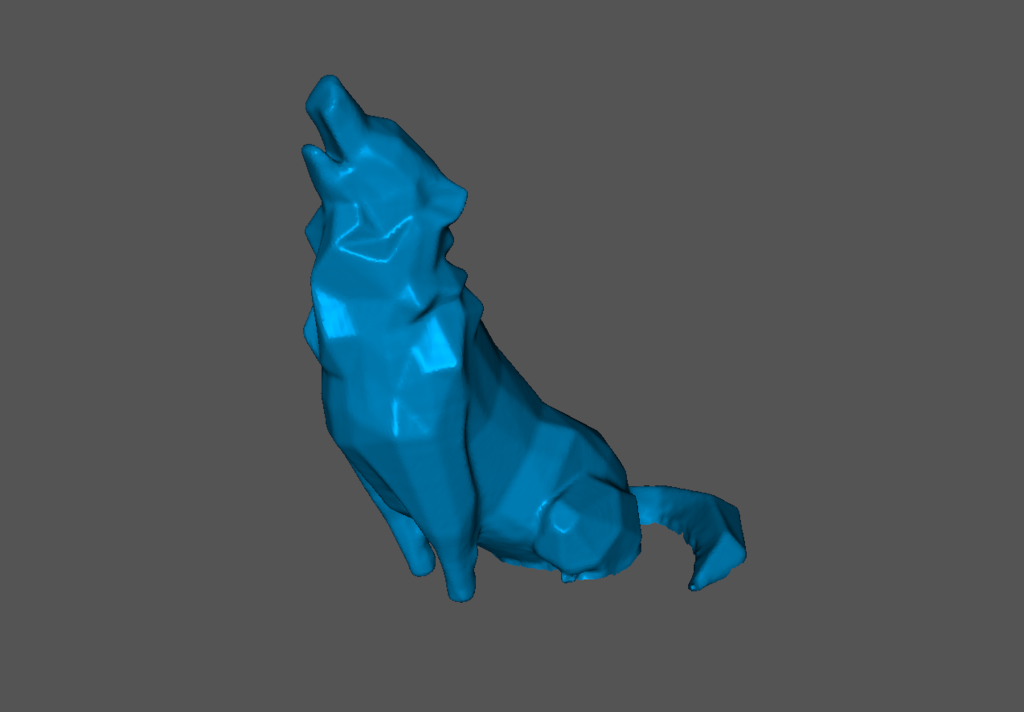
Using the ‘Table Scan’ mode, a number of good-quality scans were achieved. These 3D scans included a wolf model and a ‘moon city’ model which includes a number of intricate details.
The wolf model and successful scan. Images by 3D Printing Industry.
After only around 30 minutes of use, our team successfully determined how to consistently achieve good quality 3D scans. The ‘working distance indicator’ on the left hand-side of the screen was found to be particularly useful. This tool highlights the ideal 3D scanner and object position in real-time, speeding up the 3D scanning process.
Overall, the 3D scanning experience was good. Both 3D scans came out well and, with some extra tuning, could be perfected. Consistent, high-quality 3D scans can be achieved in under one hour of use. Intuitive to use and easy to calibrate, additional guidance and clarity could be added to speed up the initial trial and error process.
Subscribe to the 3D Printing Industry newsletter to keep up to date with the latest 3D printing news. You can also follow us on Twitter, like our Facebook page, and subscribe to the 3D Printing Industry Youtube channel to access more exclusive content.
Are you interested in working in the additive manufacturing industry? Visit 3D Printing Jobs to view a selection of available roles and kickstart your career.
Featured image shows the Seal 3D scanner, tripod, and turntable from 3DMakerpro. Photo by 3D Printing Industry.


