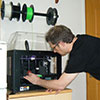
A short while ago, I wrote an article about a new 3D printer company here in Korea called Moment, in which I reported that the company’s CEO had allowed me to “borrow” one of their new printers and take it to my lab for a full shake-down test, all without any prior conditions or company supervision. So, test it I did, and I am now happy to report my findings to you, for what they may be worth. I say that a little tongue-in-cheek, as though I am an experienced user; I am not a professional engineer, and, as such, my testing and evaluation will reflect a more pedestrian approach.
I have used a wide range of desktop machines, but the love of my (printing) life is still my MakerBot Replicator 2. Though it is now somewhat aged, I have used it, broken it, repaired it, and modified it to a point that I am as familiar with its personality as I am with some of my siblings. It is a great machine, so for a new printer to outperform it, in any manner, right out of the box, is no small feat. That being said, the Moment is a very solid and easy-to-use machine that is suitable for users of all skill levels, from rank beginners to advanced designers, and all at a reasonably affordable price.
Before I get into the hardware description, I need to mention that the Moment comes complete with the Simplify3D software package. When I first encountered the Moment, I was not familiar with Simplify3D’s software and had never used it before. Now that I have, at least for the limited amount of time I had, I can say that it worked very well and was easy to figure out. It was as easy to use as my MakerBot’s MakerWare, but has far more user options to control the slicing and printing processes. I would like to continue to use it and learn it in greater depth, as it had features and options that I didn’t have a chance to explore for this report.
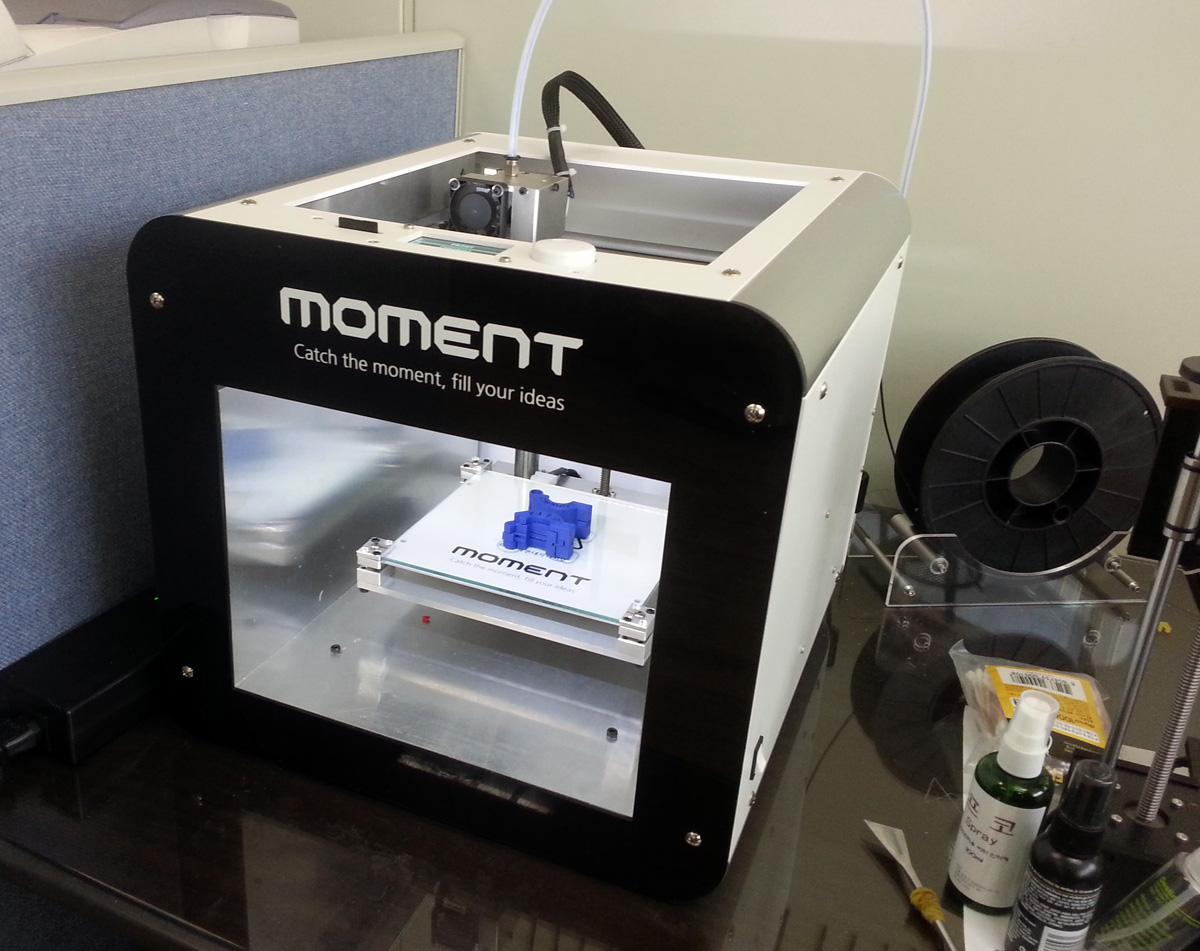
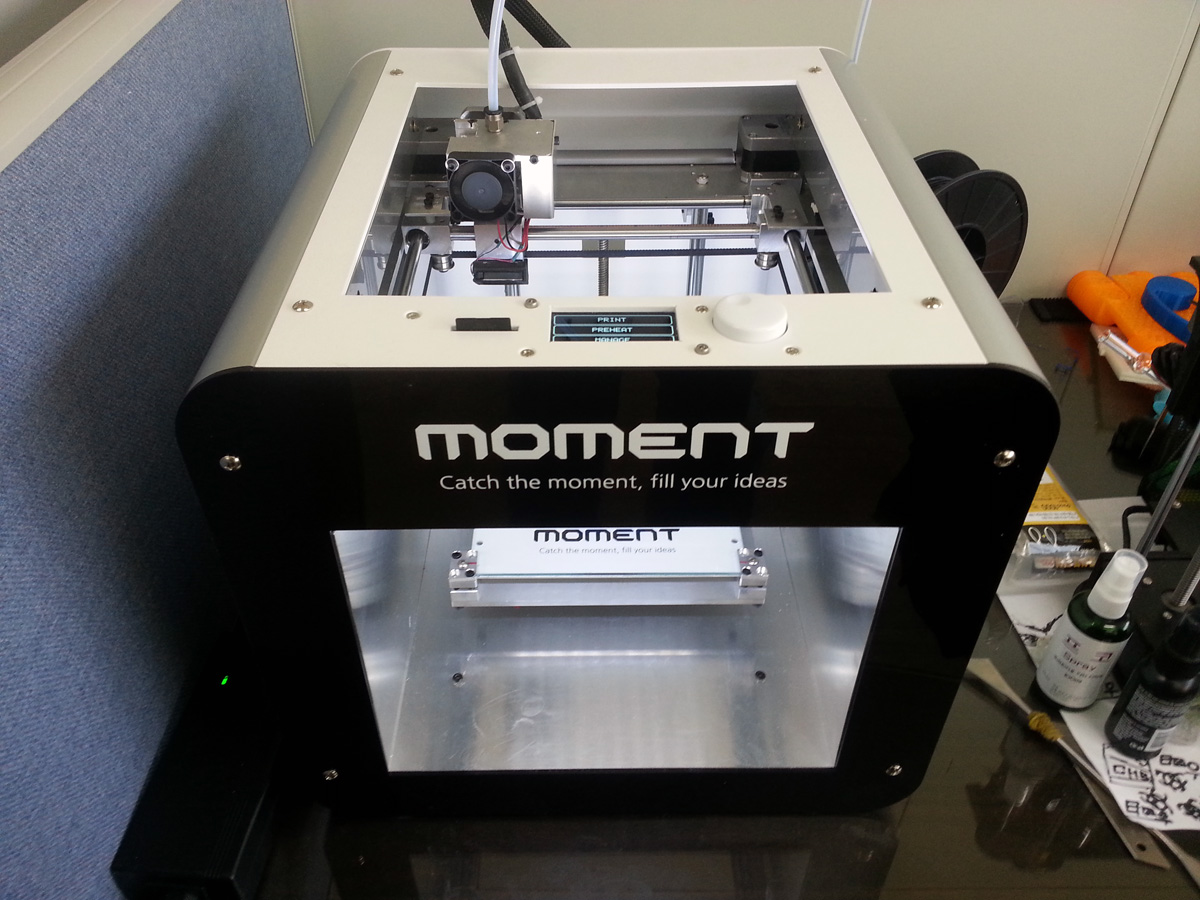
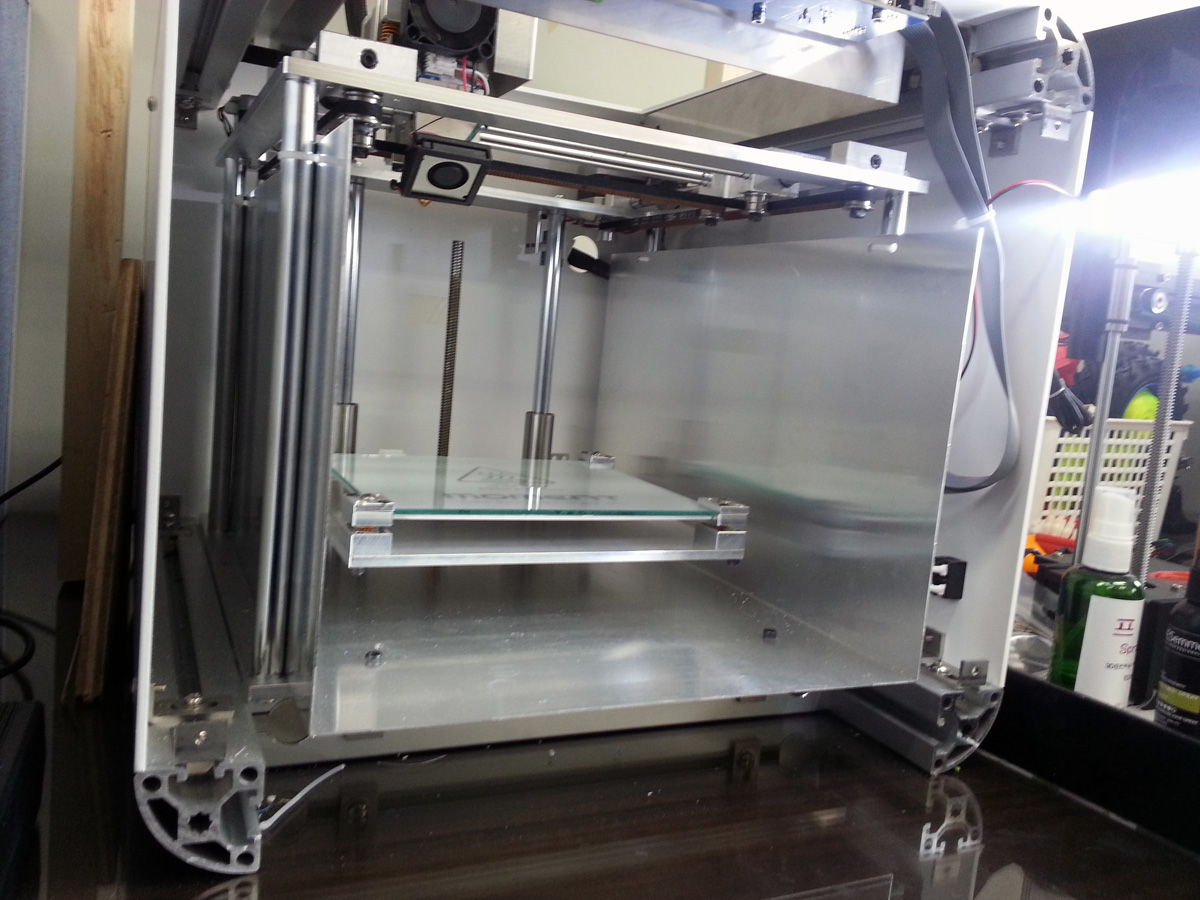
As for the machine itself: at first blush, the Moment looks like many other desktop FFF printers, and has a typical gantry-style architecture. Its body and frame, however, are almost entirely constructed of aluminum and the build chamber is double-walled. This machine is a very ‘solid’ object; that is, it doesn’t have any loose parts that bang about when you pick it up and move it around. Turning it over to examine the bottom of the machine, nothing bashed around, clicked, or fell out of the machine. The printhead and buildplate didn’t crash into the sides of the machine, and everything was tight and stayed in place. This was different than my experience with my MakerBot, which, by comparison, seemed to be far more fragile.
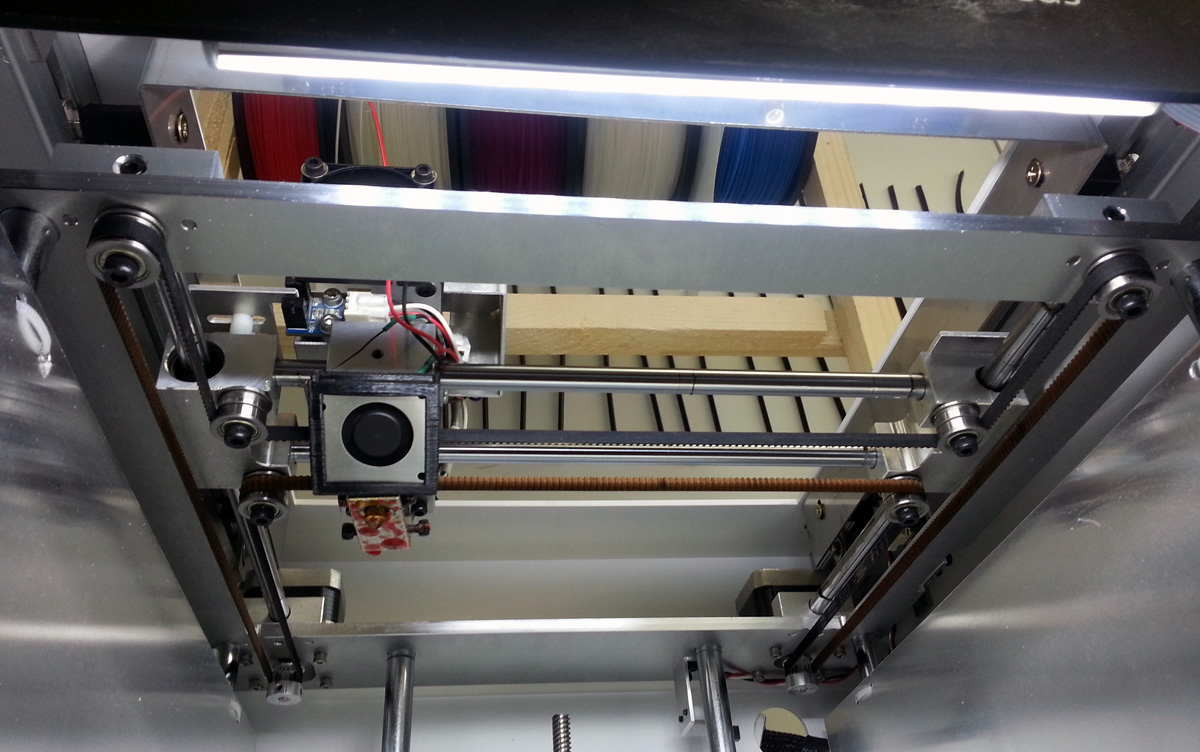
Another unusual feature I noticed is that the X and Y axes are both driven by a single loop drive belt. The printer uses two stepper motors, but only one continuous belt to drive BOTH the X and Y axis, which seems odd, but worked just fine. In fact, having dealt with my MakerBot’s three separate drive belts, the Moment’s single belt configuration may prove to be a more reliable system – less parts, less things to go wrong. Time will tell.
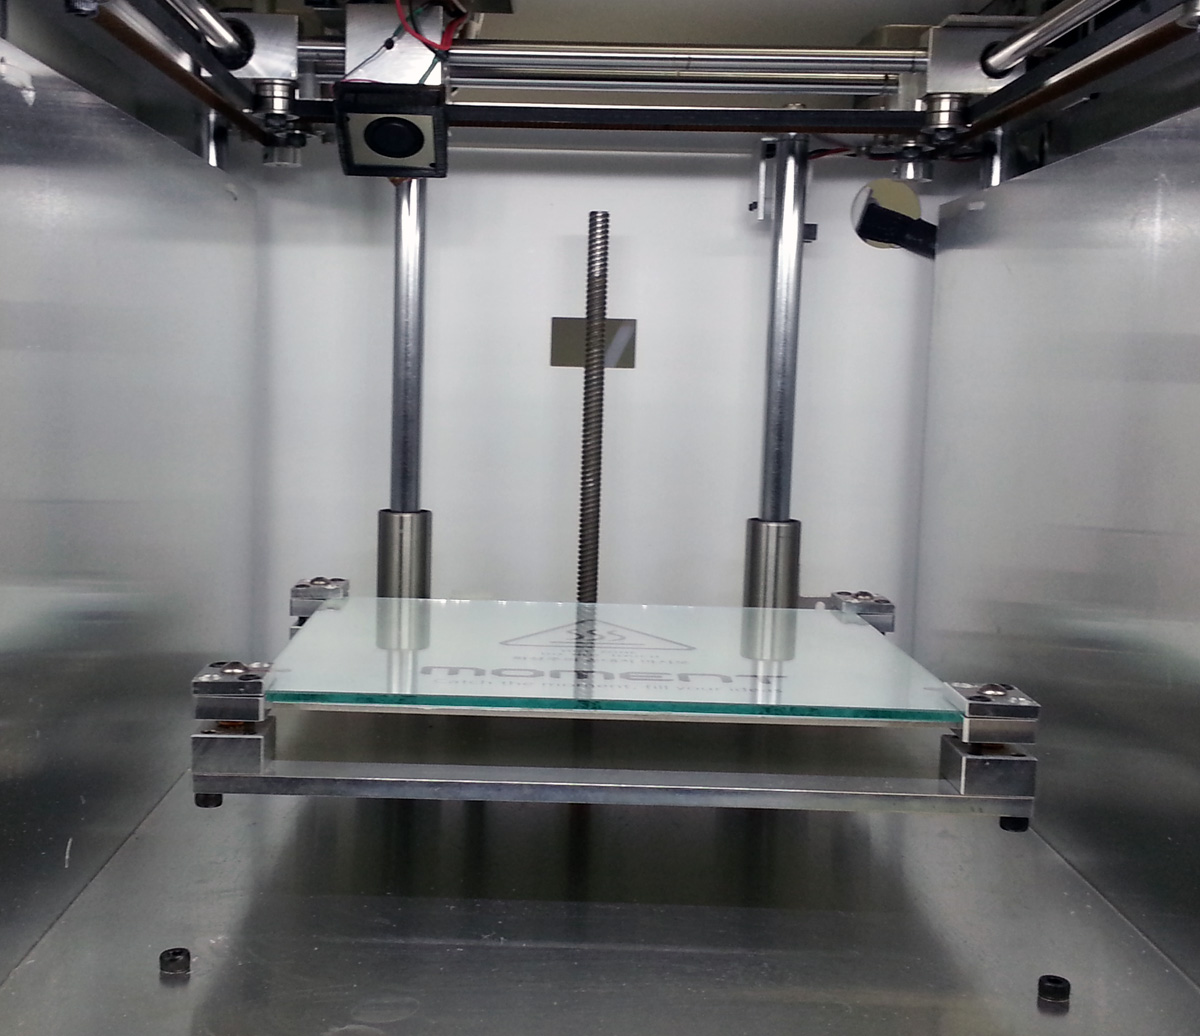
The build chamber has two internal cooling fans, and a heated glass build plate, with a single, solid metal extruder and hotend and can use PLA, ABS, or any number of other commonly available filaments. The machine’s exterior size is 380mm x 390mm x 350mm and has an interior build area of 145mm x 150mm x 165mm. It supports either Windows or Mac OS systems, uses either USB or SD card file loading, and prints at a maximum resolution of 50 microns.
The solid aluminum case of the printer felt reassuringly strong. The machine’s strength is in its extruded aluminum rail frame which is mostly hidden from view. The only hint you can get from just a casual look, is the four silver corner pieces (see photos) on the top and bottom of the machine. When you remove the face plate, the full extent of the frame’s size and strength come into view. It appears that the engineers intended the printer to be able to handle some really heavy duty action. I can’t imagine how you could wear this frame out…seriously.
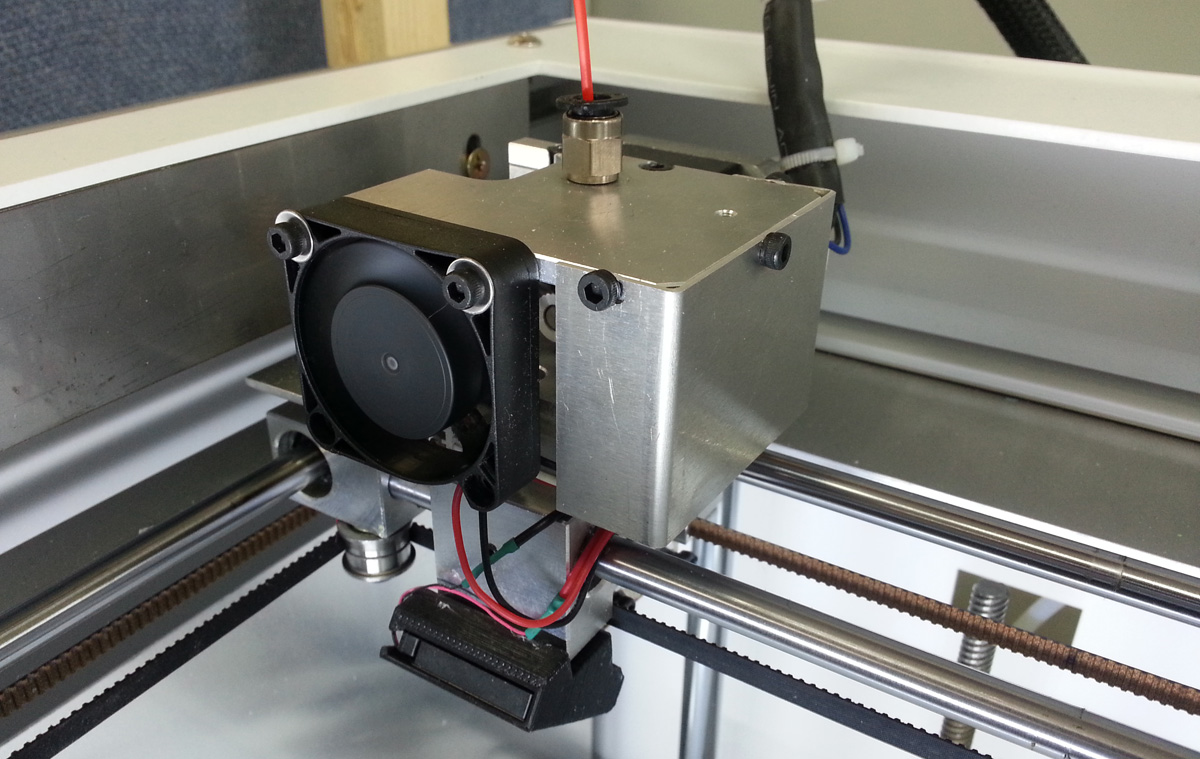
The printhead is, likewise, solid and is covered by a large aluminum cover. When I removed the cover, there were very few small parts and the only plastic pieces I found were the cooling fans, and the filament feed tube. Again, this is very different from my MakerBot, which made extensive use of plastic parts, including some which were stress-bearing frame pieces. Over time I have had to repair/replace a few of those pieces, especially the cooling fan mounting frame. Working with Moment’s solid metal construction, I didn’t have to handle it with kid gloves, or constantly worry that I might snap or break something, which was really nice.
The controls of the machine are stupid simple. They consist of a rotational dial/push button, a small LED control screen on the top of the machine, and an on/off switch on the side. That is pretty much it. To load filament, you turn on the machine, rotate the control dial until you see the words “preheat” and push-click the dial to select. It then leads you through a short process of selecting the type of filament and begins to heat up the hotend. When it’s ready, you see a message telling you to insert the filament. I will spare you further step-by-step descriptions, but save to say that most of the actual printing control is done through the Simplify3D software and not through the hardware controls. So, on the actual machine, there really isn’t much to mess with.
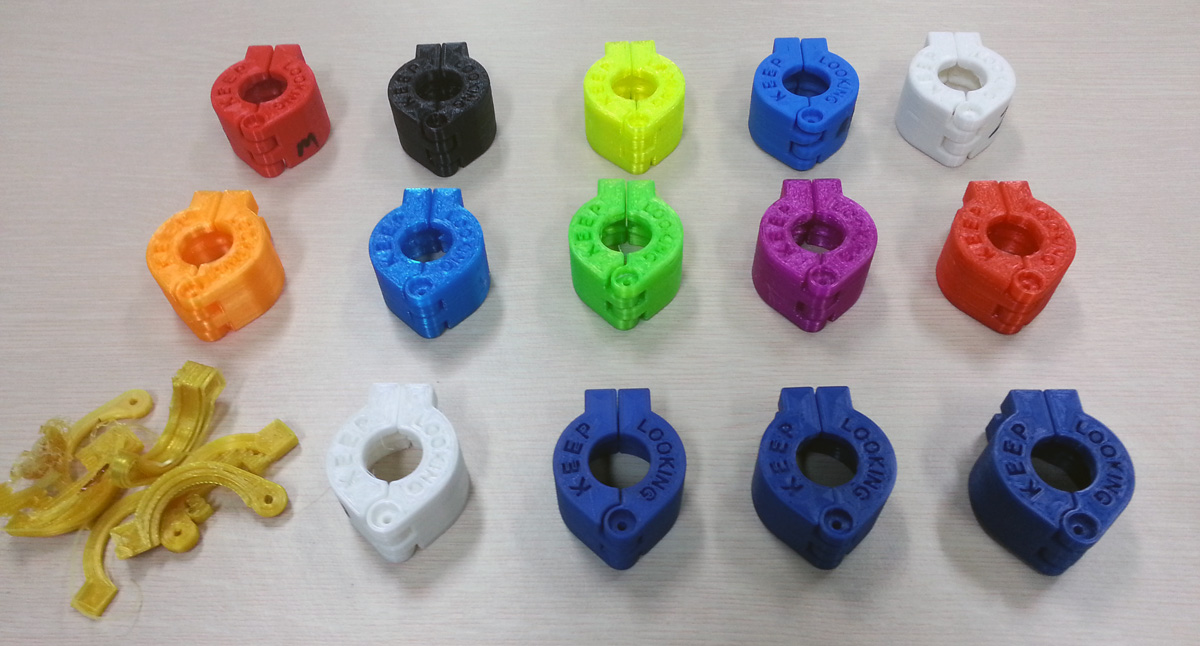
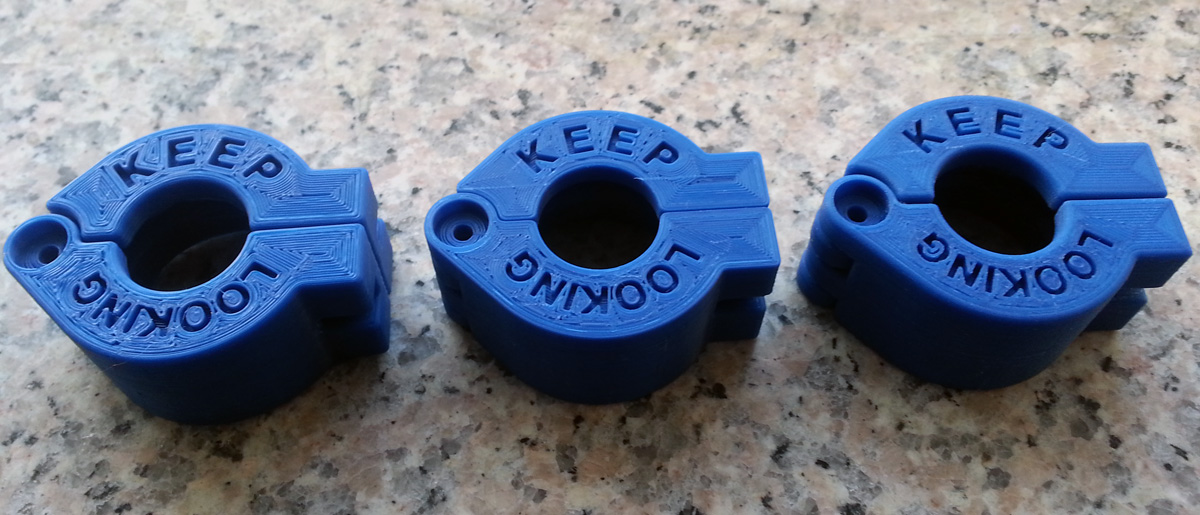
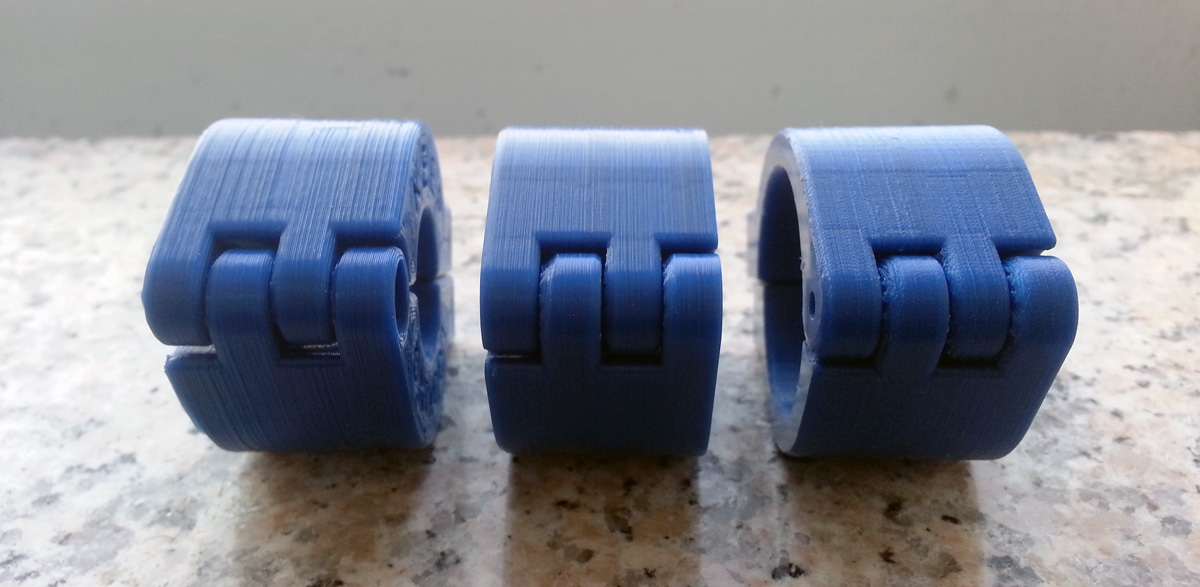
In addition to the machine, the fine folks at Moment also provided me with 2 spools of their PLA filament, which I was told had been optimized for the Moment. The deep blue and jet black PLA that I received, and used, is really good stuff, especially when compared to the collection of “no-name” (mostly Chinese) filament I am used to using. I did run a lot of the no-name stuff through the Moment and it mostly worked just fine. The only one I couldn’t get to work was some gold/yellow PLA stuff that came with a OneUp printer kit we had ordered some time ago, but I certainly do not blame the Moment for that. That stuff had been sitting around the lab, open and unused, for about a year. With that one exception, the Moment made short work of everything else I could feed it, and did so very nicely.
As far as actual printing, the Moment is really, really nice. The Replicator 2 can produce some spectacular prints once the operator has learned how to tweak the printer’s controls properly. The Moment was able to produce prints of very similar, and, in some cases superior, quality, but without the steep learning curve. Literally, right out of the box it was producing clean, solid prints, without all the fussing (and cursing) that was required by the MakerBot. Now, I know what you’re thinking, “Well he is now an experienced user, so, of course, back when he knew nothing, the MakerBot SEEMED harder.”
While true, I would point out that my MakerBot still needs to be handled fairly carefully to maximize its printing abilities. The Moment doesn’t require such attention. In fact, the only trouble I had with the Moment was getting some prints (read “ABS”) to stick to the build-plate. But by using some common techniques we are all familiar with (tape, hair spray, PVA glue) I was able to get the various filaments to stick reliably.
All in all, I was very impressed with the Moment 3D Printer, and would recommend it to anyone in the market for a solid, easy-to-use machine. While it may not appeal to the strong, DIY, build-it-yourself crowd, as it is a pretty complete kit, I think that, for the vast majority of people wanting to get in and just get stuff printed, it is a really good way to go. I could go on about the printer’s features, but my space is limited. If readers have any specific questions, or would like me to expand on my opinion(s), please feel free to contact me or leave a comment below and I will try to post an answer if I can.