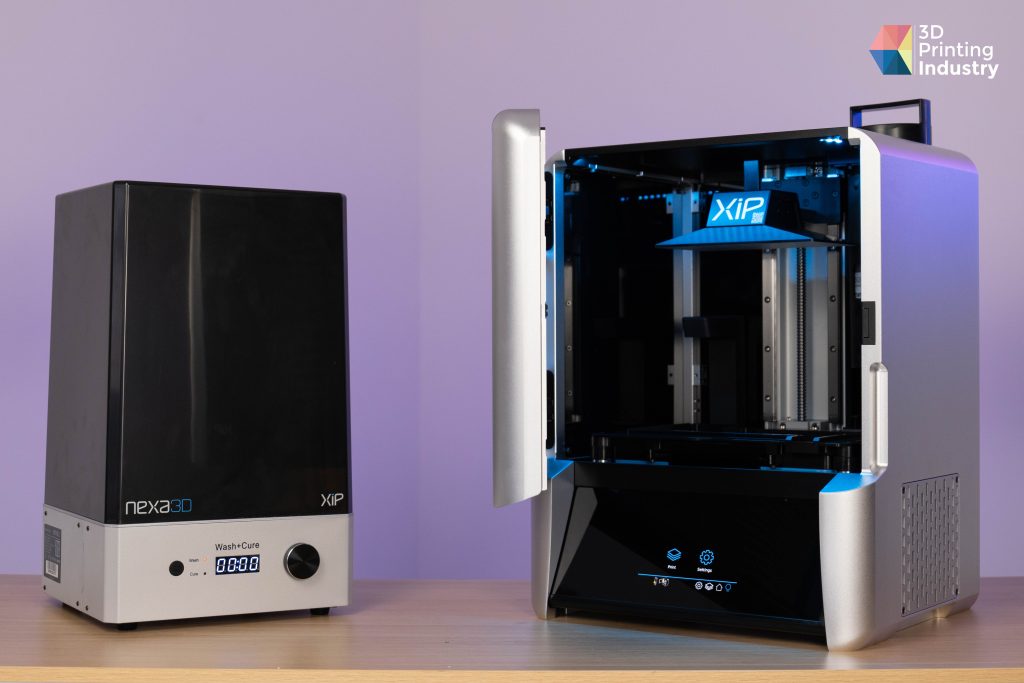
3D Printing Industry reviews the Nexa3D XiP 3D printer.
Based in California, Nexa3D markets its resin systems as a means of “taking current additive manufacturing speeds from the age of ‘dial-up internet’ to ‘broadband’. Putting this, and other claims, to the test, our engineering team has reviewed the Nexa3D XiP, the firm’s latest ultrafast desktop 3D printer.
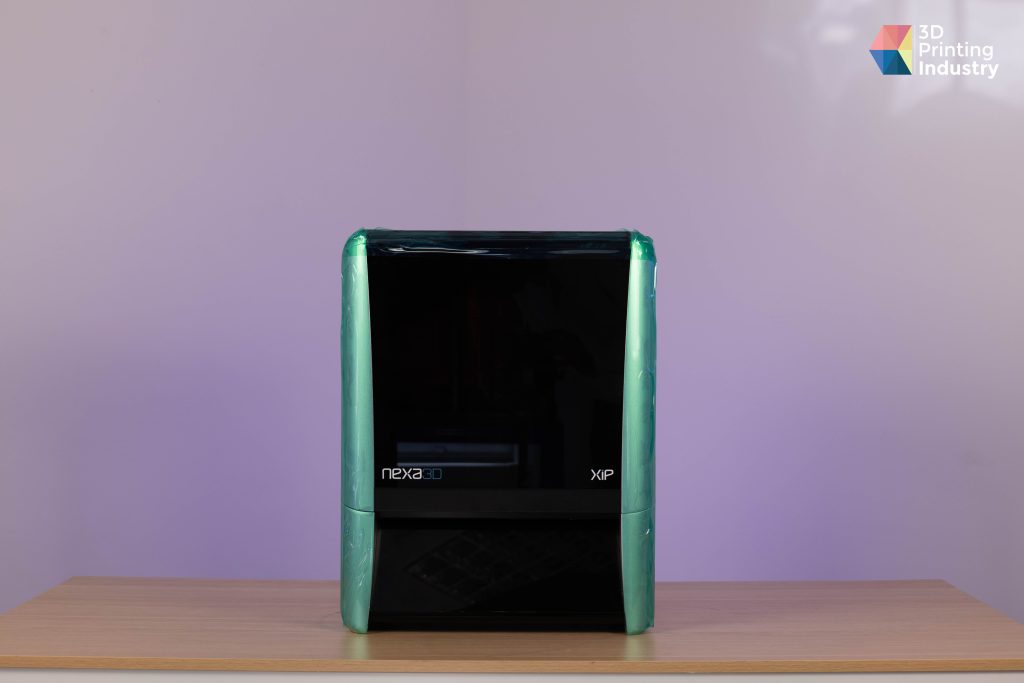
With the XiP, Nexa3D has made its first foray into the desktop market, having previously launched the larger NXE 400Pro and QLS 820 systems. However, with the XiP, the firm hasn’t skimped on quality, and users can expect to benefit from its usual technical prowess, albeit at a more affordable price.
At the heart of the XiP is Nexa3D’s Lubricant Sublayer Photo-curing (LSPc) process. LSPc is essentially an enhanced masked stereolithography (mSLA) technology, that In the case of the XiP, allows for the 3D printing of large models at speeds of up to 18 cm per hour.
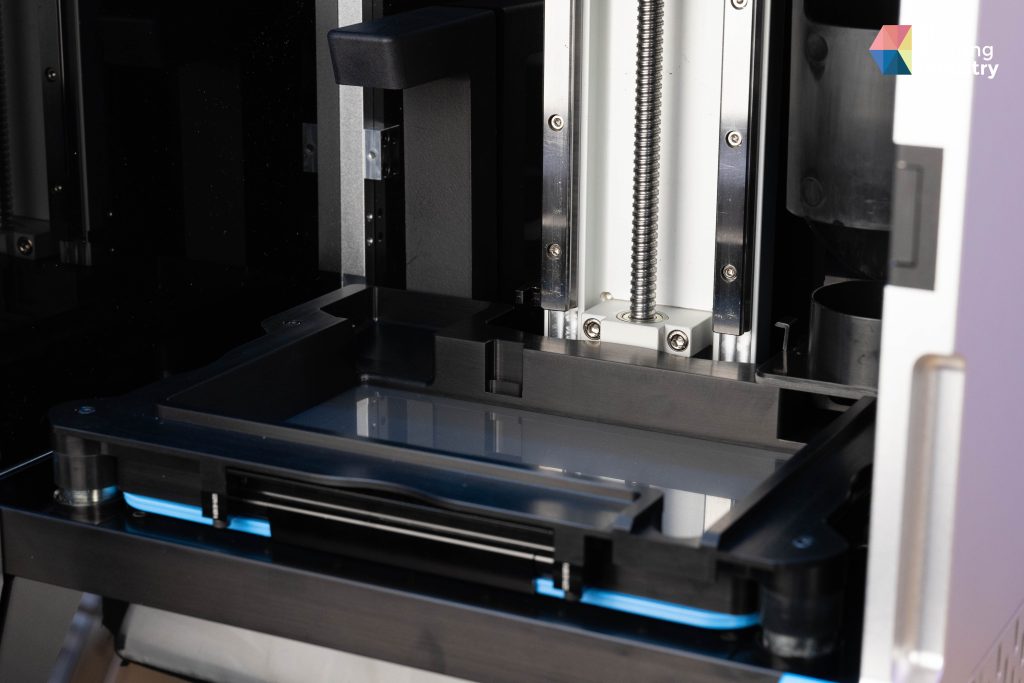
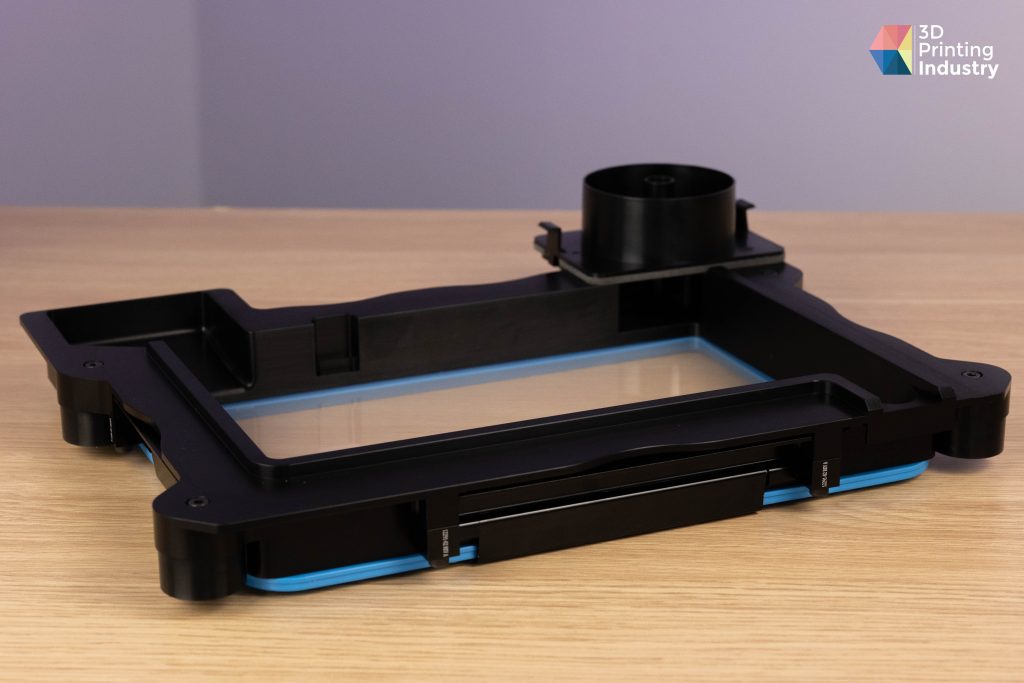
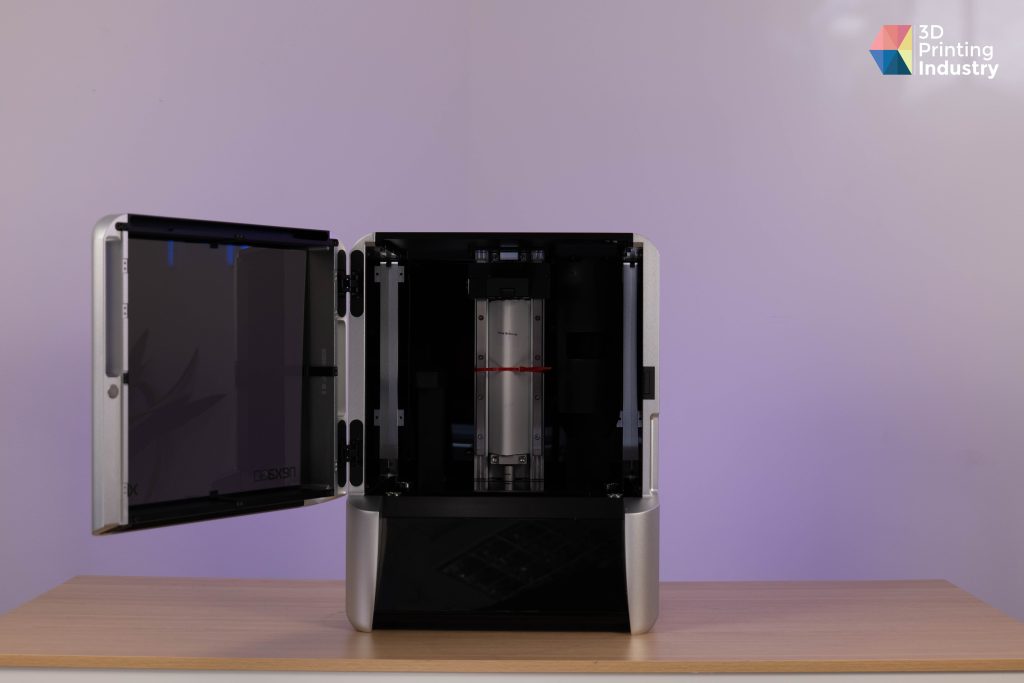
The Nexa3D XiP 3D Printer resin vat & LSPc. Photo by 3D Printing Industry.
Comparatively cheaper than other resin systems, it can also handle 4K quality prints with details as intricate as 50µm. As an added benefit, Nexa3D has designed the XiP to be open material. Adopters can therefore configure third-party resins for use with their machine.
In our review, we’ve taken a deep dive into the proposed benefits of these features, through our usual set of resin tests and benchmarks. This, in turn, allowed us to accurately gauge the quality of the parts the XiP’s able to produce. Read on for our full impressions and verdict on the machine’s capabilities.
Compact, professional desktop 3D printing
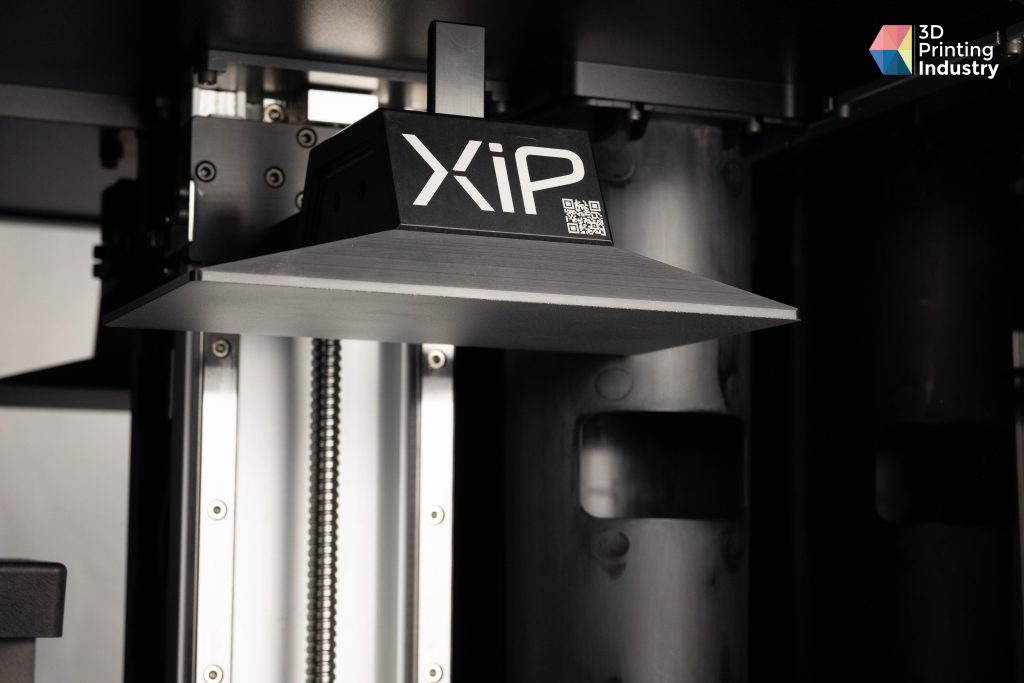
The XiP’s headline speed and accuracy benefits are largely down to the LSPc technology it’s built around. With the machine, Nexa3D has effectively taken this technology from its industrial resin printers, and shrunk it down to desktop size. The process itself involves using an LCD photomask to block an LED array, so that it only lets through the light needed for material curing.
This is in stark contrast to traditional SLA systems, which tend to use a laser to draw out the area of a print, curing the resin as it goes.
On the software front, the XiP relies on ‘NexaX,’ a perfect example of a slicer that’s designed to serve a particular system. The system’s interface was clean while providing access to all the options and settings resin printer users have come to expect.
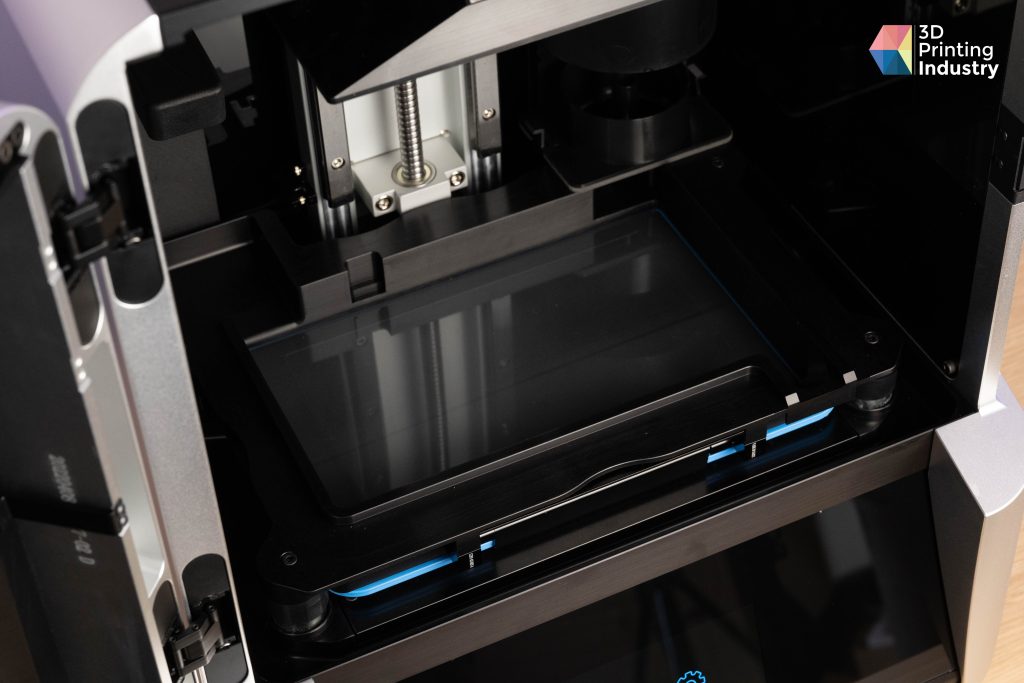
This accessibility focus is also reflected in other areas of the machine. Prints can be sent via Wi-fi or USB, and very little calibration is needed between prints. If the print is a success, users need only remove parts and clean the build plate. What’s more, when it’s time to swap the resin, users can disengage the vat from the electromagnets holding it in place, and replace it with a fresh vat or clean the current vat, a feature that minimizes human errors.
In practice, resins can be refilled via cartridges that sit vertically along the back of the machine and align with a tray on its bed. This makes topping up a seamless and clean experience, and really shows how Nexa3D has prioritized efficiency.
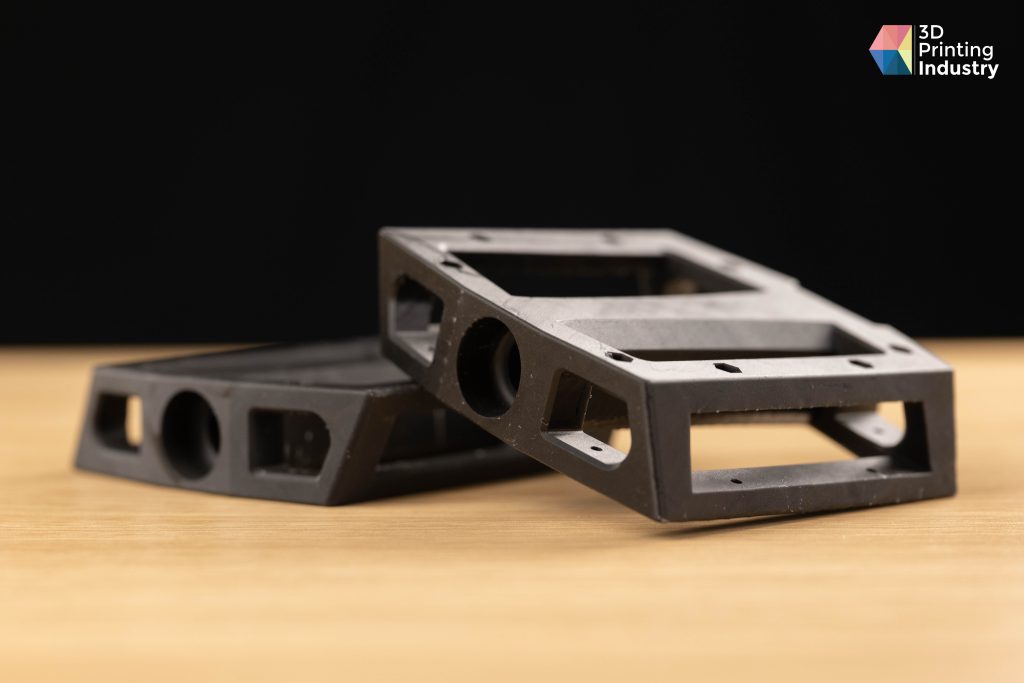
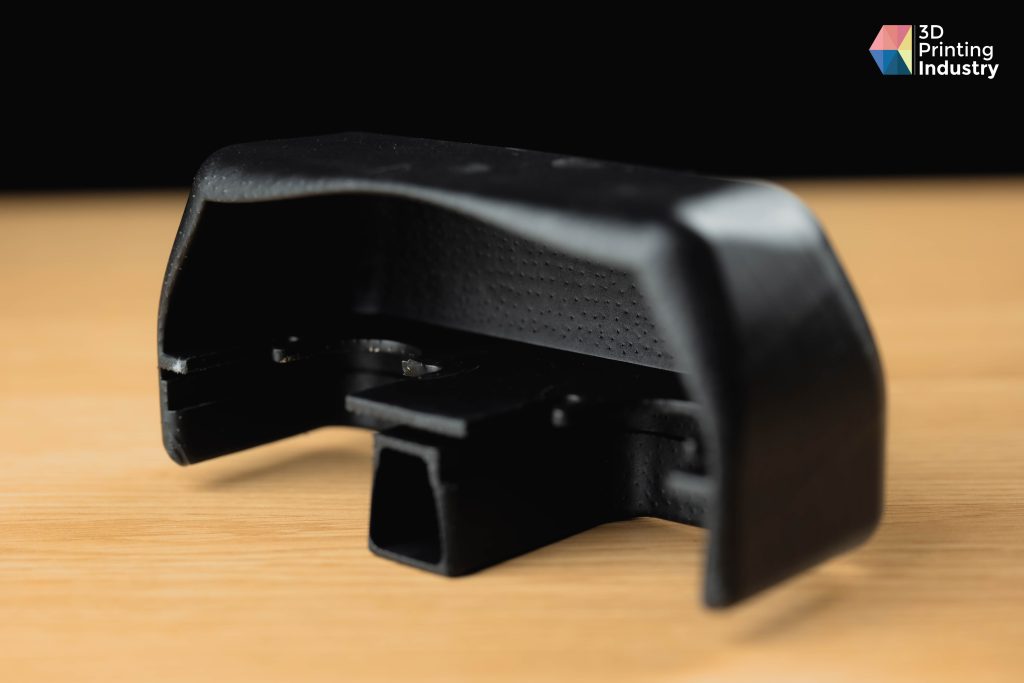
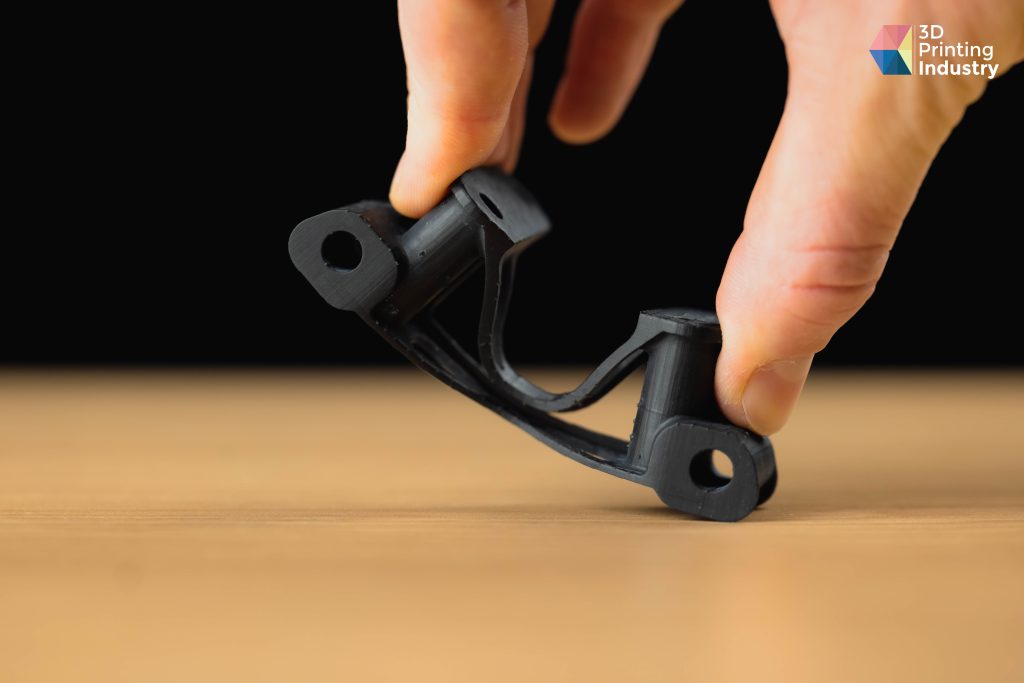
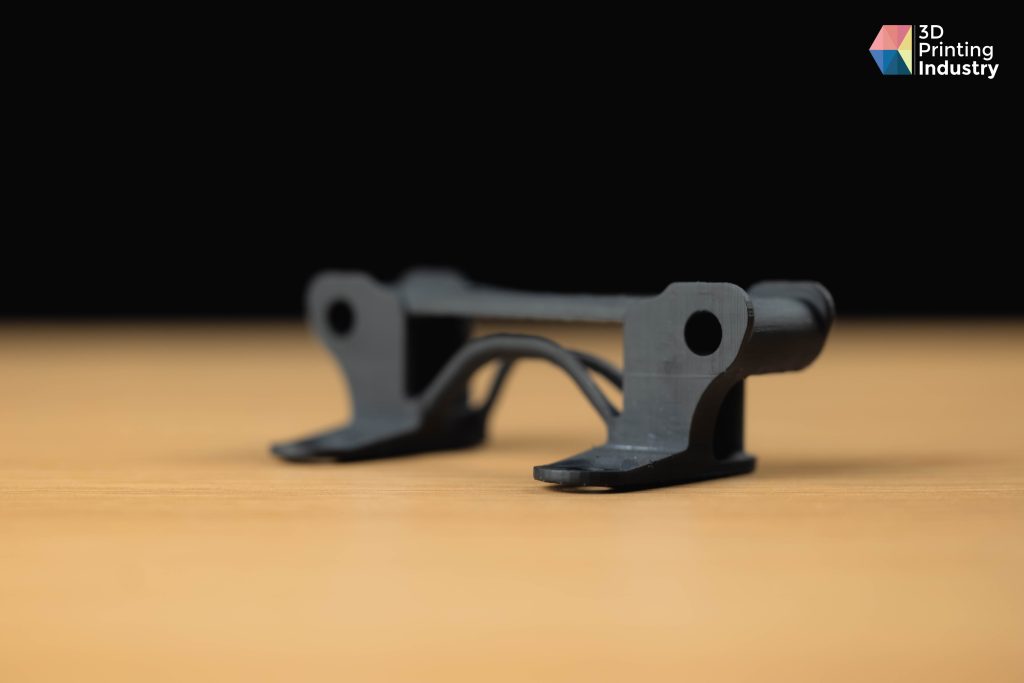
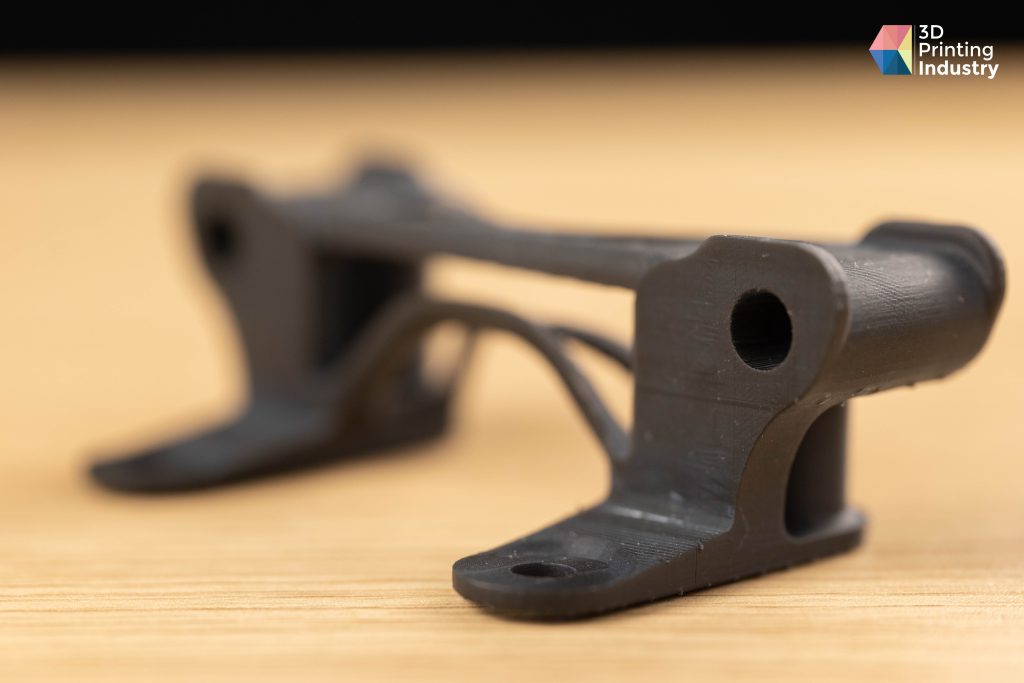
A Nexa3D XiP-3D printed bike light part and wine bottle holder. Photo by 3D Printing Industry.
Who is the XiP designed for?
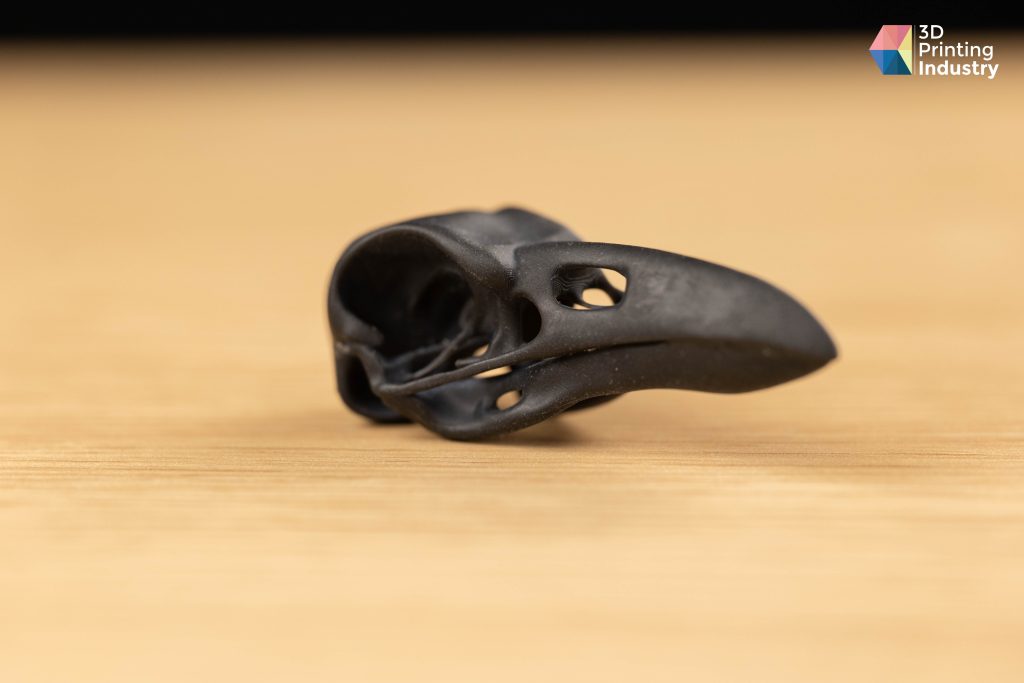
While marketed towards professional users with engineering, manufacturing, and digital dentistry application needs, the XiP is also more than capable of creating figurines and prototypes. As our tests below reveal, the machine delivers a particularly high level of finish. At face value, this supports Nexa 3D’s assertion that the XiP can be used for product development or the 3D printing of end-parts.
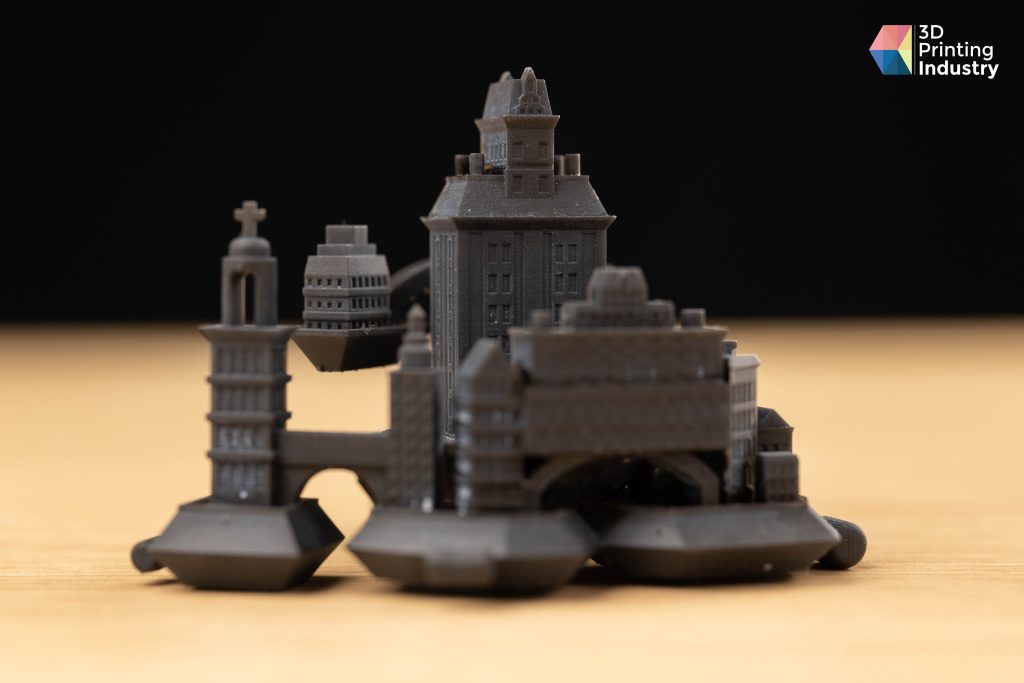
A Nexa3D XiP-3D printed castle model and bike pedals. Photo by 3D Printing Industry.
Unboxing and setting up the XiP
The XiP itself came well-protected. As the machine is constructed from heavy billet aluminum, it is important to keep it isolated, as any large hit would put it at risk of damage, but the Z-axis was well-secured using a XiP tie.
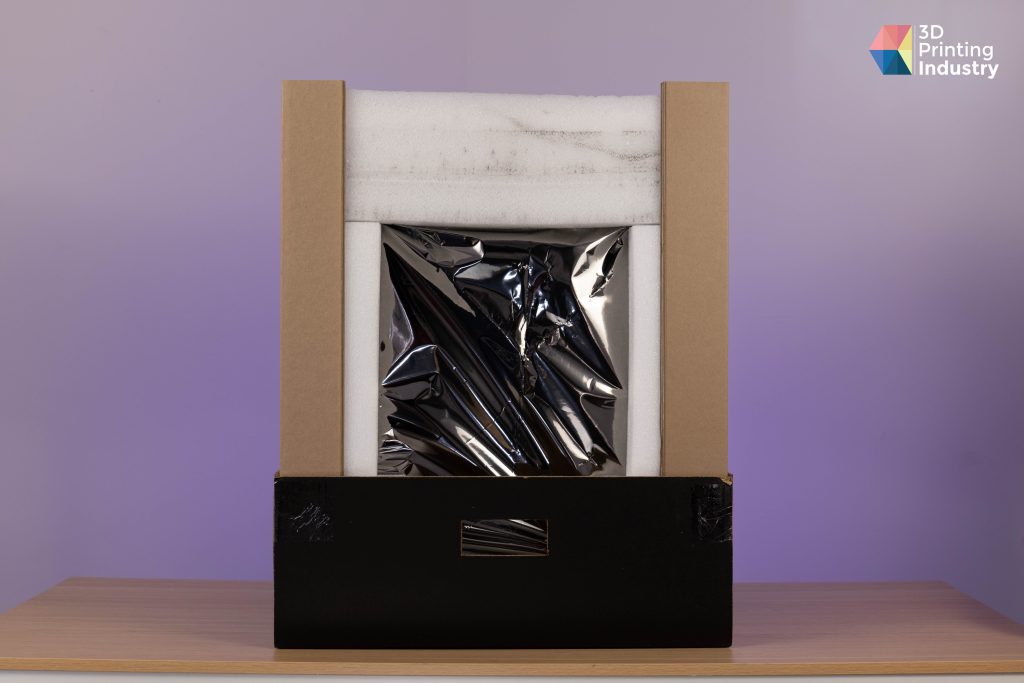
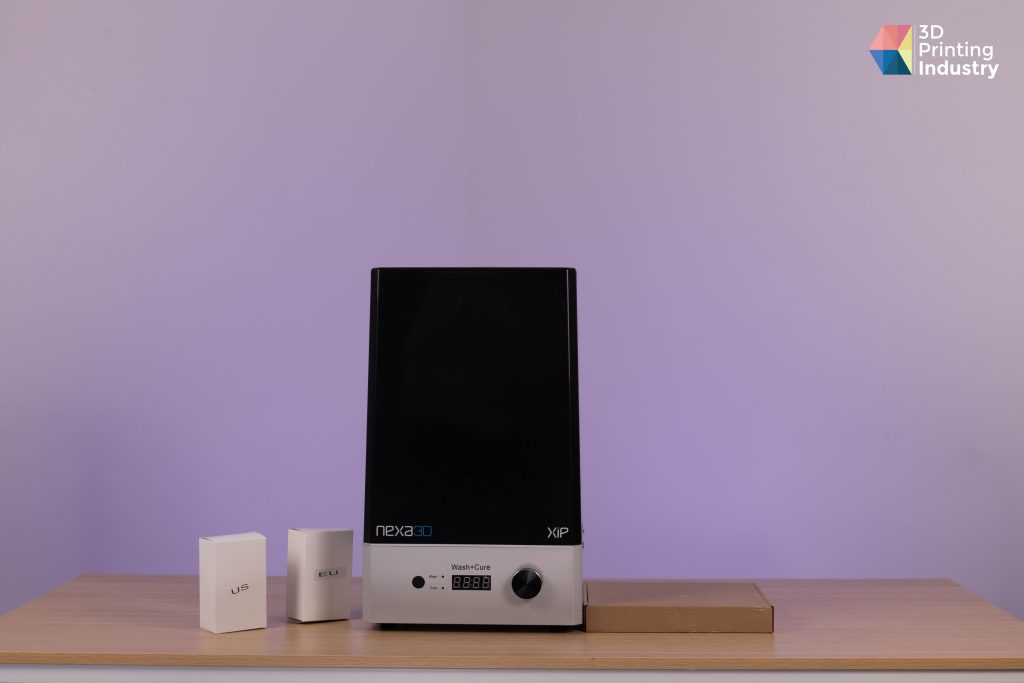
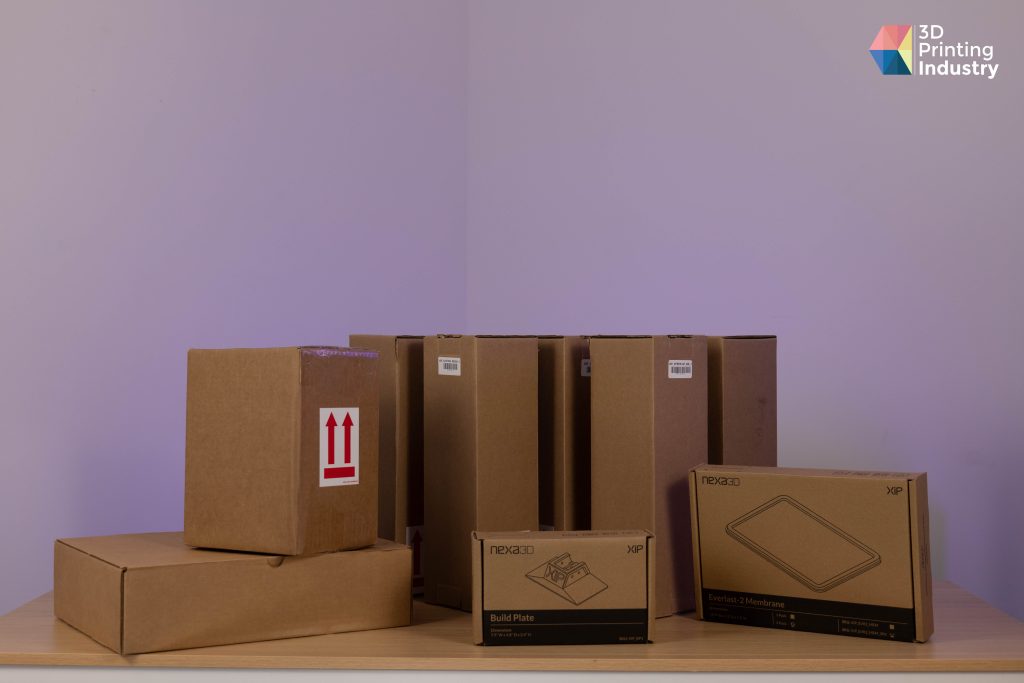
The unboxing of the Nexa3D XiP 3D printer. Photo 3D Printing Industry.
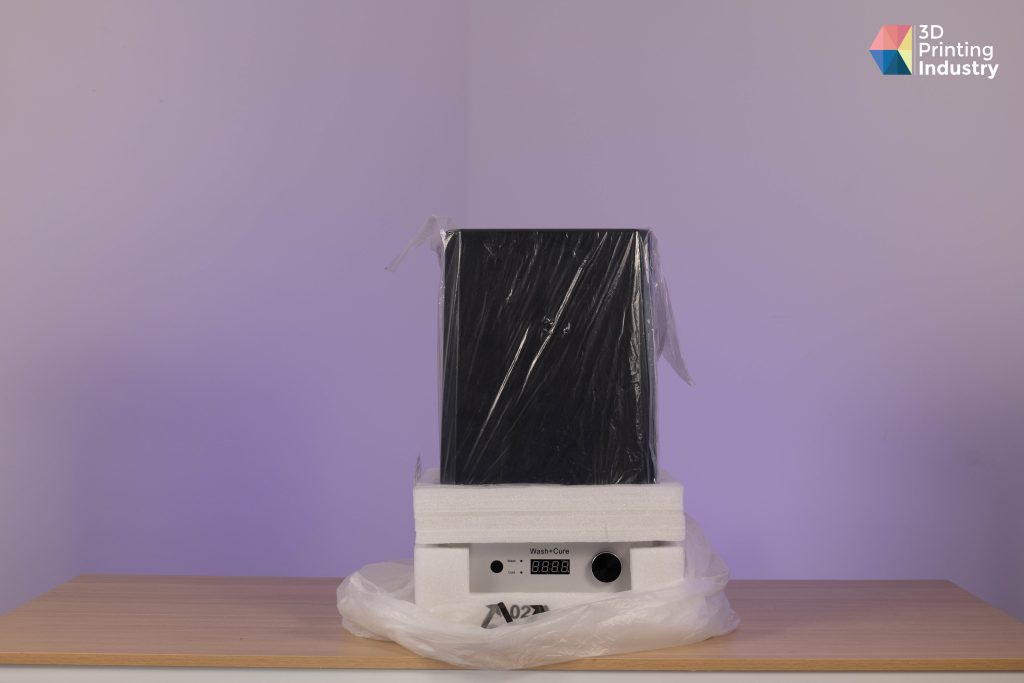
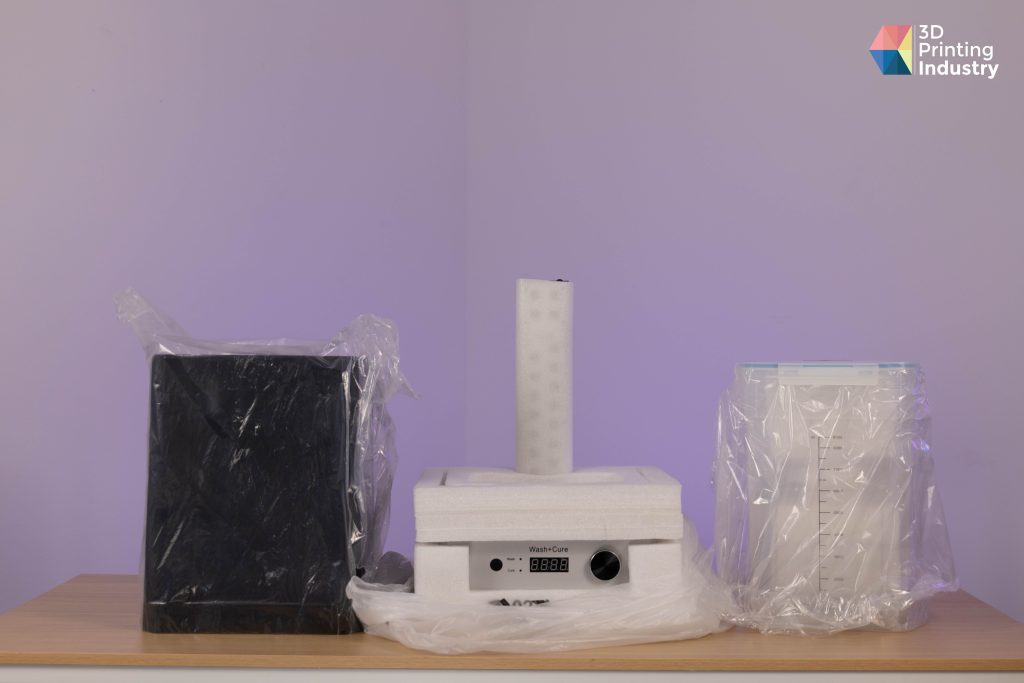
Inside the box, we received everything needed for printing and maintenance, including a resin, Wash+Cure, post-processing liquid, tools, and a USB stick. Those seeking to go the extra mile can also order a Team/Prototyping package with resins and membranes, but we didn’t miss them.
With the exception of the resin vat and build plate, the XiP came fully assembled, in a way that would likely make things easier for newbies. Initial impressions of the machine’s black & silver exterior were also positive, and its robust construction was later found to be less vulnerable to vibrations.
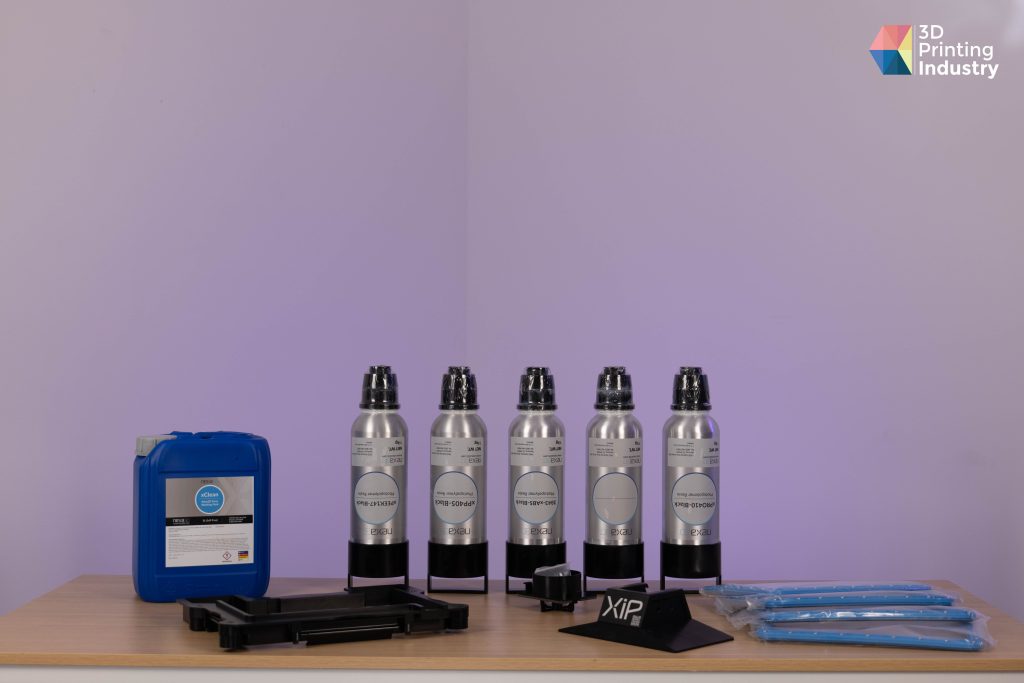
The unboxing of peripherals for the Nexa3D XiP 3D printer. Photo by 3D Printing Industry.
Reviewing the NexaX slicer
Free to download from the Nexa3D website, the NexaX slicer was designed in-house, and the companies expertise really shines. From our experience, this was one of the easiest resin-slicing jobs we’ve ever done, and the print preparation screen was clear and concise, offering up preloaded print profiles.


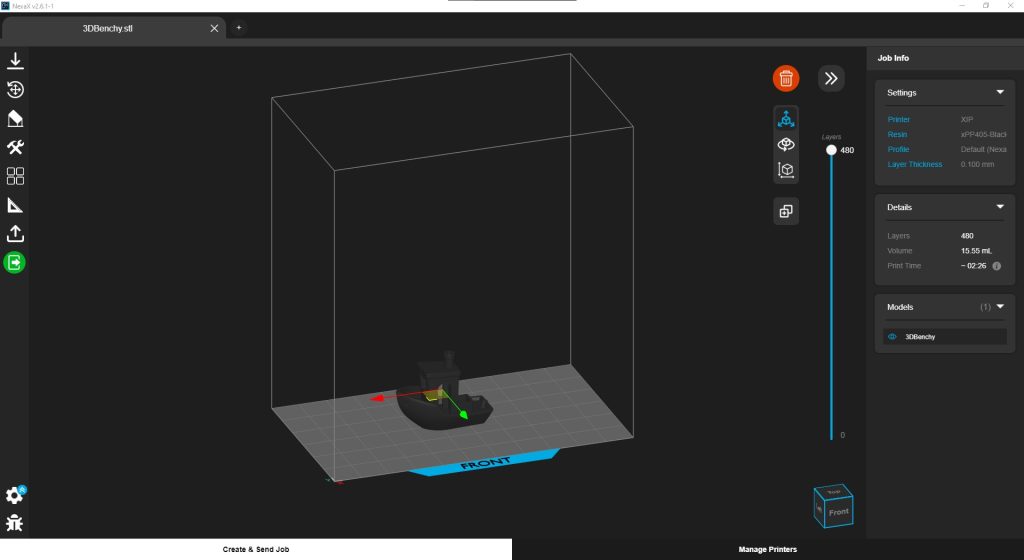
The NexaX Nexa3D XiP 3D printer slicer. Image by Nexa3D.
During usage, the slicer was much the same as others, and comes with the tools needed to 3D model with precision. These options let users organize multiple parts, add supports, and reorient for best results.
That said, the support option only auto-generated supports, and there was no manual option. The slicer also seems to use a lot of computing power and take longer than expected to load when other programs are open, something users may need to keep an eye on.
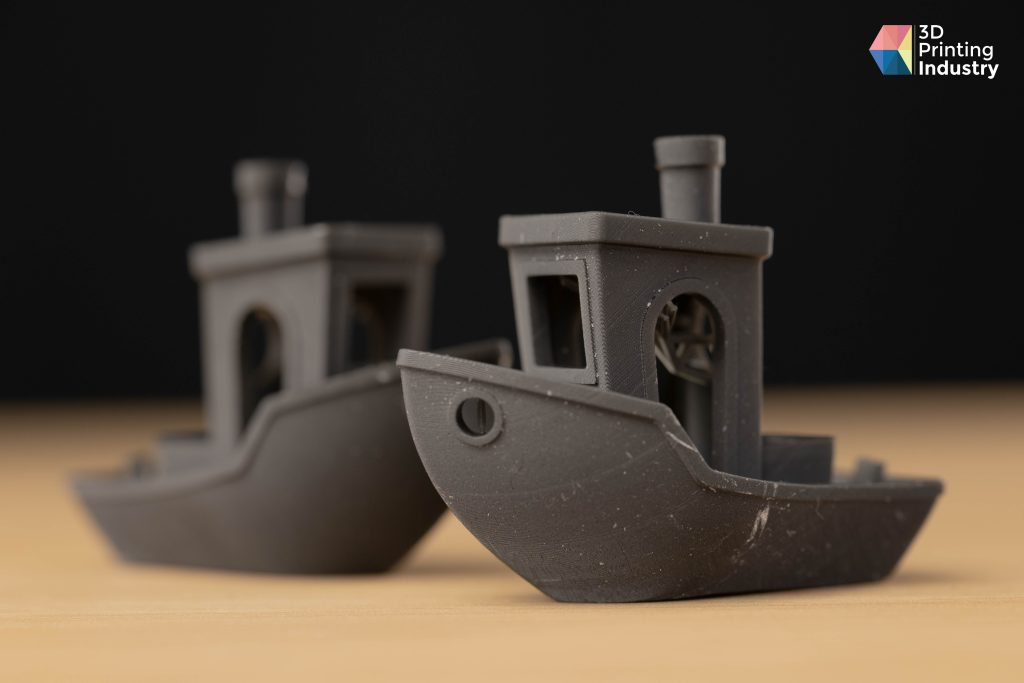
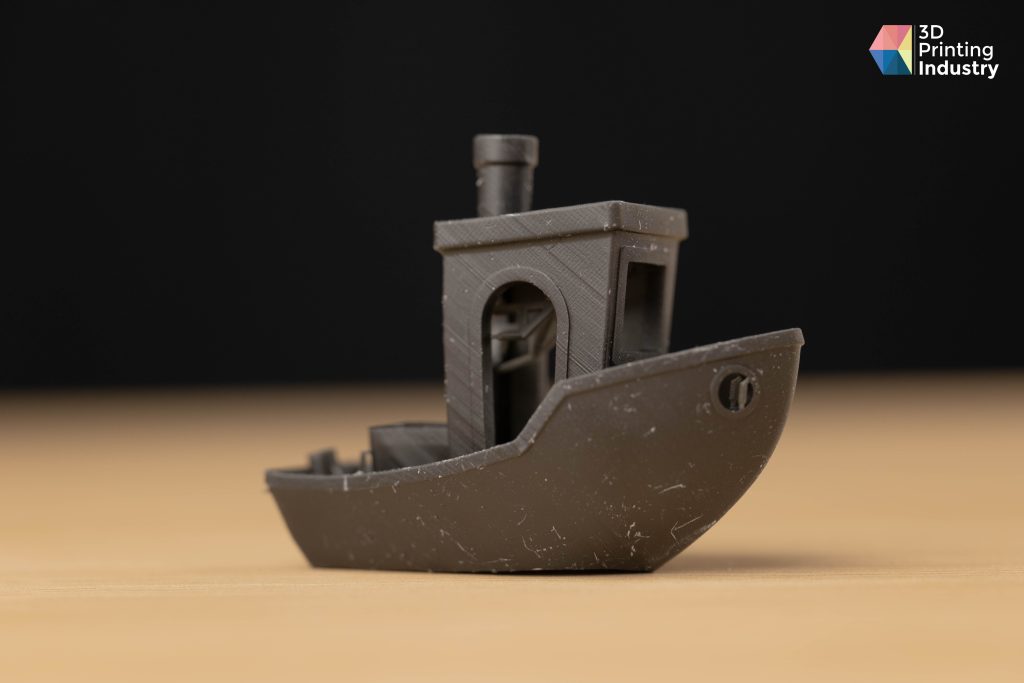
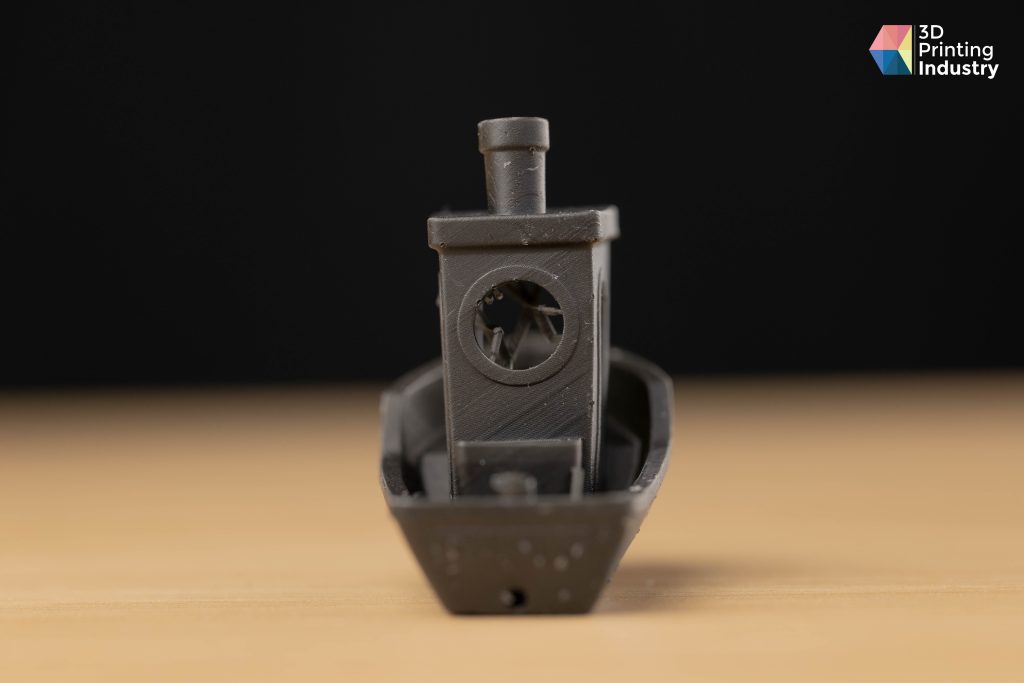
Nexa3D XiP-3D printed benchy boats. Photo by 3D Printing Industry.
Benchmarking the XiP 3D printer
As always, we started benchmarking with the classic Benchy, a popular test that allows for the assessment of overhangs, bridges, and precision. Generally, if this print fails then either tuning is needed or there is a more serious problem, but the XiP produced one of the finest ‘benchies’ we’ve seen.
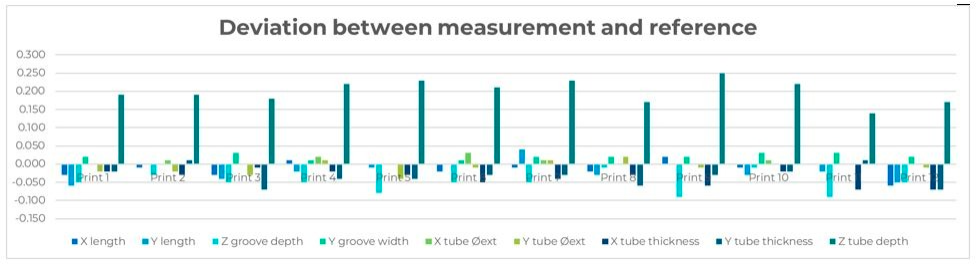
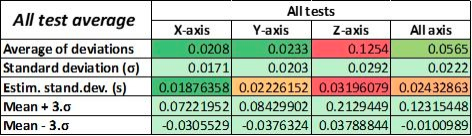
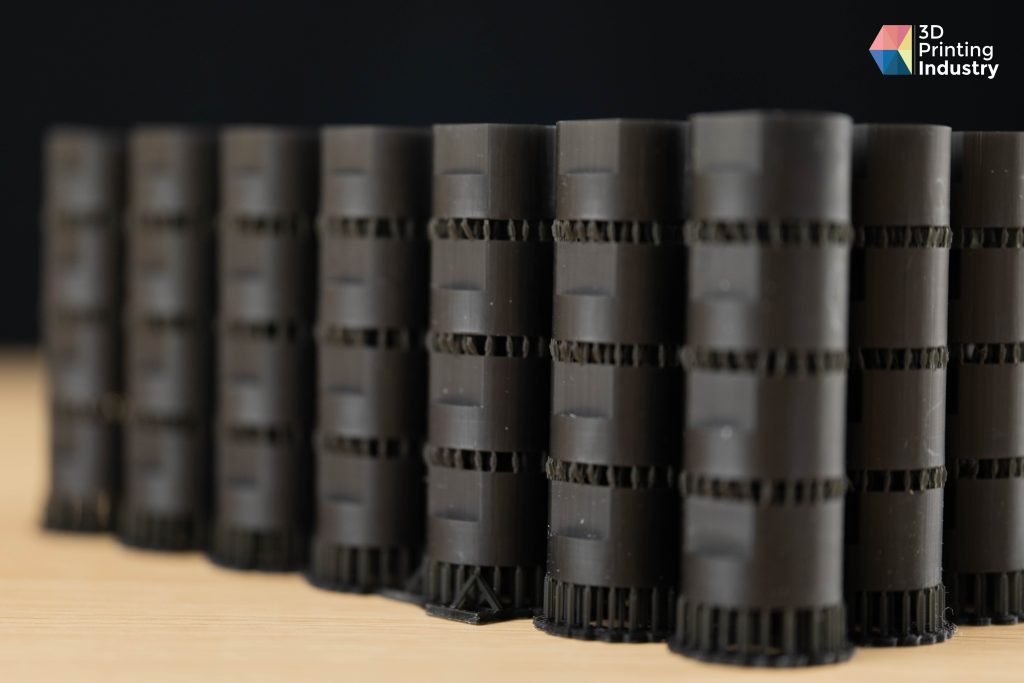
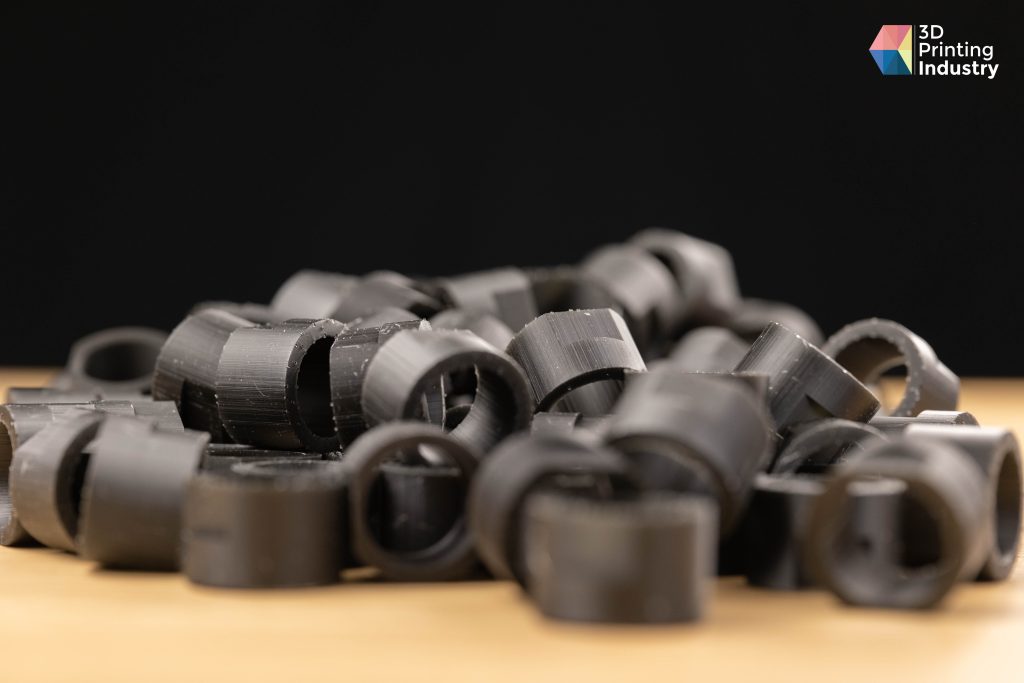
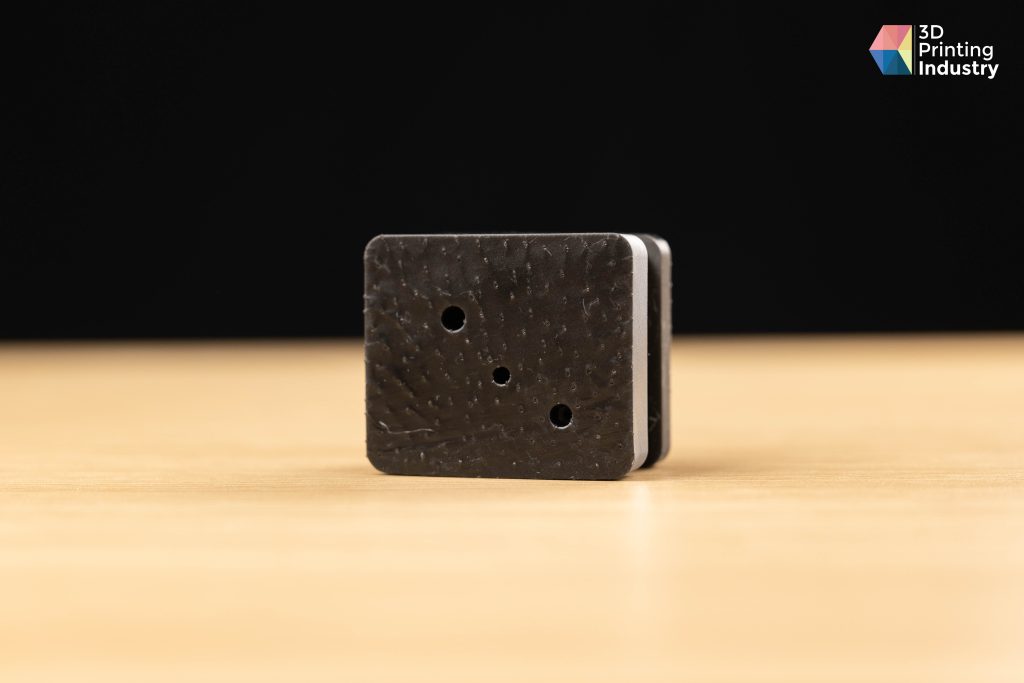
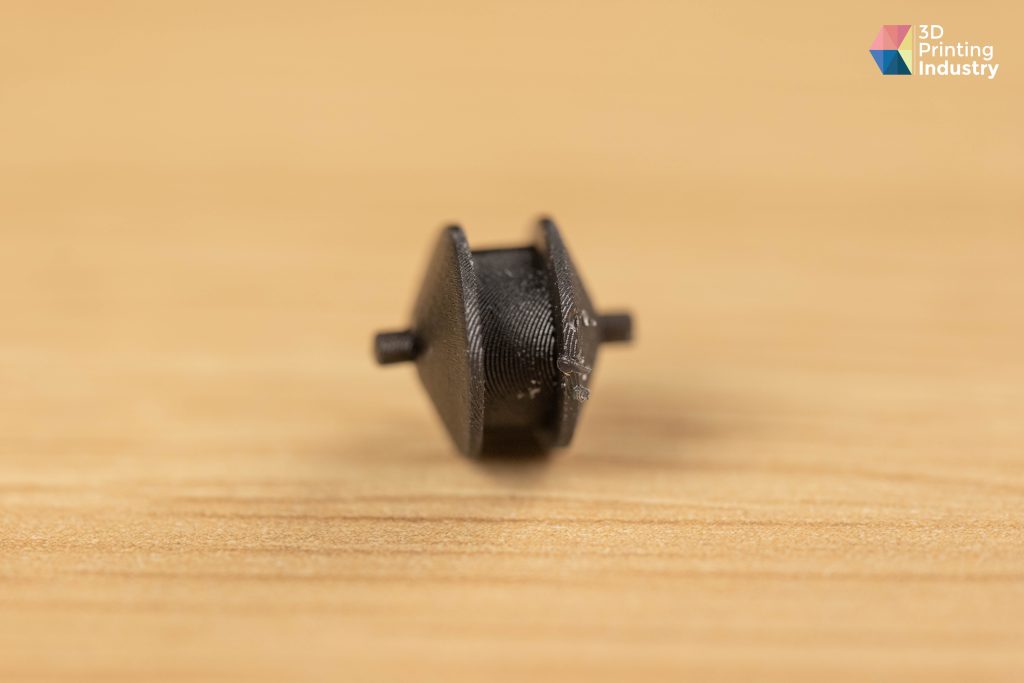
We then moved on to our repeatability test. For this, we produced multiple parts with the same dimensions, before comparing them to a computer model to identify deviations. On this test, the XiP scored well, with an average deviation of 0.0565mm, just over what we expected. However, the Z-axis performed slightly worse, with a standard deviation of 0.125mm, bringing the XiP’s overall score down.
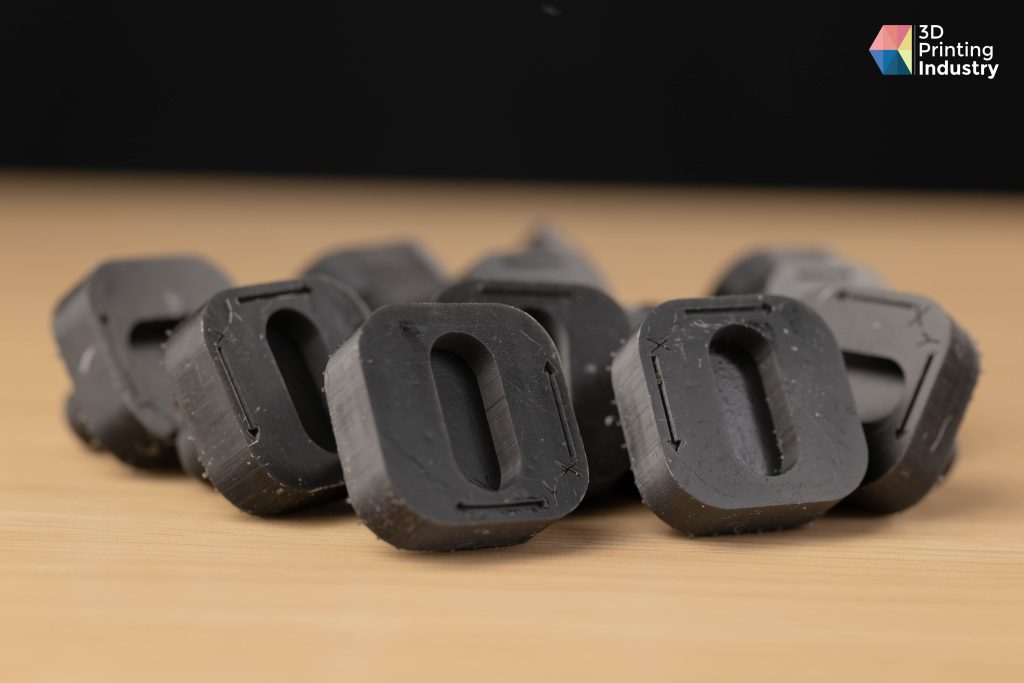
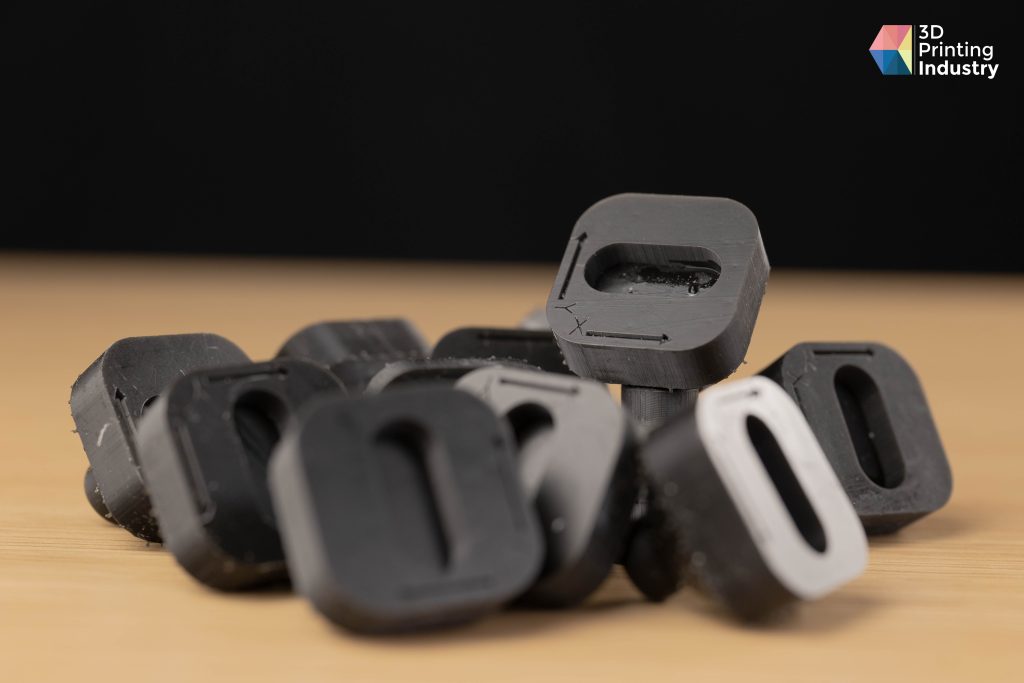
Nexa3D XiP-3D printed repeatability test pieces. Photo by 3D Printing Industry.
Bottom Z-layers are supported though, and will therefore naturally be less accurate. If the first layer does not stick perfectly, this will also remove 0.10mm from the Z height. As such, the result can be seen as consistent, and not necessarily due to inaccuracy.
Nexa3D XiP repeatability test results. Figure by 3D Printing Industry.
Overall, in terms of quality, the print was perfect. The surface was smooth, and there was no layer delamination. Once well cleaned, the parts were spot on, although the supports did leave a few marks.
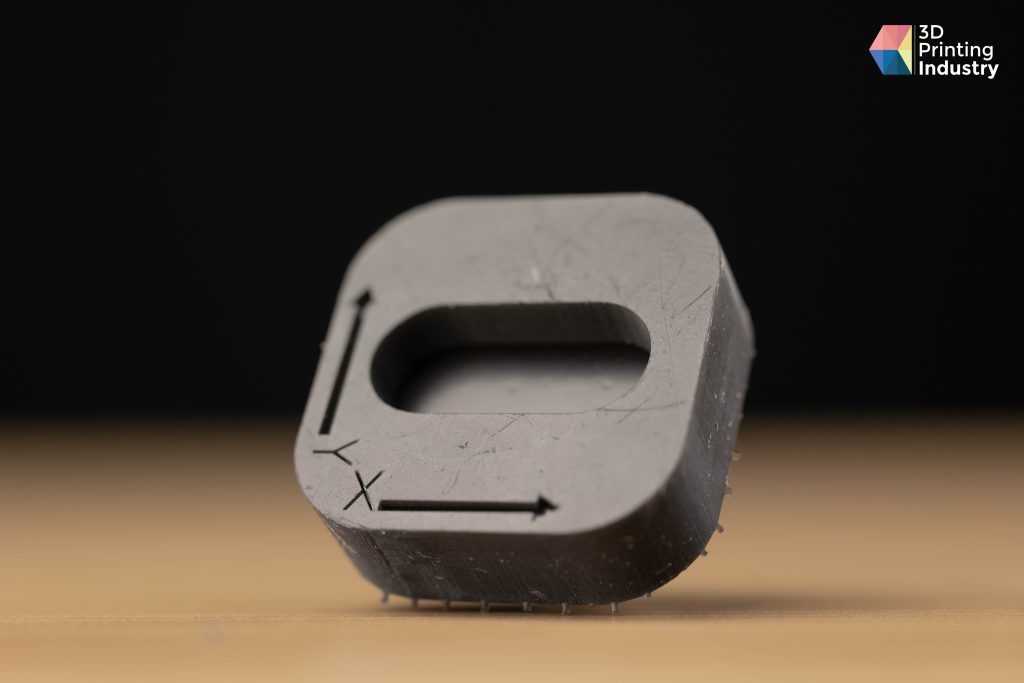
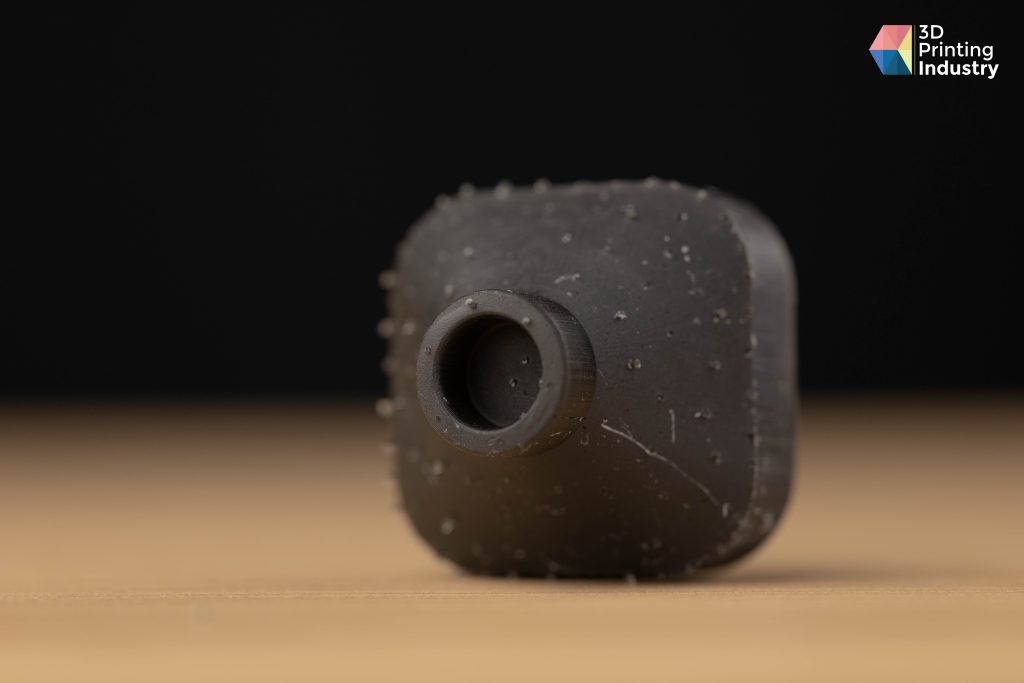
Nexa3D XiP-3D printed repeatability test pieces. Photo by 3D Printing Industry.
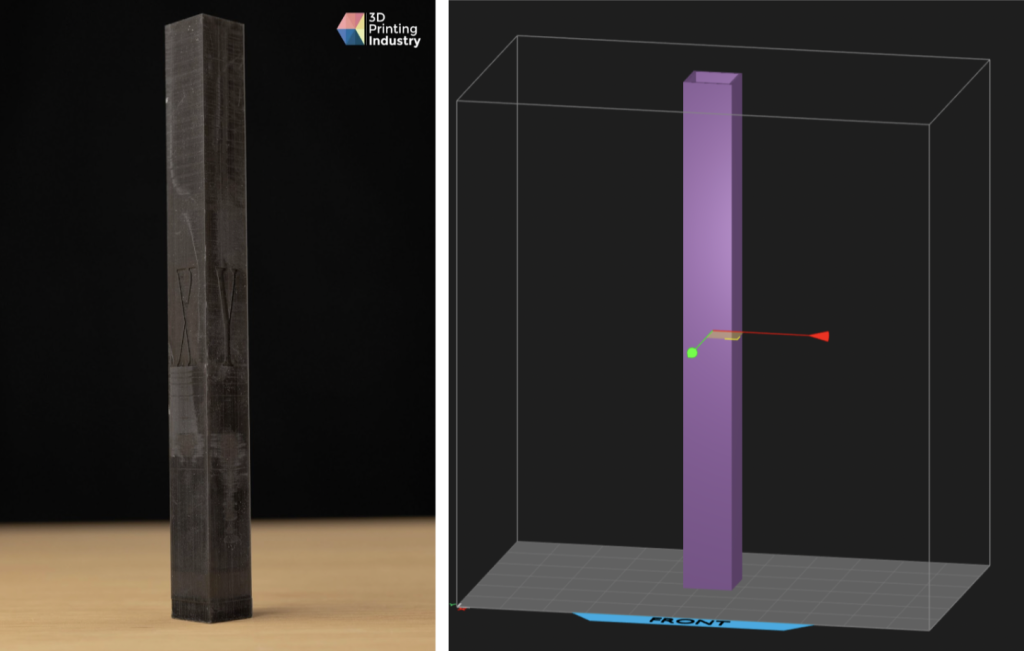
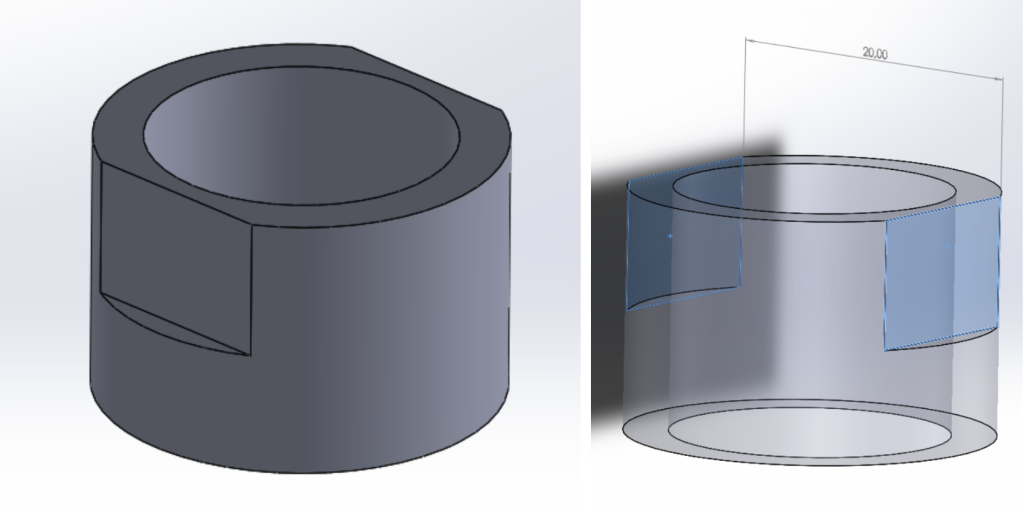
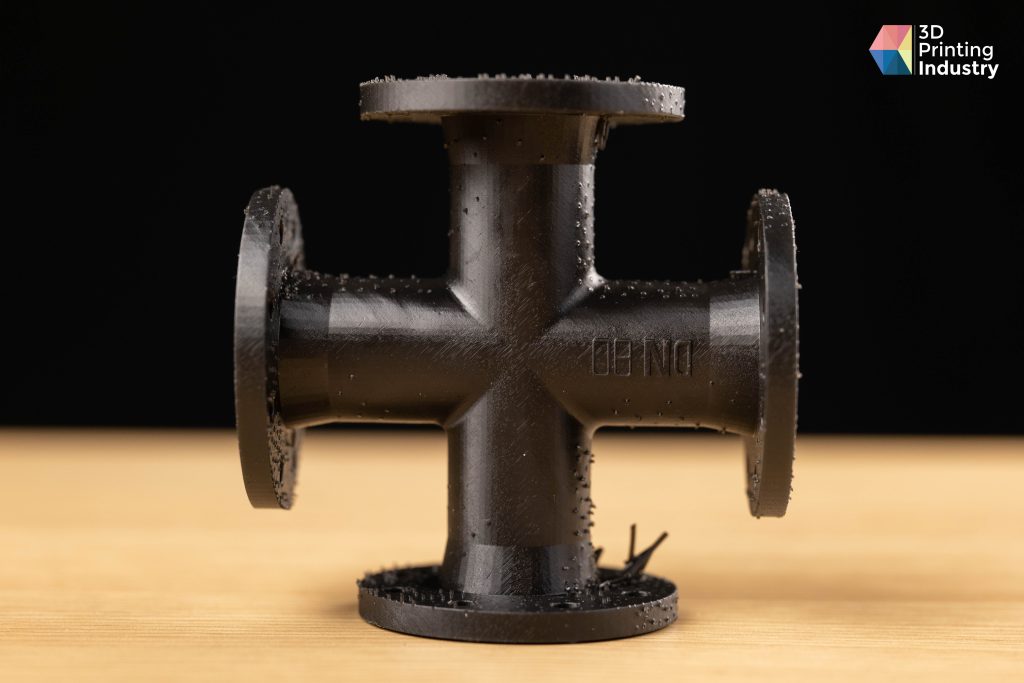
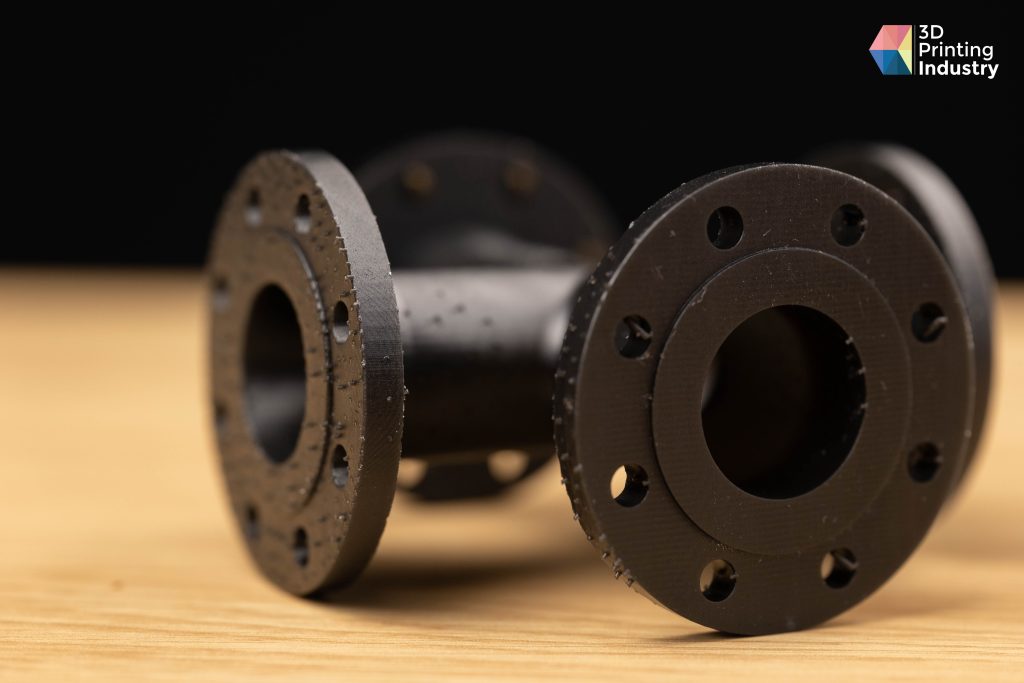
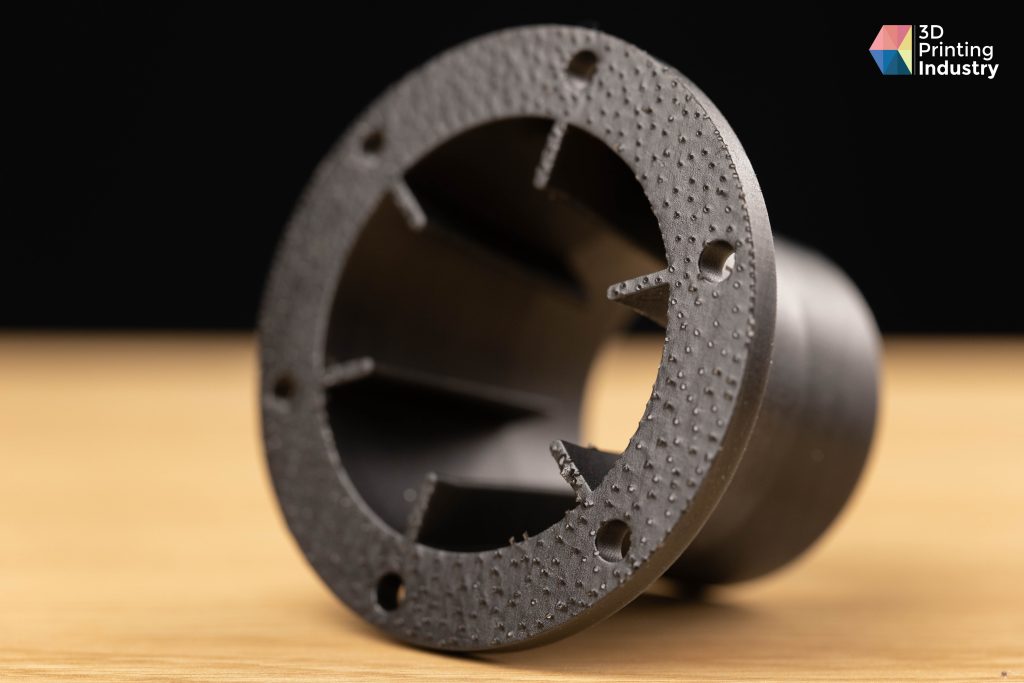
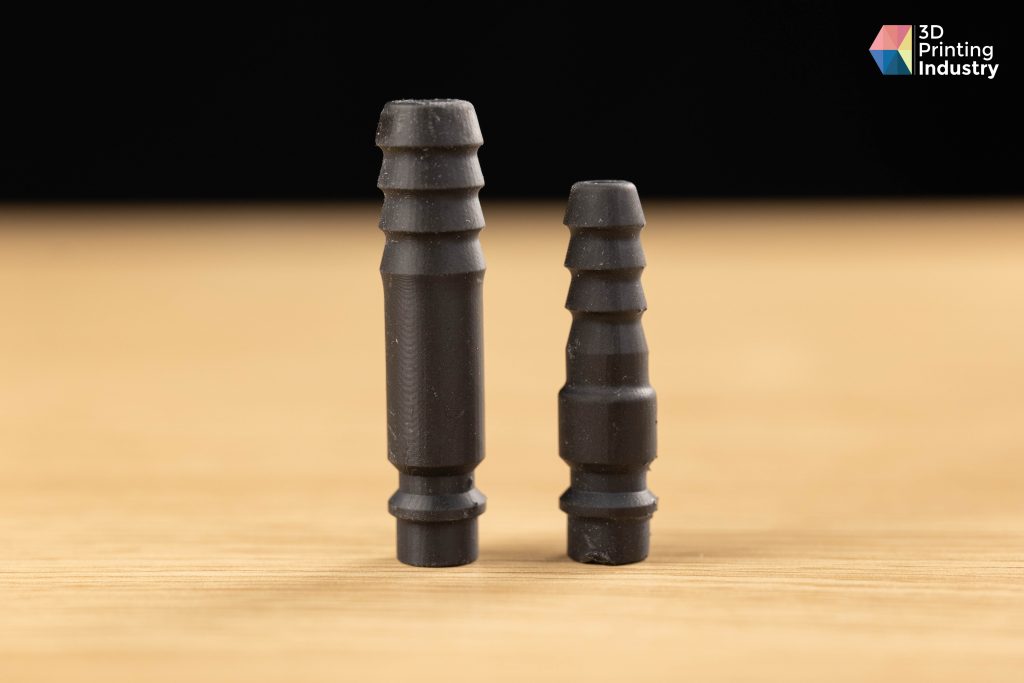
Next, we carried out a height test to gauge whether the listed 195mm x 115mm x 210 mm build volume could be reached. We did so by 3D printing a 20mm x 20mm x 210mm tower with a small surface area so that we could also test bed adhesion quality.
This print proved a success, as there was less than a 0.05mm deviation from the reference size. Later, in another test, we printed a piece that covered the full build area with similarly impressive results.
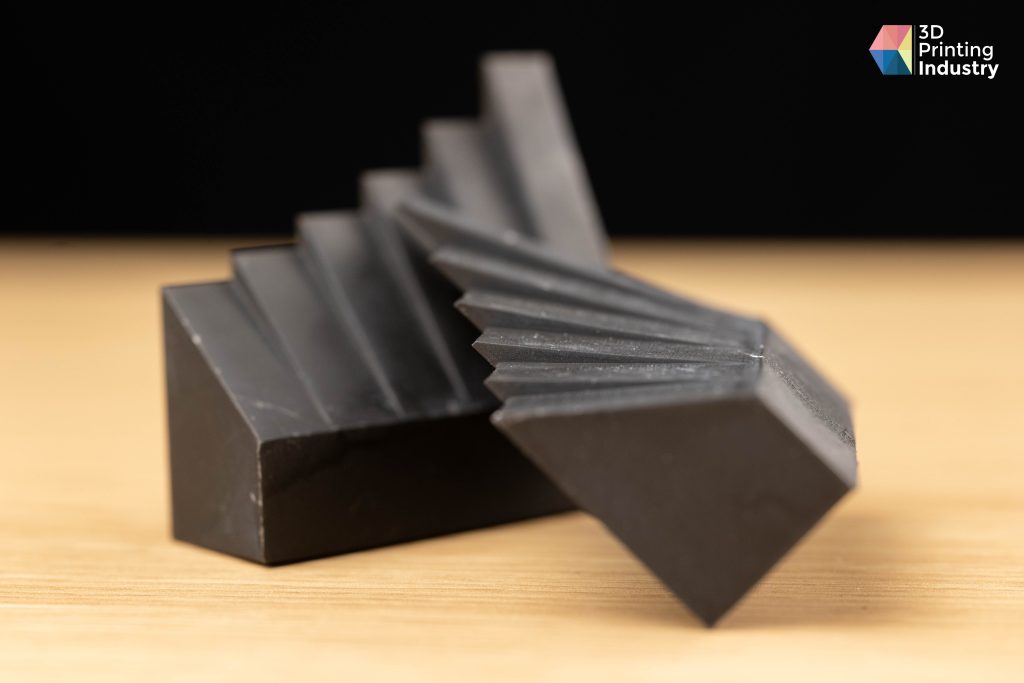
Going on to assess the XiP’s overhang capabilities, we then created a six-wall print with different overhang angles, ranging from 40° to 60°. These printed perfectly until 65° where there was slight curvature in the overhang wall, though this is the generally accepted limit for resin 3D printers.
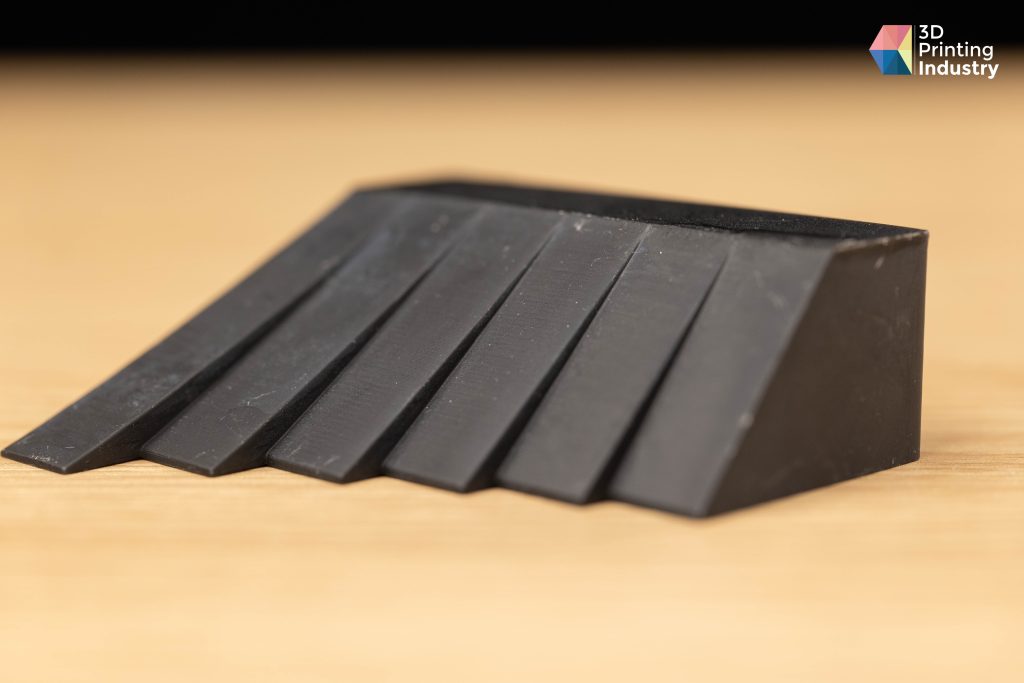
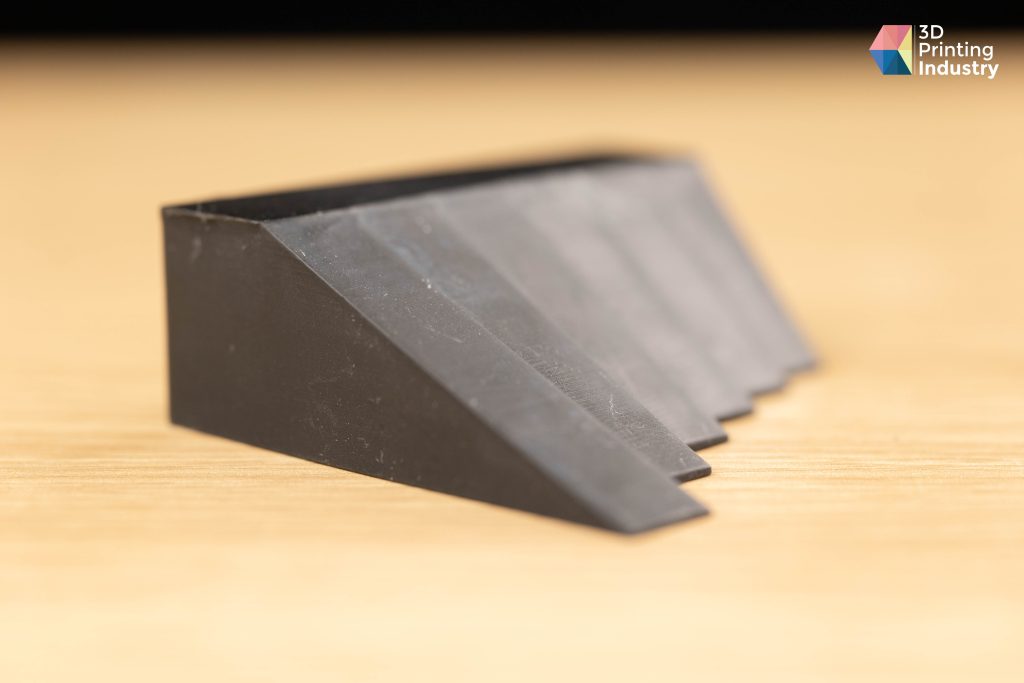
A Nexa3D XiP-3D printed overhang test. Photo by 3D Printing Industry.
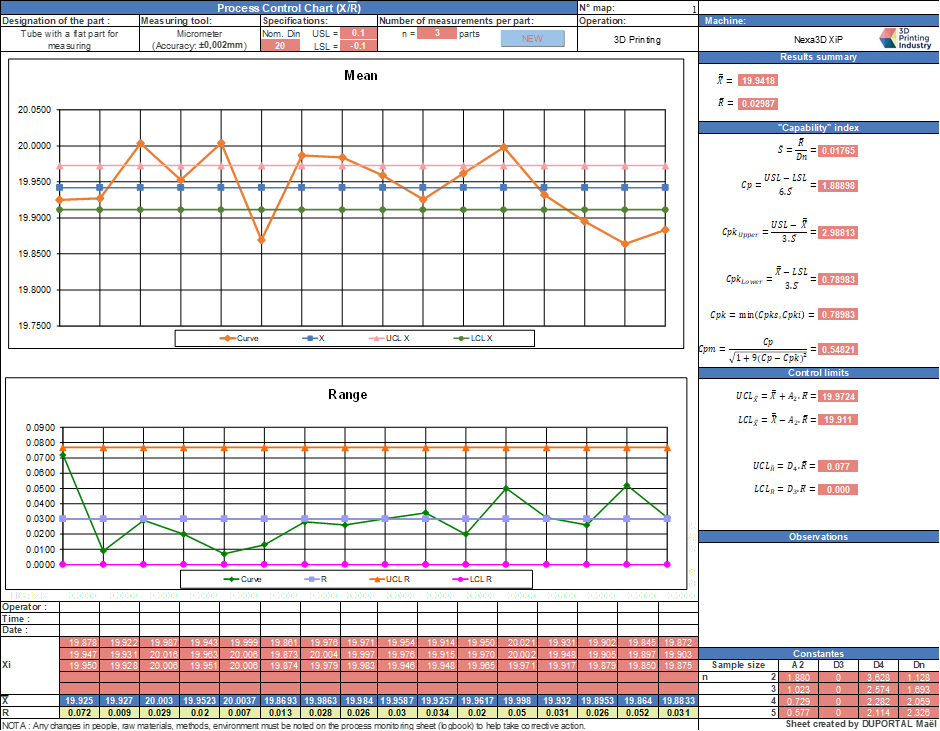
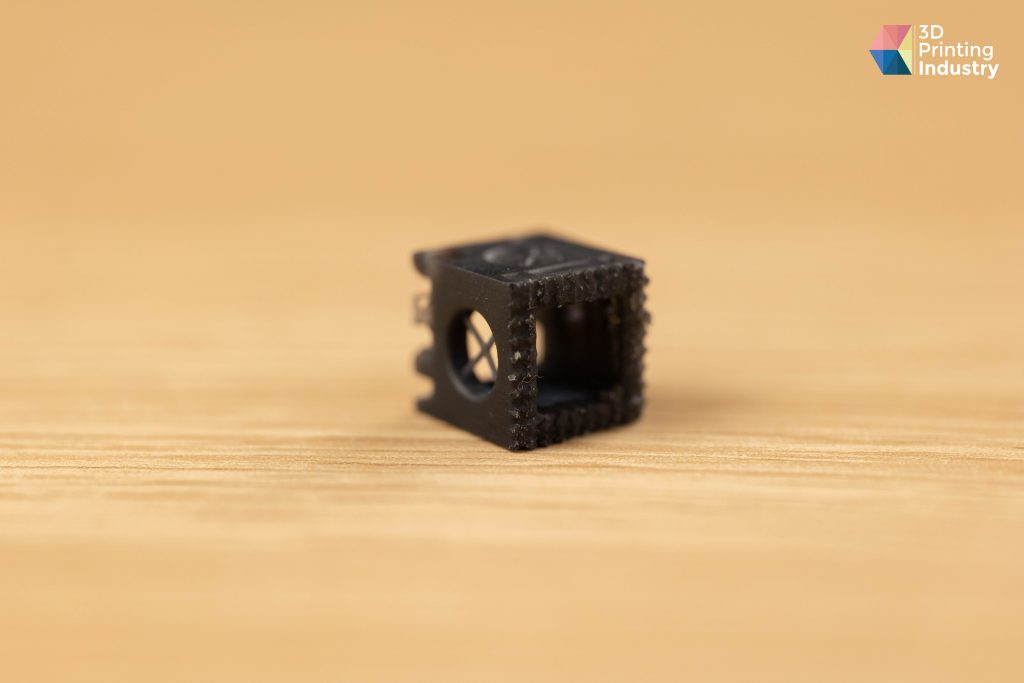
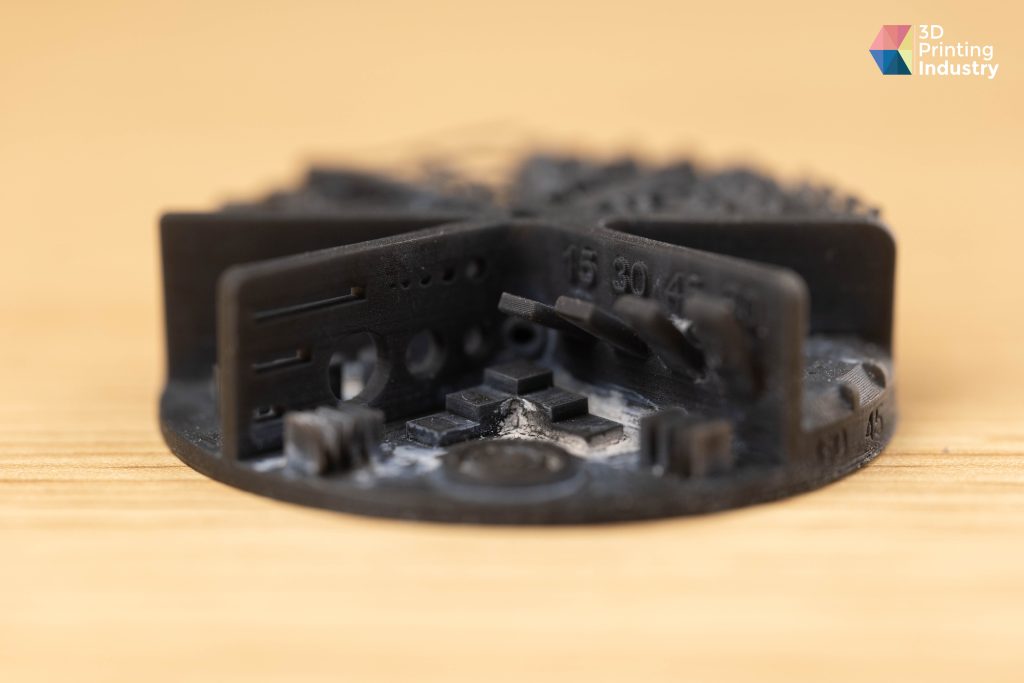
As usual, we also tested for ‘capability.’ Stemming from the 1970s US auto industry, the concept sees statistical process control used to weigh up the suitability of a machine or process to achieve a required manufacturing output. To test this, we 3D printed 150 parts from xABS3843 and chose to measure the deviations in 16 of these.
A Nexa3D XiP-3D printed capability test and CAD capability test file. Photo by 3D Printing Industry.
In our tests, the XiP demonstrated a process capability (cp) of 1.89, a measurement that indicates the printer operates with precision. This, however, does not take into account the accuracy of the machine. For this, we obtained a coefficient of 0.79, showing that the machine slightly lacked in accuracy, as it decentred downwards.
If we wanted to use the machine to manufacture a part requiring a high degree of precision, we would therefore have to apply a correction coefficient to adjust for machine error. In such cases, builds would tend to be smaller instead of larger than desired, but it is possible to tweak CAD models to reflect desired tolerances.
Testing potential XiP applications
During testing, we produced various prototypes, one of our favourites being an injection mold for a 3.5mm headphone jack.
To create this, we used Nexa3D’s xPEEK due to its high-heat resistance, a trait the part would need if it were to find end-usage. In particular, we found xPEEK useful in the reinforcement of areas subject to the greatest change in temperature.
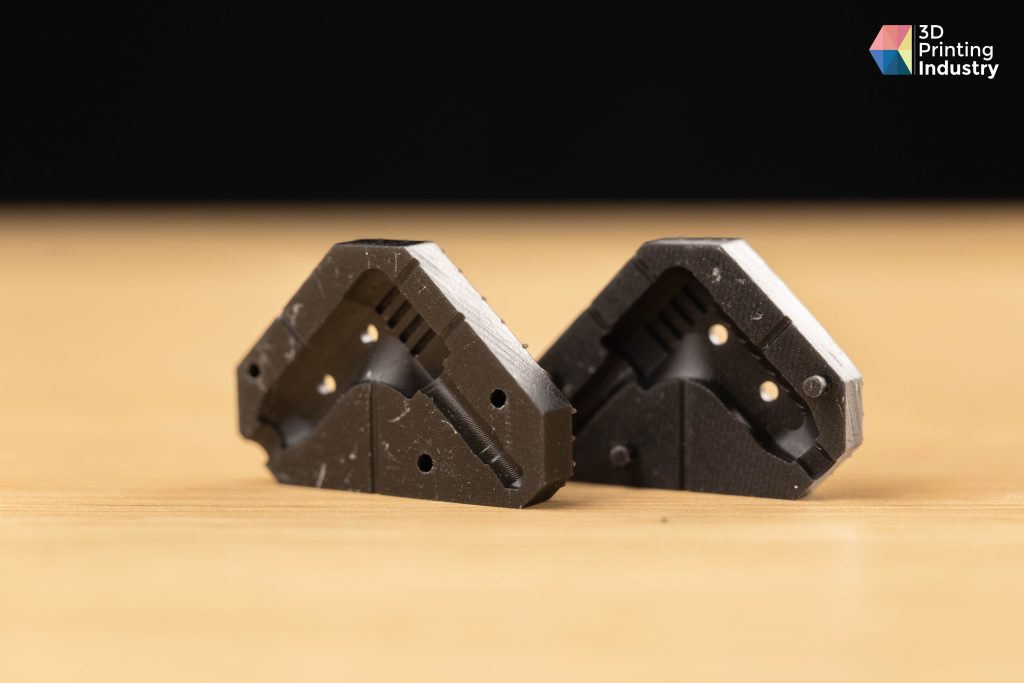
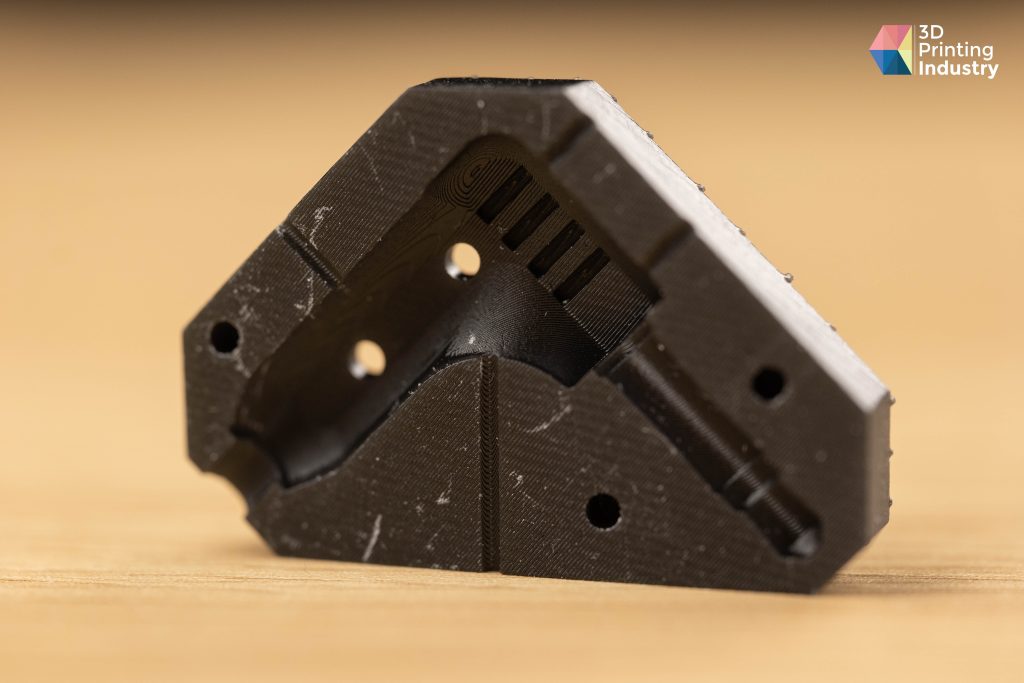
A Nexa3D XiP-3D printed headphone jack injection mold. Photo by 3D Printing Industry.
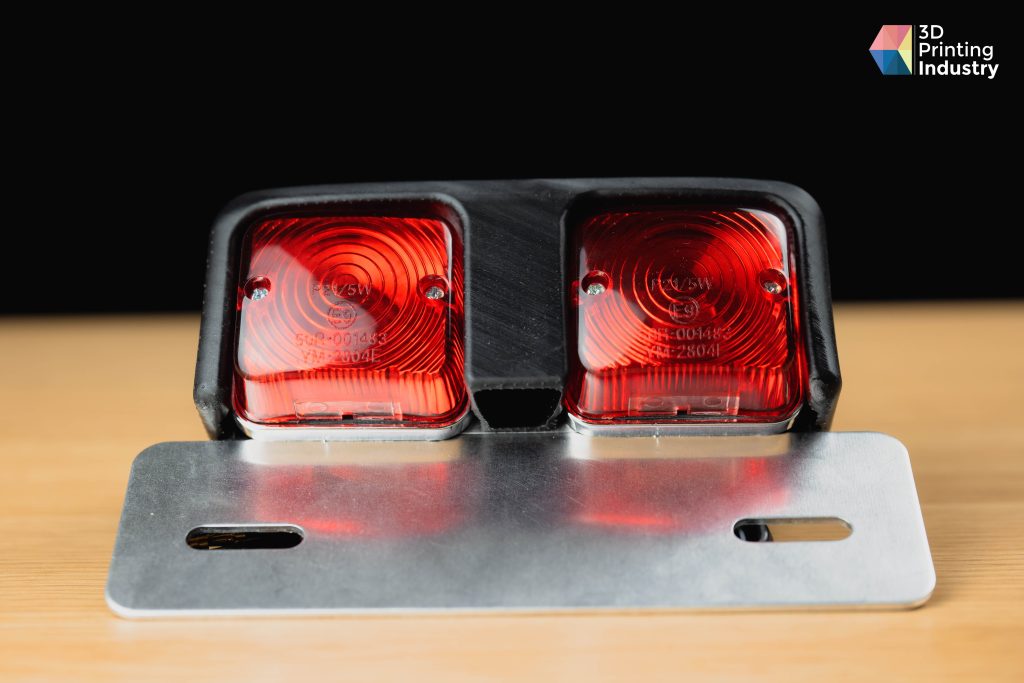
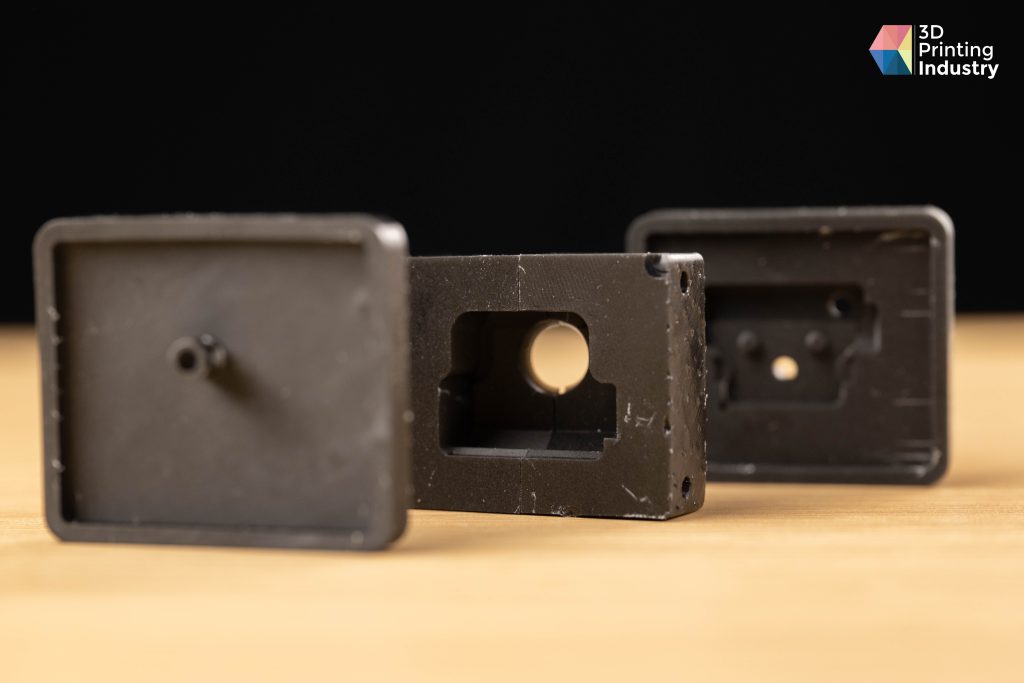
We also 3D printed a motorbike tail light from xPP405, a semi-rigid, tough resin with a high environmental resistance. As opposed to materials like ABS, which crack under pressure, Nexa3D’s polypropylene can also survive small impacts without capitulating.
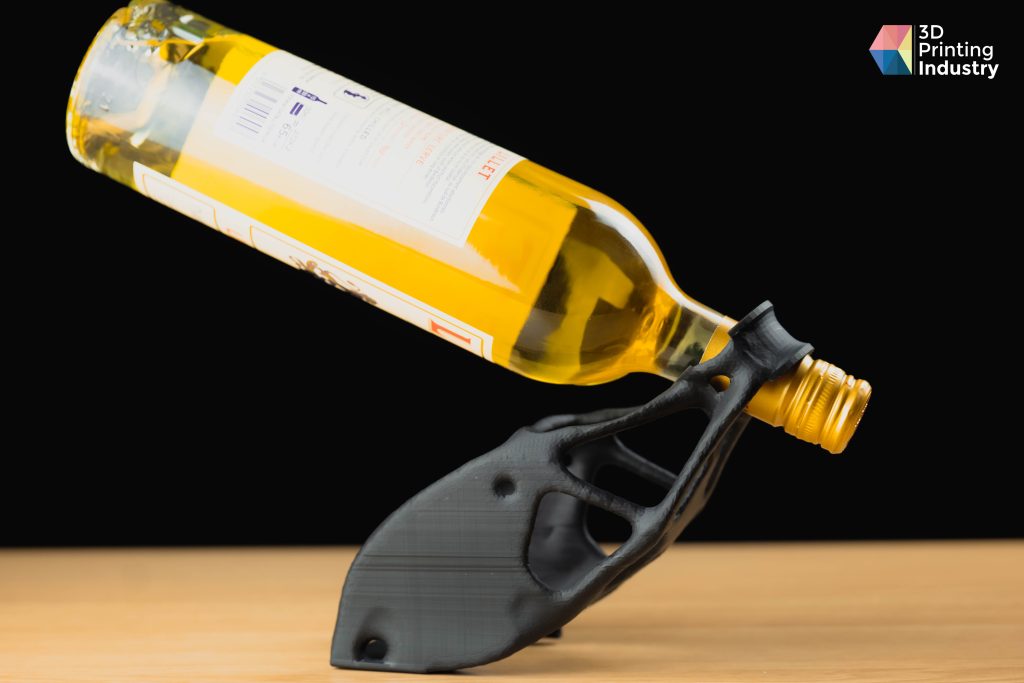
One of the more decorative items we produced, was a wine bottle holder. This showcased the XiP’s large build volume. The part was made from Nexa3D’s xABS resin, and printed perfectly, with little to no supports or artifacts left behind.

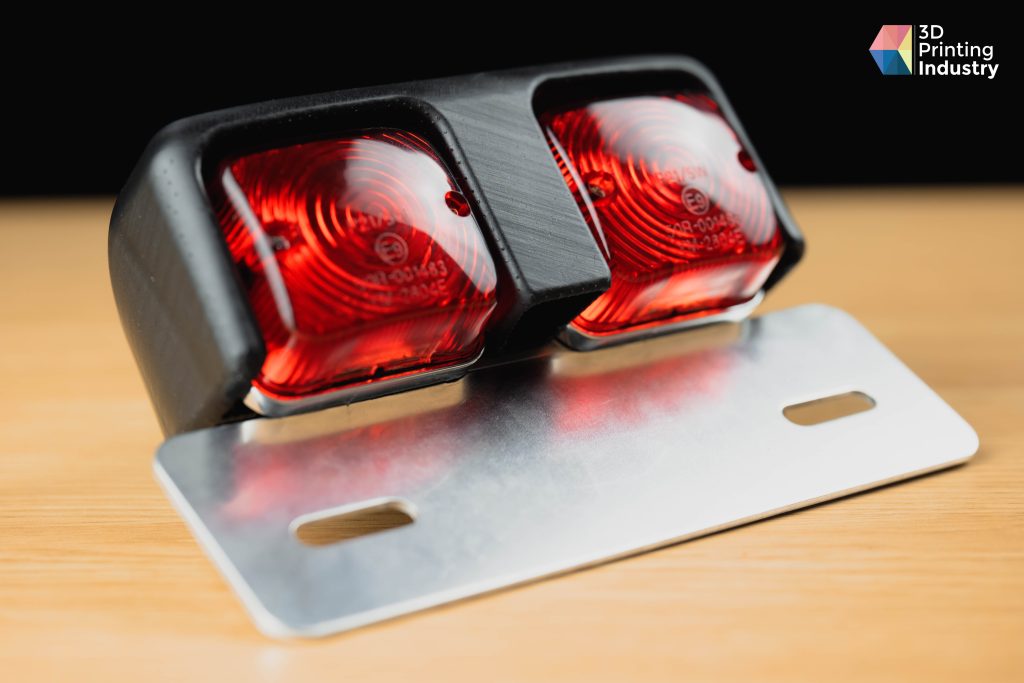
Nexa3D XiP-3D printed motorbike headlight cover. Photo by 3D Printing Industry.
There were no real negatives to the XiP. We had slicer display issues, but this will likely be patched. The other problem was the post-processing vat’s magnetic stirring mechanism, which lost magnetism as the motor got up to speed. This caused the system’s propeller to vibrate, rendering the wash+cure system unusable, but there were no faults with the printer itself, just its peripherals.
Overall, Nexa3D’s XiP offers wide material compatibility and applications, making it a great printer for professionals. We see it as the perfect choice for those in need of a precise, reliable 3D printer that’s sturdy and hard-wearing.
NexaX is extremely easy to use and provides a great user experience. We really liked the stacking mode which allows for part mass production via stacking and support management. It is also possible to create material profiles. The only issue we had was an occasional display glitch, but this didn’t take away from the overall experience.
Better than average in terms of accuracy, and supported by an extensive product ecosystem, we reckon that with a few tweaks, it could be one of the best professional all-in-one printers on the market.
Nexa3D XiP 3D printed test models. Photo by 3D Printing Industry.
The Nexa3D XiP is priced at $6,295. Potential customers can contact Nexa3D directly for more information.
To stay up to date with the latest 3D printing news, don’t forget to subscribe to the 3D Printing Industry newsletter or follow us on Twitter or liking our page on Facebook.
While you’re here, why not subscribe to our Youtube channel? featuring discussion, debriefs, video shorts and webinar replays.
Are you looking for a job in the additive manufacturing industry? Visit 3D Printing Jobs for a selection of roles in the industry.
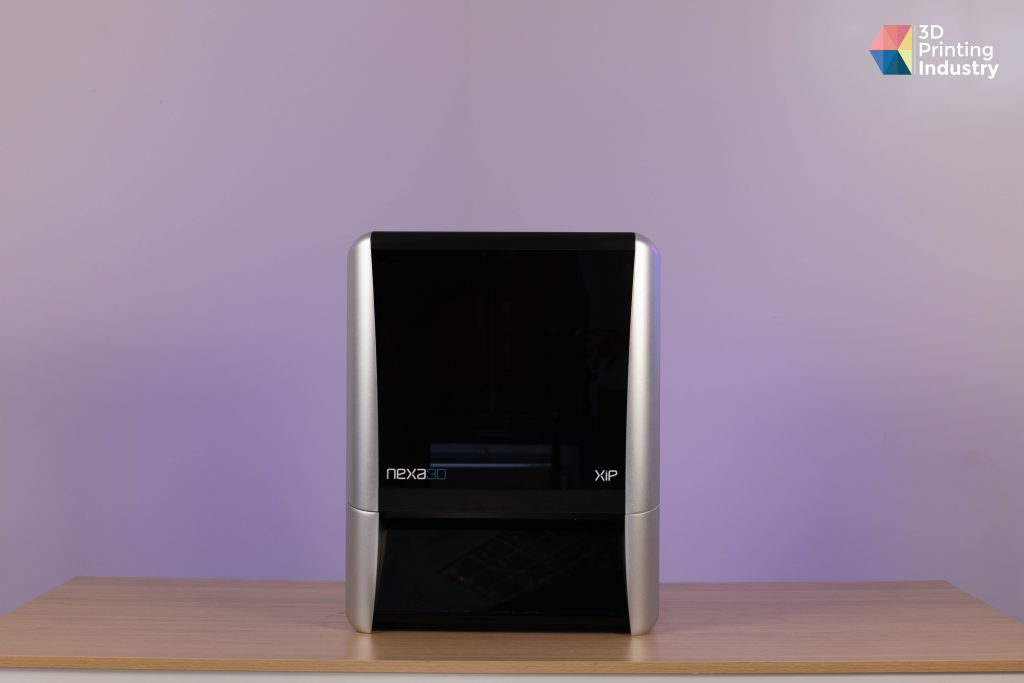
Featured image shows the Nexa3D XiP 3D printer. Photo by 3D Printing Industry.