3DPrintingIndustry has teamed up with HoneyPoint3D to bring our readers weekly free tutorial to learn basic skills to 3D Design and 3D Print. We are kicking the series with something cute and simple to design.
Wondering what to get for Mother’s Day? How about tapping into your 3D Printing skills? Even if you’re in a country that does not celebrate Mother’s Day, it’s always good to do something nice for your Mom!
You know, 3D printing starts with 3D model… no 3D model, no print. So, we are going to walk you through how to make something cool using a free software program from Autodesk called Meshmixer.
The most obvious choice is to model a heart! This can be for your mom (or any loved one) and then you can get it printed and shipped to you. Watch the video below and see how easy it is to create something personalized and unique using your imagination.
(Click to view the video)
Someone looking over your shoulders at work? If you would rather read, here’s what we covered in the video:
- Download and install the free software Meshmixer at http://www.meshmixer.com/download.html
- Open Meshmixer and select “import plane” from the central menu. To navigate Meshmixer, your left mouse button selects, your right mouse button rotates, your middle mouse button pans, and your mouse wheel zooms in and out
- Click “Select” on the left hand side
- Draw a heart on the top of the plane, and make sure the heart does not touch any of the sides of the plane. Make sure the heart is completely filled in.
- Type “d” on your keyboard and extrude the part up wards as far as it will go, using the slider in the top left.
- Click “Accept” and then “clear selection”.
- Click “Edit” on the left hand menu, then select “plane cut” and cut your heart about halfway down, then click Accept to make the cut.
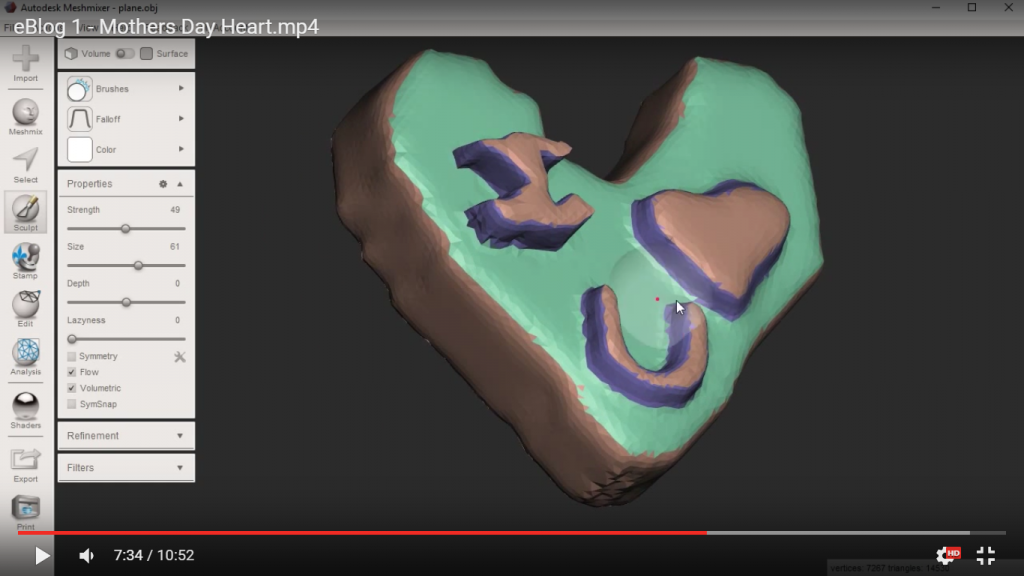
- Click “Sculpt” then “Brushes” then “Robust Smooth” and click on the edges of your heart to smooth them out a bit. Play around with the “size” slider on the left to make your brush smaller or larger. You now have a heart you can 3D print! If you want to adorn it more, repeat the process above by clicking “Select” on the left hand menu and drawing a letter or another heart on top of the existing heart, extruding it, and smoothing that new feature out.
- Click “Print” on the left hand menu, and select a printing service you want to use from the top menu (Sculpteo, etc.) as well as a material (we suggest something red or pink). If your heart seems too small, click “transform” in the left hand menu and change the size a bit. When you select an online 3D printing service bureau, the price will automatically be updated as your model changes sizes. Once you have the size you want, click “Review Cart and Order” you will be taken to the online printing service for payment and shipping details.
Then wait a week or so, and your 3D printed heart will arrive in your mailbox, just in time for Mother’s Day!
You can also print the model on your own desktop 3D Printers: affordable and best in class 3D Printers can be bought online at iMakr.com.
To order the book: http://3dpi.net/2202