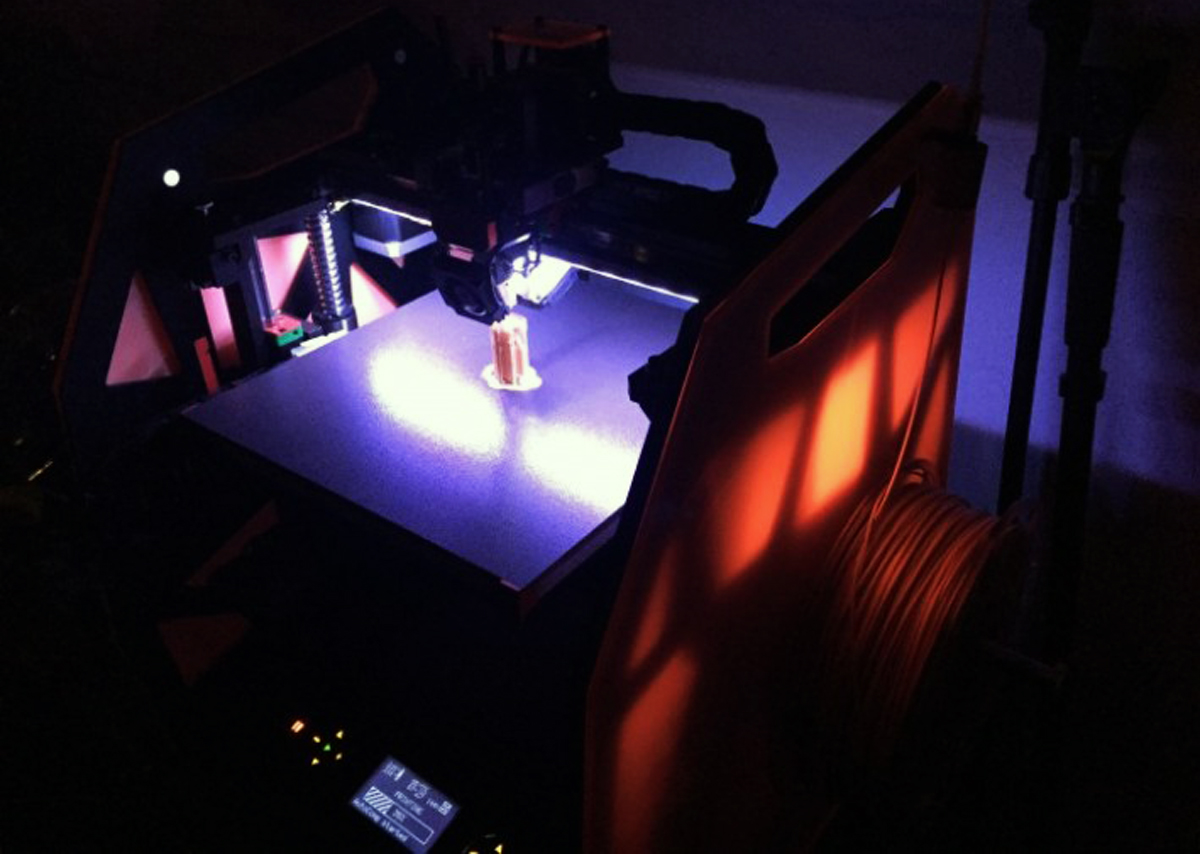
The first thing I noticed upon unpacking the 3DGence ONE was how open the design of their device was. The printer was almost completely uncovered, allowing for observation and/or fiddling around with from almost any angle. The printer could just about be considered fully assembled out-of-the-box, only requiring me to equip the two magnetic clear-red side panels, hand-screw in the spool holder, and connect the filament cleaner and tube to the extruder. Once I hit the power switch, conveniently placed on the front of the 3D printer along with the UI and setting/print controls, the 3DGence ONE jumped directly into auto-calibrating the heated, ceramic bed. According to 3DGence, the printer examines the print bed at 500 different points, using the nozzle to self-adjust its height for an optimized printing process. The auto-calibration runs off an algorithm within the printer’s software, compensating for any potential curvature during the printing process. The heat bed scanning process took about 20 minutes to complete, a moderately time-consuming process that proved to be worthwhile in the long-run.
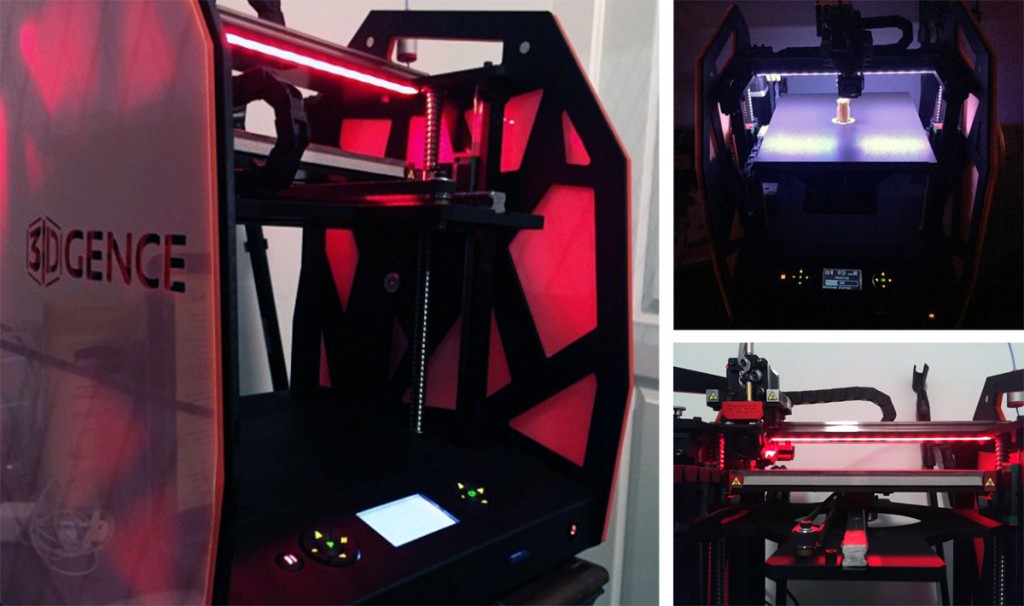
The heated ceramic bed, which has a relatively large build size of 235x255x195mm, is a testament to 3DGence’s claim of using high-quality components for the build of the printer. The smoothly textured and efficiently heated print bed helps to do away with the messy and pain-staking application of painter’s tape or glue, and once I actually began printing, proved to catch the first layer without issue and create smooth surfaces all-the-while. This wasn’t the first desktop printer I’ve used with a heated bed, but it is in fact the first printer I’ve used that had absolutely no need for tape or glue. The other printer components seemed well-built and conveniently modifiable as well. For instance, the PUSH module on top of the print head allows for a quick and seamless print head change. The extruder was also connected to a filament lock, which allowed for simple and efficient filament feeding and removal.
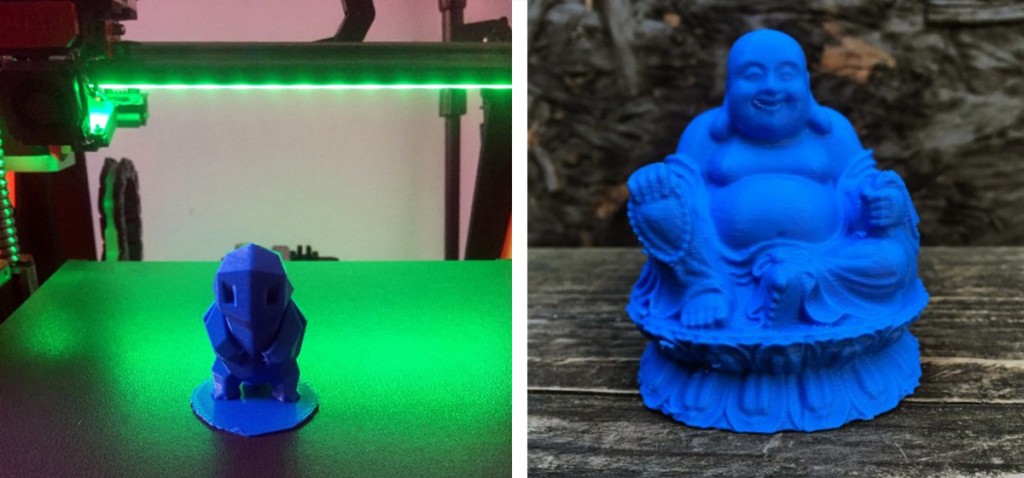
Influenced by an article I wrote around the time I received the 3DGence ONE, the first object I decided to print was a Low-Poly Squirtle, a geometrically focused design of one of the classic Pokemon characters. I decided on the 3D model not only because I’m personally a fan of low-poly design, but also because it allows the tested printer to show-off its ability to print smooth surfaces. The 3DGence ONE certainly hit the mark quite well. Using Simplify3D software to prepare the model for print, there was automatically a raft built for the object, helping to induce a clean break from the heated print bed upon completion. The blue filament provided with the 3DGence One was manufactured by a local filament company based out of Poland. After the Low-Poly Squirtle model came out quite flawlessly, I decided to test the printer on a more detailed, support-dependent object, choosing a Buddha statue. With the help of Simplify3D’s high-quality support structure generation, I was able to produce both a clean print and clear away the support in a moderately easy fashion.
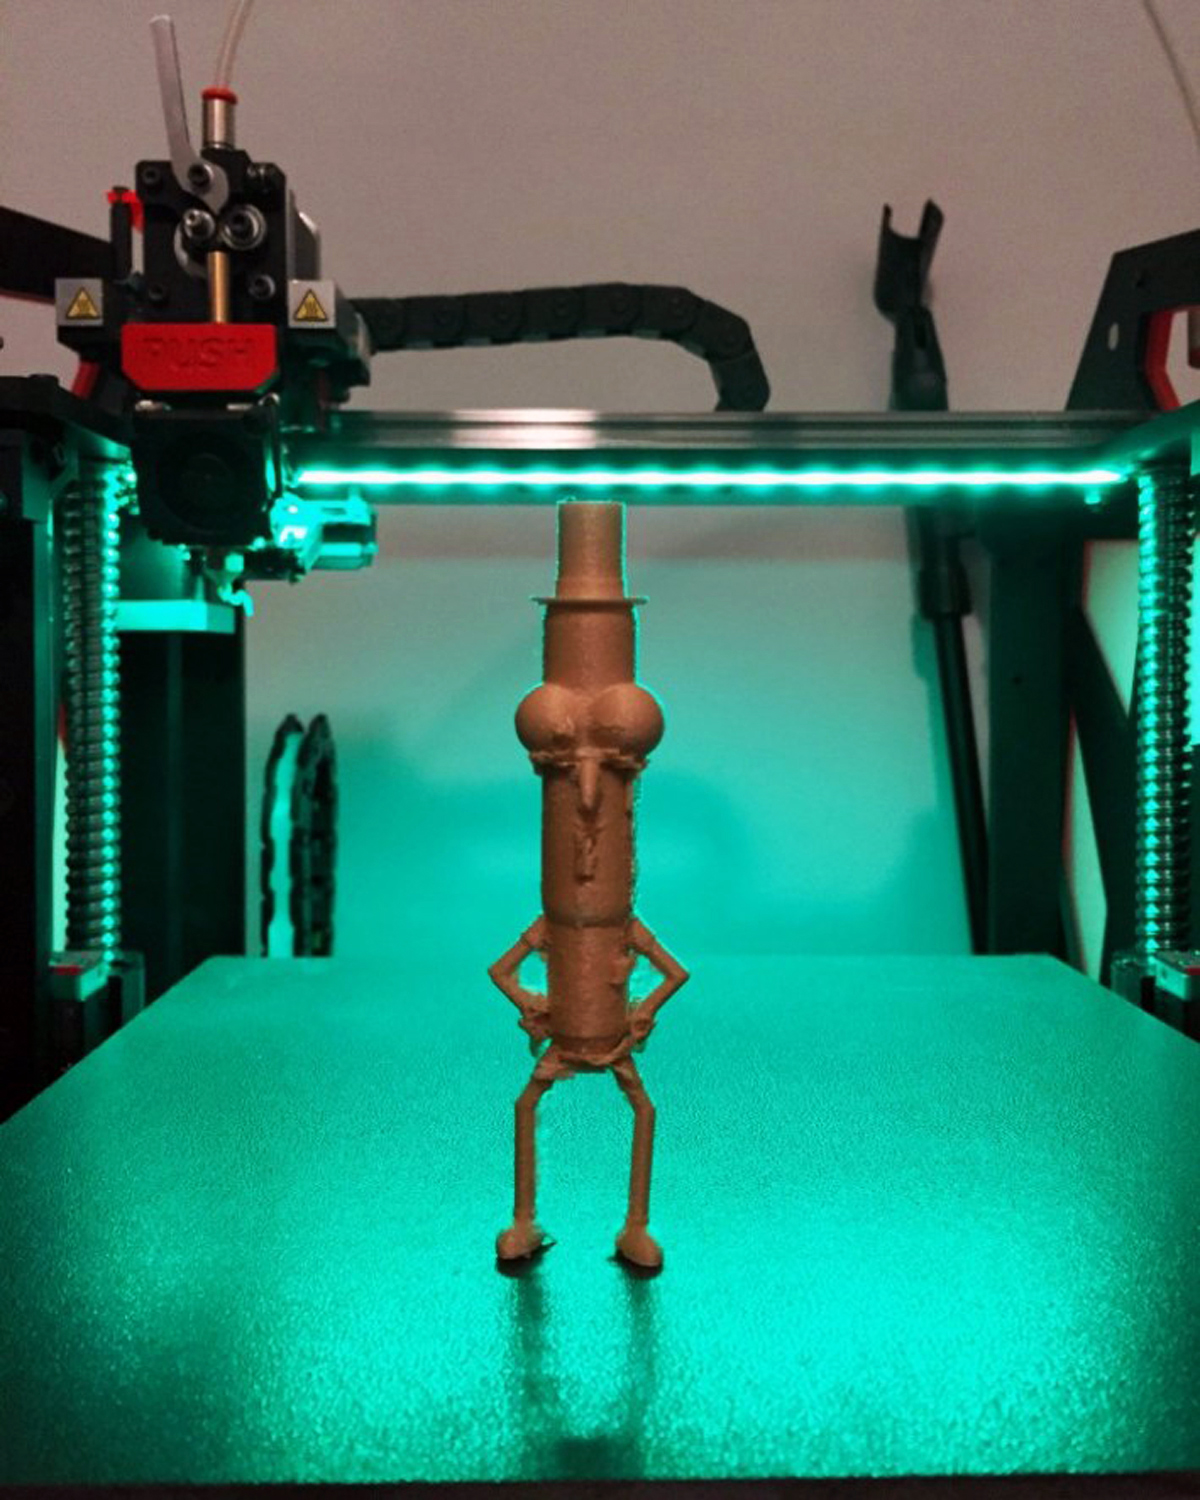
The last time I tried printing with eSUN wood filament was when I was testing out the XYZ da Vinci Pro printer, and though their proprietary material ran smoothly on this printer, the wood filament caused a few issues (to be fair, the da Vinci Pro is available at a much lower price point). With the 3DGence ONE, on the other hand, the eSUN specialty filament actually came out on par with the standard filament that came with their printer. Excited by the prospect of using the wood filament I purchased a couple of months ago on this printer, I started printing some characters from a few favorite TV shows of mine. It took a bit of alteration to the retraction setting to get the print as clean as possible, but once that was configured, both materials seemed to work similarly well.
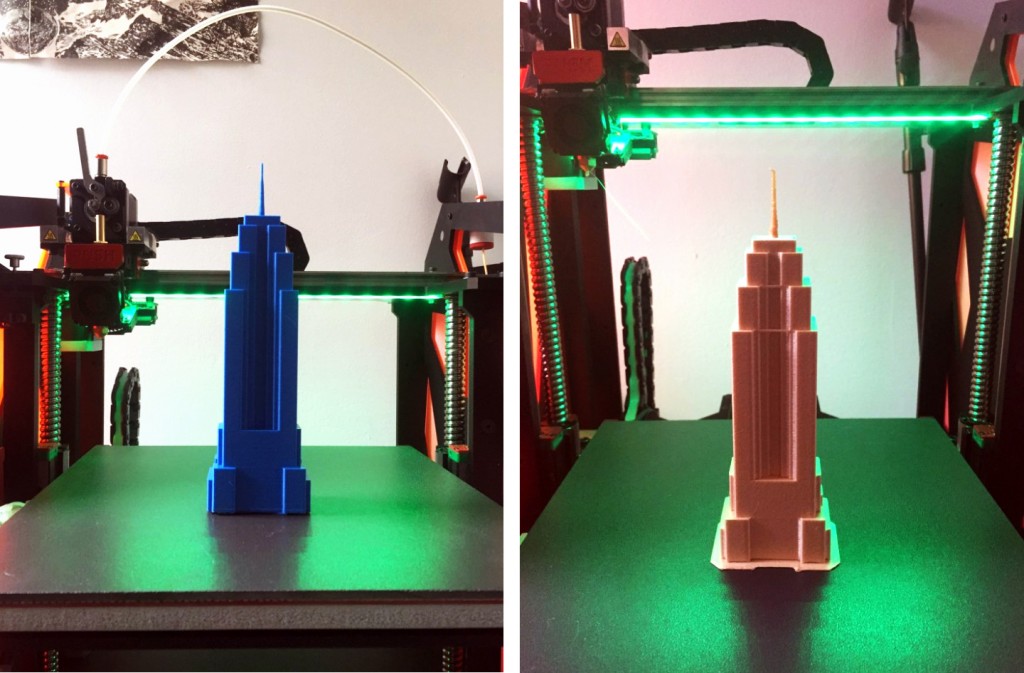
To create a side-by-side comparison, I decided to build a scale model of the Empire State Building in both filaments. Both prints were nearly identical in quality, but as I expected, the wood filament produced a bit more stringiness compared to the standard PLA (due to retraction settings, not the capability of the printer). Overall, I was impressed by the 3DGence ONE’s ability to not only properly print with the eSUN wood filament, but more so with the ease of loading, lack of clogging, and proper layering as well. Accessory-wise, the 3DGence ONE came with all the proper tools to get printing right away, from the expected to the unexpected, including a 4gb SD card and a pair of gloves to help fiddle with the extruder without singeing any fingers.
As for criticism of the printer, there wasn’t too much to harp on, but the process wasn’t entirely a smooth sail. Loading the tip of the filament through the filament cleaner took a bit of practice and bent material, but as time went on, repeatedly doing so made the process much more automatic. There was also an issue with getting the base layer to stick to the heated ceramic bed at some point, which lead to a couple of failed prints and frustrating moments. This issue was quickly resolved by the 3DGence support team, who sent me a configuration file to fix the issue, which ended up attesting to the value of implementing an open source system into the printer.
Lastly, and this issue goes without resolve, is the price point, which is hovering just around $3,499 (estimated from the set price of 10250 Polish Zloty). But, at the end of the day, whether or not the 3DGence ONE is worth it depends on how you plan on using it. In my judgement, the printer is best fit for the prosumer, the Maker who isn’t afraid to play around a bit with an open sourced system. The 3DGence ONE is certainly more expensive in comparison to some more consumer-friendly and limited desktop printers, but it seems that what you lose in the bank, you gain in high-quality components, more creative freedom, and higher quality prints.
Printer Specs
| Price (as tested) | $3,499 |
| Build volume | 235 x 255 x 195mm |
| Gross Weight | 18 kg |
| Max Layer Resolution | 100 microns |
| Materials Supported | ABS, PLA, Woodfill, Nylon, Carbon |
| Number of Extruders | 1 |
| Control Type | SD Card or Tethered to Computer via USB |
Printer Rating
| Ease of Use |  |
| Ease of Assembly | |
| Ease of Set Up | |
| Ease of Filament Loading | |
| Time to Produce 1st Print | 35 minutes |
| Quality of Prints | |
| Printer Aesthetic | |
| Noise Level (1 = loudest) | |
| Justifiable Price Tag? | Yes, if you can afford it/plan on maximizing use |
| Who is this Printer for? | Prosumers |
| This Printer in Three Words | Quality, Convenient, Capable |