3D modeling for printing can be hard-work, especially when one does not know all the tricks of the modeling software and cannot put them in application to ensure a shorter printing time of the model.
There is the general belief that a high-detailed model in printable file format, with accurate and clean-printed outer shell, must take a lot of time to design, weigh much and print forever and a day. However, this is not the case.
In this article we will focus on 3 modeling tricks which contribute to the 3D model’s optimization for 3D printing and cut down modeling time, without affecting the quality of the final 3D printed model.
- Avoid UV feature
First things first: what is UV? UV is the conversion or generation in a 3-dimensional space. The letters “U” and “V” denote the axes of the 2D texture, while “X”, “Y” and “Z” denote the axes of the 3D object in the model space. The values for “U” and “V” usually vary from 0 to 1. A UV conversion can either be generated automatically by the software, or made manually by the 3D modeler. 3D Studio MAX software has more algorithms for automatic implementation.
Therefore, when you create 3D printable models you can skip UV function. When the UV function is not used you save both time and nerves!
- Merging primitive elements
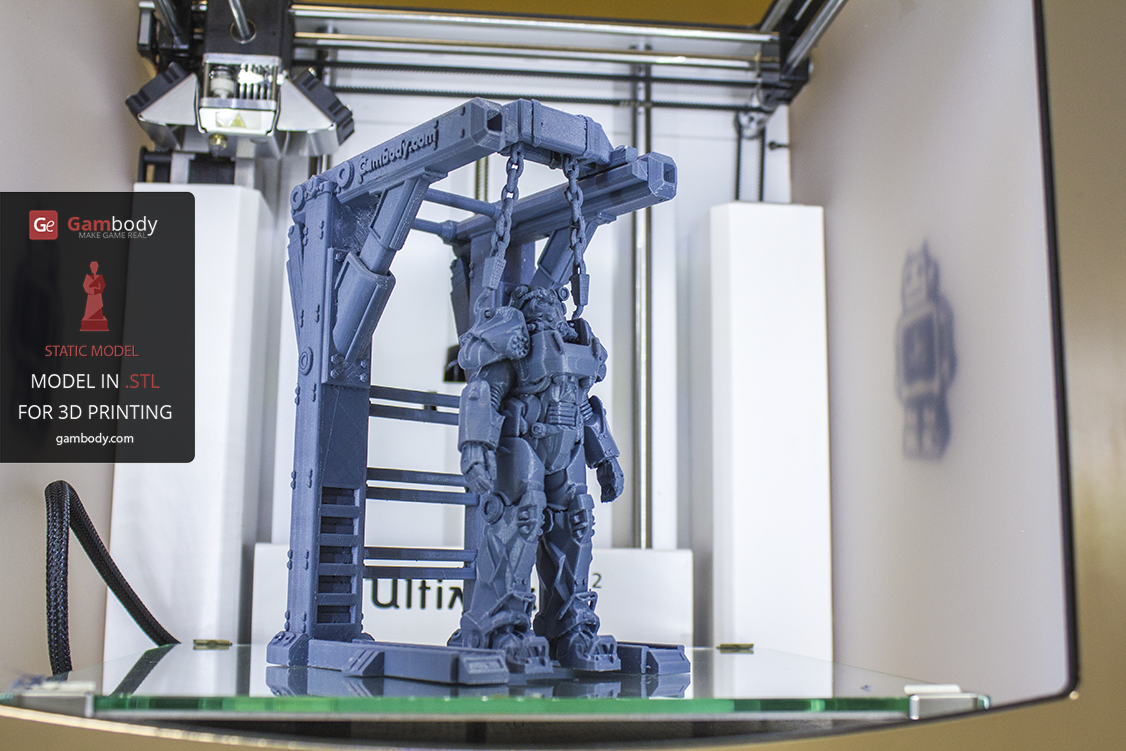
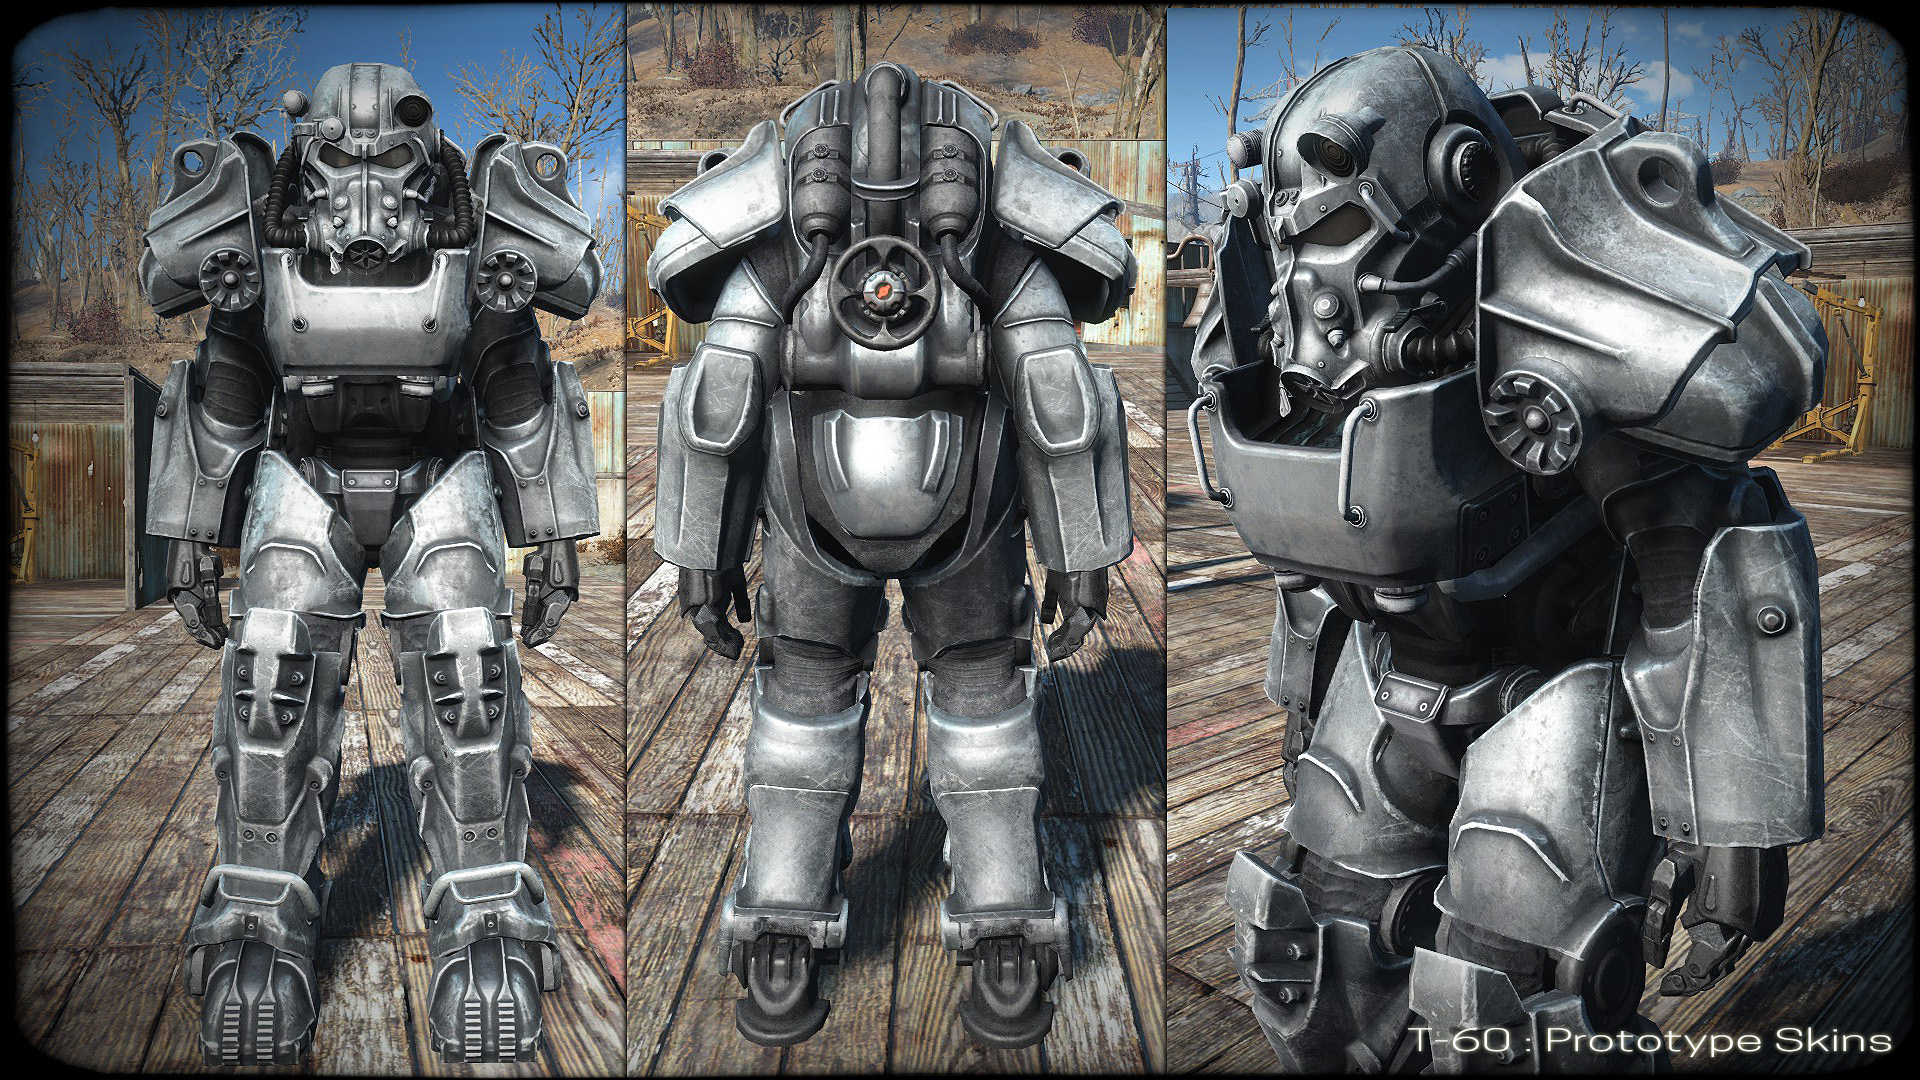
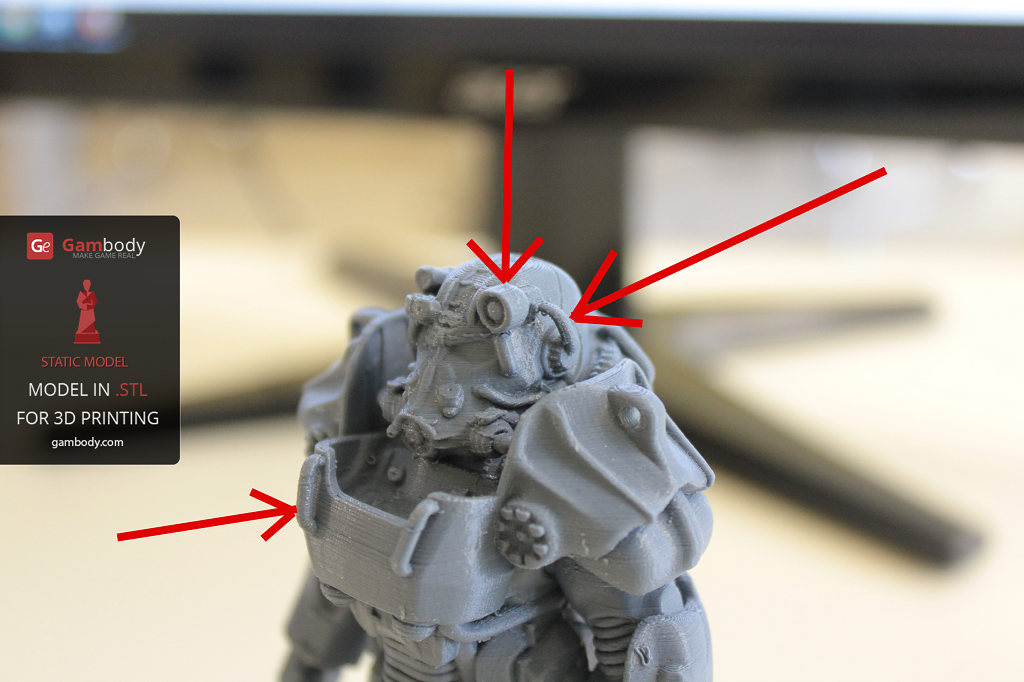
All models are created in different software like 3DS MAX, MAYA, Zbrush, MUDBOX, and etc. Any software uses different modeling methods to get the best final result. Jointly, all actions and methods, undertaken by the 3D modeler or 3D artist, result in the creation of a model. Let’s take T-60 Power Armor 3D model from Fallout 4 video game as an example.
The model is made up of more primitive elements, modified and positioned correctly until the 3D model has taken the shape of the original.
What are the primitives?
The primitive elements in the 3D modeling world are basic geometrical shapes. They include: spheres, cubes and boxes, toroids, cylinders, and pyramids. These shapes are the primitives in 3D modeling because they represent the construction elements that build other more complex shapes and forms. Certain 3D software packages can include a list of more complex primitives. For example, 3D Studio Max lists the teapot as a primitive shape.
When these primitives intersect among them they form non-standard geometrical shapes. Thus, these intersected elements help us build a 3D model as shown above.
Below, you can see an example of primitives intersection (used to create the T-60 Power Armor 3D model):
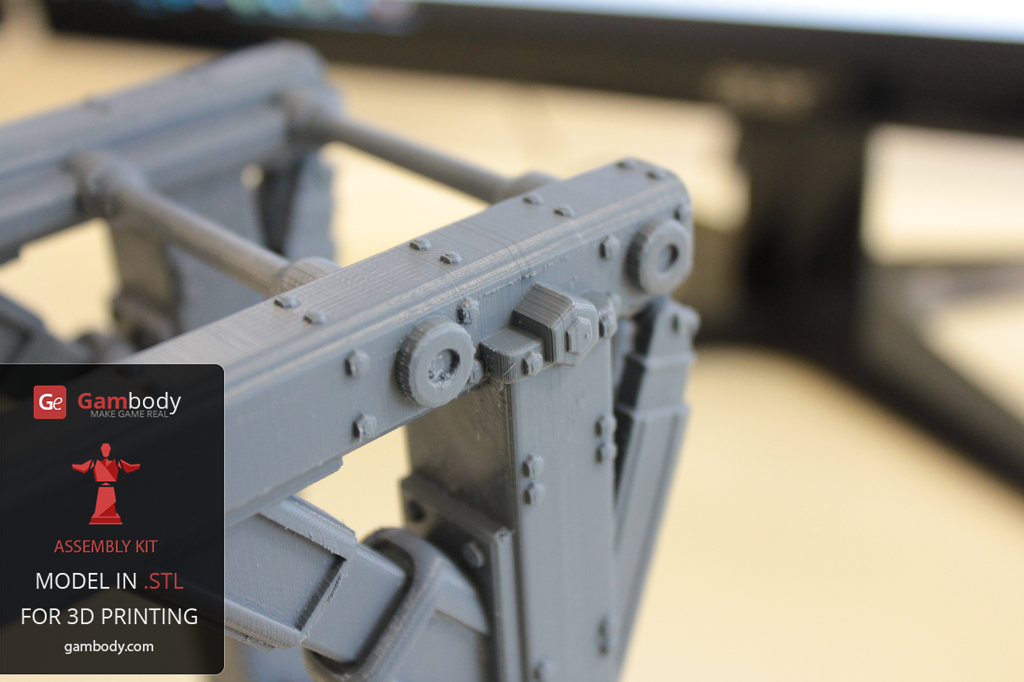
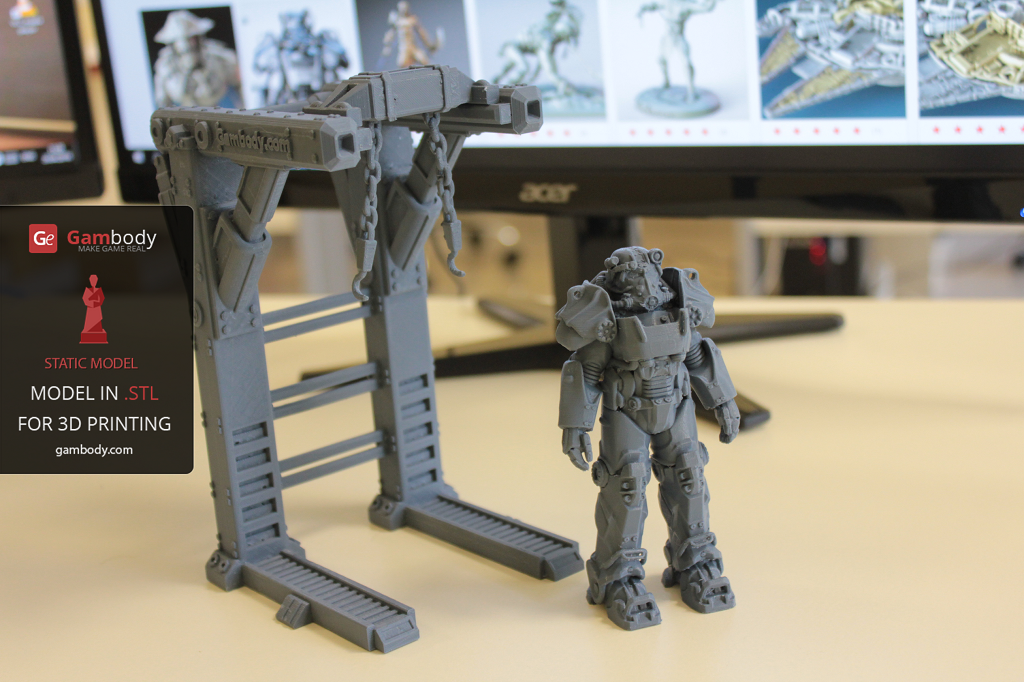
This is how the printed model looks like. As you can see, you can build a non-standard, complex geometrical shape with the help of more primitives (visually it consists of a reinforced construction with screws that holds the T-60 Power Armor Suit).
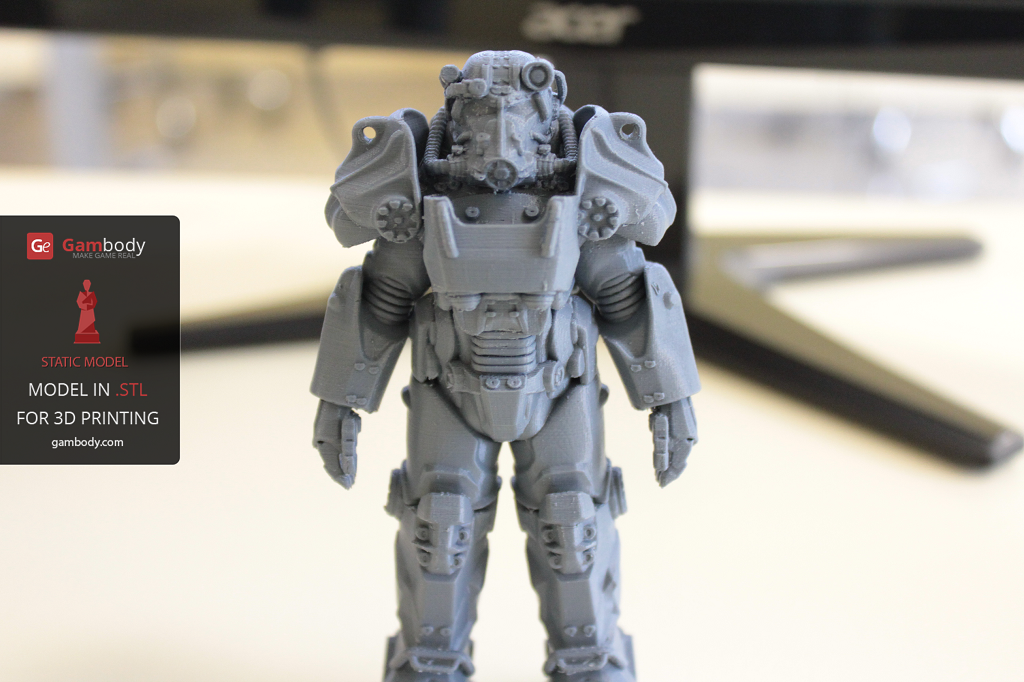
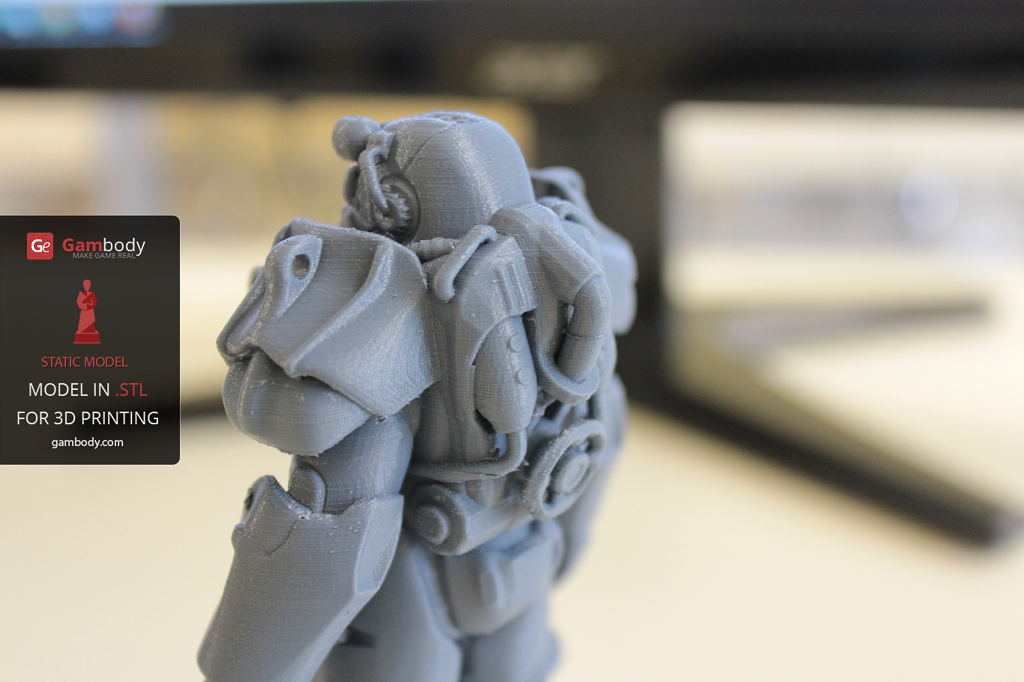
This is the picture showing the model after it has been printed. As you can see, the result is clear and very detailed.
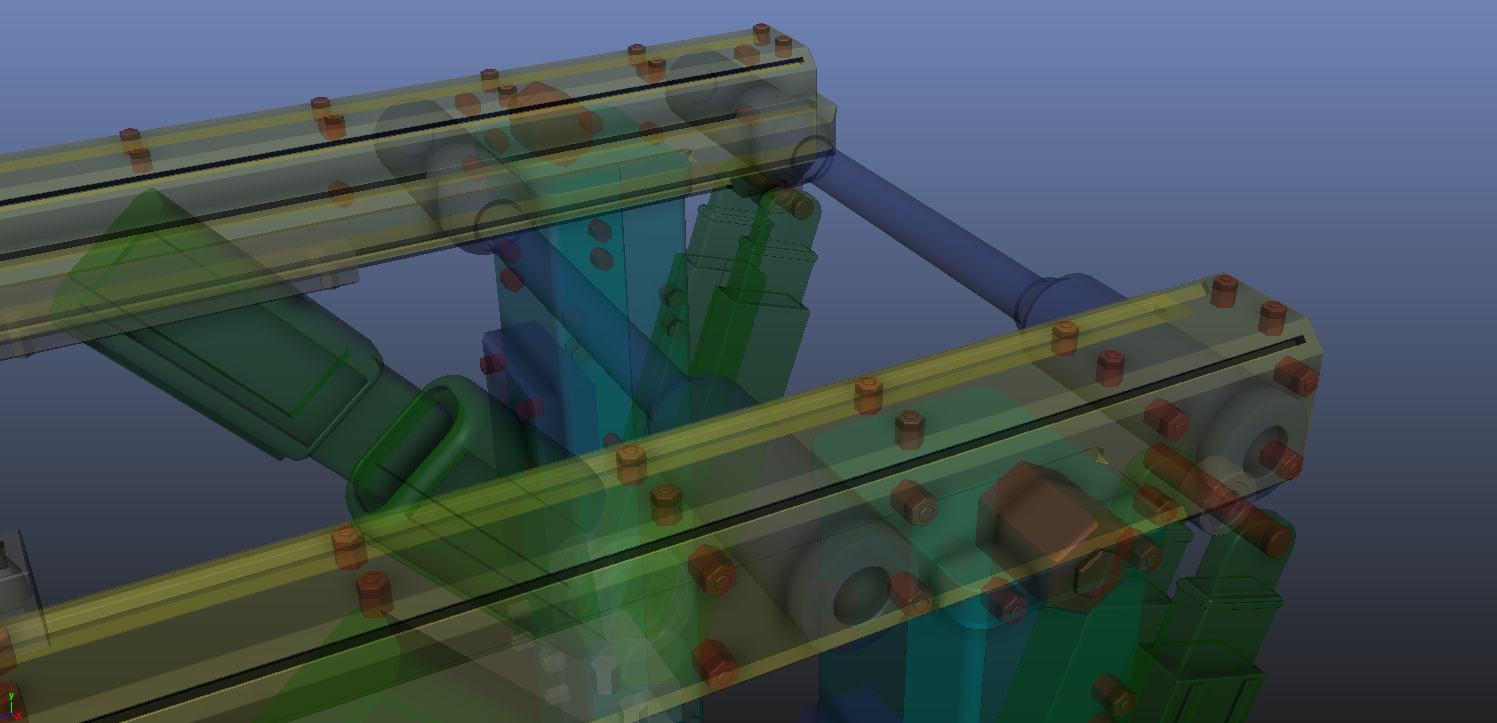
The picture below shows the model during the modeling stage:
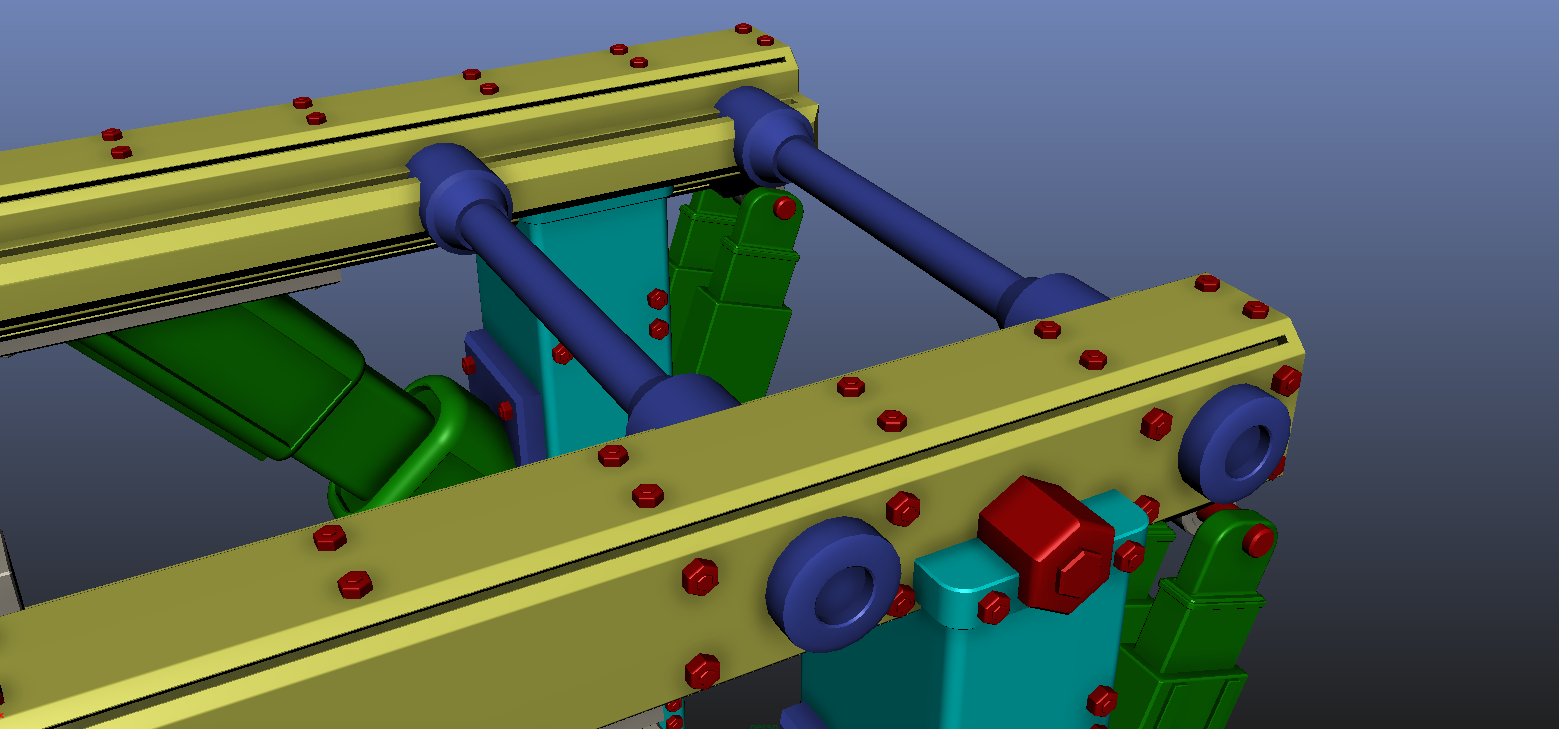
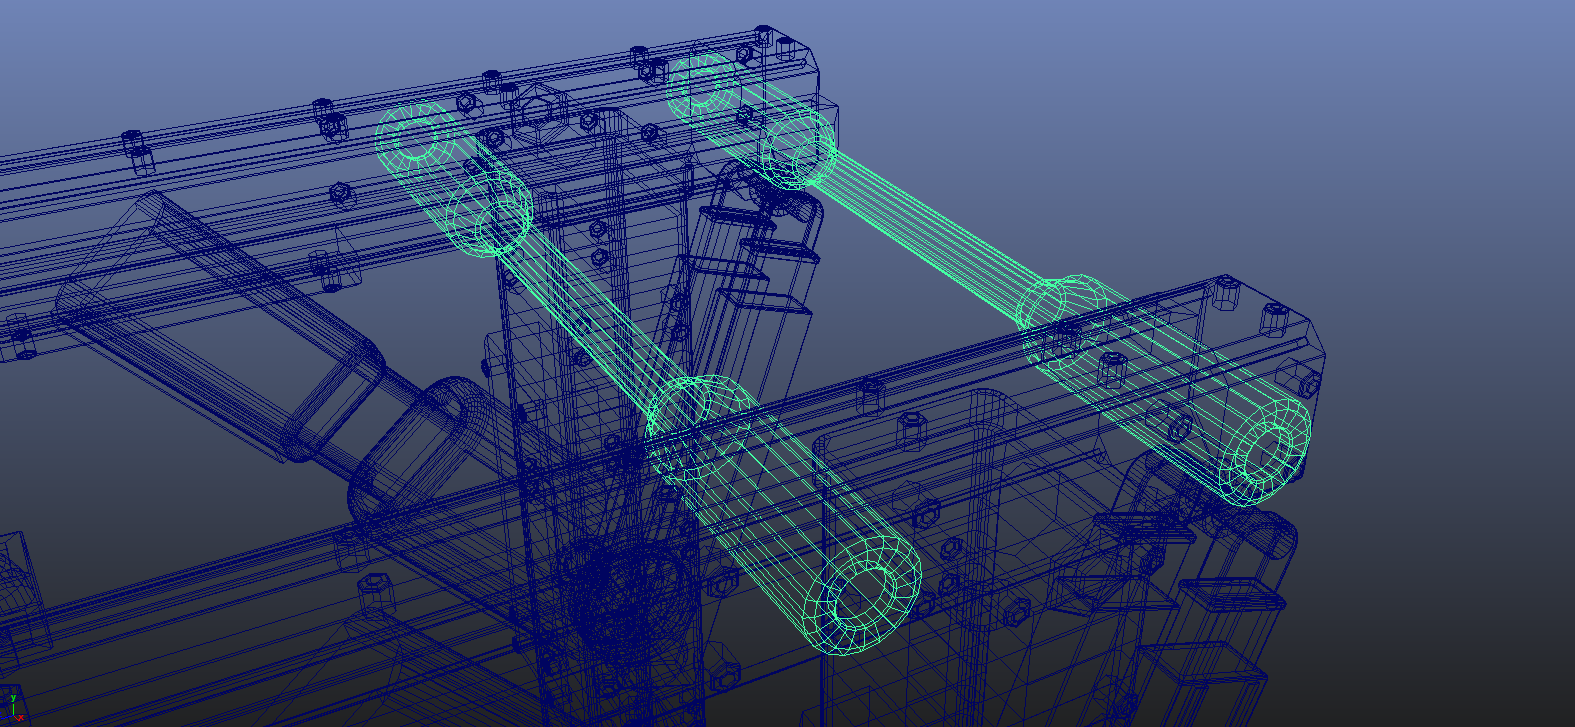
The picture shows that the model consists of more elements that are not interlinked; however, the primitive elements interact among them. From the following images you can see the same part of the model in X-ray mode:
All the description above is a short introduction into why the “merge” function is important for the 3D modeling.
This function is included in almost all 3D modeling package. The feature enables you to merge vertices, edges, and faces into a single vertex. You can also merge several vertices into a single vertex, using the software’s commands. After having merged the vertex, you can adjust the Threshold.
To merge edges or faces into a single vertex, select the edges or faces you want to merge to a center point. However, it is important to know that you can only merge edges that are part of the same mesh. If you want to merge edges from different meshes, you must apply the combine feature first.
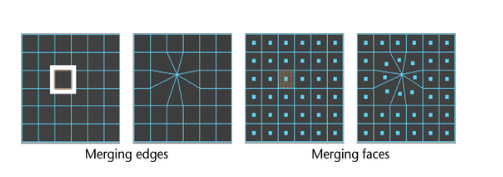
To summarize, this feature merges 2 or more primitives into a single one. This function, however, is very rarely used in 3D Printing. Even if it is used, it’s with the purpose to optimize the model’s weight (Mb, Gb).
The merge function is not always necessary. If we don’t use it, we save time that we normally waste on merging 2 or more primitives. The printing software does not understand that 2 or more primitives have been merged or intersected only.
- High-Poly models for 3D printing
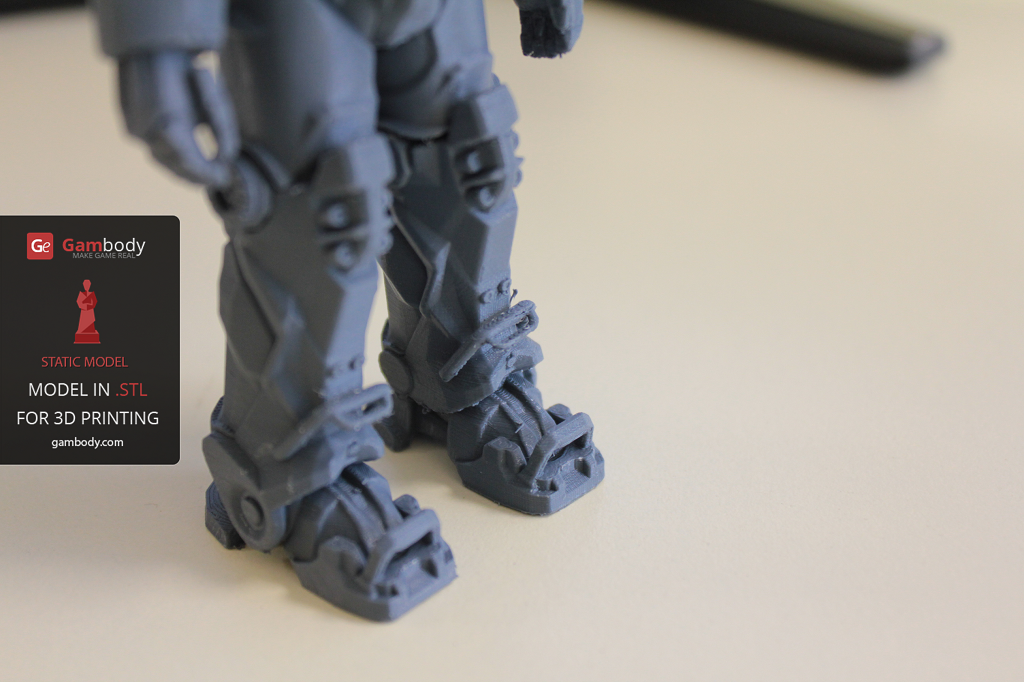
To print a detailed model, you need more than just a good 3D printer and high-quality filament. You need to create a HIGH-POLY model. The more detailed the model is, the better it will look in printed form.
To create a detailed model for 3D printing you don’t need to waste your time in modeling small elements in the hidden parts of the model. They take a lot of time to design and often the result is not worth it.
Detailing depends on the size of the model to be printed. The bigger the model, the more accurate the detailing must be. To calculate the average size of your 3D model, take your print bed size into consideration. If you set 0.1mm layer height for printing, the smallest element must be at least 4x bigger.
If you keep to these recommendations, your model will print accurately, with the best detailing. Also, pay special attention to the outer shell elements. They must have a good printing layer height. Inner shell, outer shell and infill must have no less than 4 layers, to avoid damaging the model when processing after printing.
We applied all these recommendations when we printed the T-60 Power Armor 3D model and the result lived up to our expectations. See for yourself.
Conclusion
These three recommendations for designs for 3D printing are valid only to reduce the modeling time and to ensure that the result of the printed model does not suffer from that. If you use them, you will see that the quality of the final model is not affected, while you gain valuable time to use for other 3D design projects.